Design intentions:
Create a spacious interior living room away from bugs during summertime hiking in the PNW. Use this instead of dcf tarp and bivy (10oz combined) to create WAY more space than the bivy allowed at the penalty of weight and some heat retention / wind protection (again, not very important in summer).
I don’t need a ton of tarp overhead in these conditions, so I wanted to take advantage of the XL size of the silpoly with a very modest 6” taper into the foot end. I used the taper cuttings to reinforce the two tieout points at the ridgeline of the tarp. If you want to make just the tarp part of this, it took me an hour, which was really satisfying, so would recommend this as a beginner project.
The biggest disadvantage of the silpoly and this design is not being robust in windy conditions. But in the PNW, with predictable tree/shrub and dense forest cover, windy conditions are a rare concern — and to be clear, if you wanted to do this project you should understand the conditions this design and fabric choice will take you in. Silnylon would work better in heavy winds but would increase the odds of a sagging ridgeline with this design. This tarp is not made for heavy, constant downpours. But like with using any tarp, experience, understanding your hiking conditions, and site selection help immensely. Okay that’s enough disclaimers lol
The perimeter bug netting is very delicate so picking this tarp up off the ground will require more care as well, another minor con. I can set this up in a way where my polycryro groundsheet is down under the bug netting and the netting is wrapped around me, but I think I’ll prefer having the bug netting perimeter expanded as large as possible resting directly on the ground, held down by rocks. I may add four to six small tieout loops to pitch the netting down to the ground eventually, but want to try it with the rocks first to see what I think.
Materials:
3 yards of 1.1oz XL Silpoly from RSBTR
5 yards of 0.5oz Noseem mesh from RSBTR
6x linelocs
ribbon for tie outs
Dimensions:
70” to 62″ x 108”
5.8′ to 5.1′ x 9′
Weight:
336g or 11.85oz without cordage
This setup requires adding a polycryro groundsheet for 2-3oz as well.
The tarp has a mid-length tie out as well. The edges of the whole tarp are double stitched and I’m confident enough they’ll manage but feel free to add more tieout support. I only added it for the ridgeline.
This tarp feels very spacious from the inside.
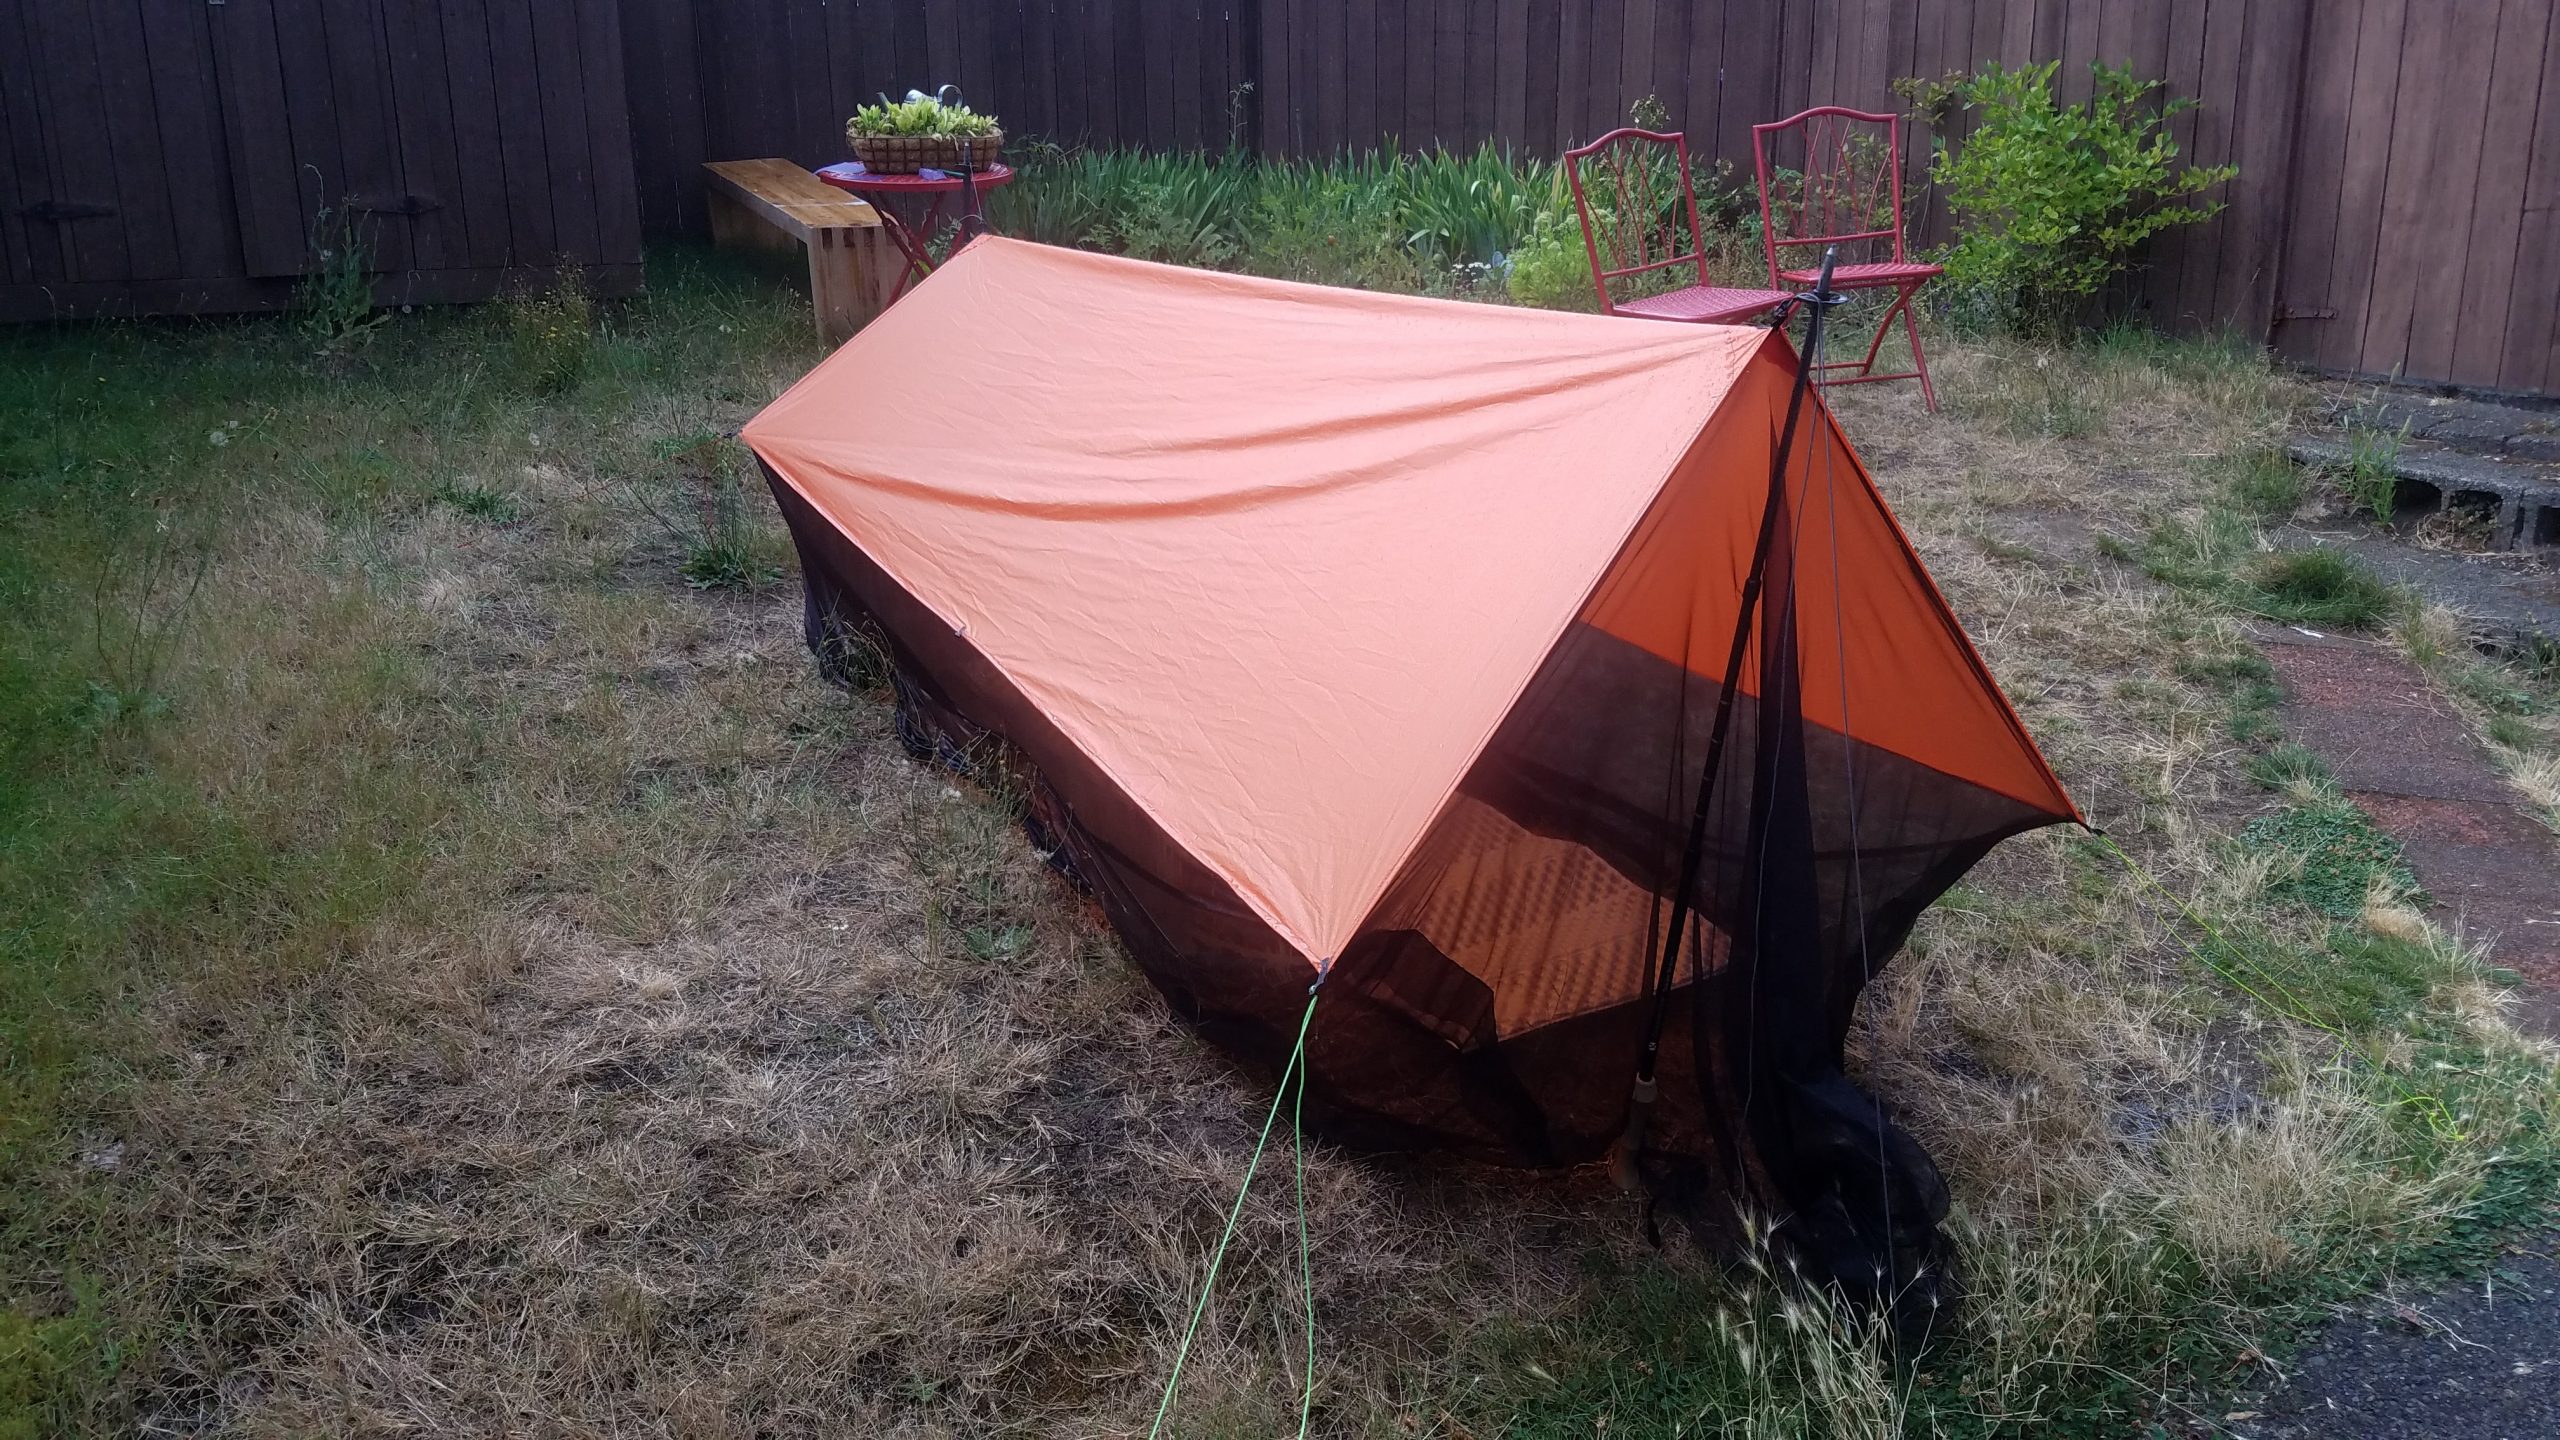
Bug netting added! Raining in this photo.
There is 26” of height to the bug netting on the whole perimeter, making it really easy to pitch high up for maximum space. It’s a freaking palace in there.
The front has a drape entry so after entering, you’d add a rock to seal her up. No zip or snaps or anything fancy. This is a simple stupid design. (Note I cut off the excess front fabric here)
336g or 11.85oz
Imgur album: https://imgur.com/a/XJ3Zuzu
Youtube vid of the initial walk around while it’s raining: https://youtu.be/IvbDuAAMeQo
Someone requested photos of people inside so I did a video of pitching it again, getting in there (hard to tell my size in there frankly on video), then lowering it for “storm mode” to show there’s plenty of room, and then pitching a storm mode + awning pitch.
I left it out and went in to start to upload the video and two ladies burrowed inside w salad and booze and so, w their permission, these photos also sort of demonstrate the size of it somewhat?
These spontaneous salad and UL gear models are 5’5” and 5’8” respectively.
Down with the corporations
Much space
Screengrabs from the video of me relative to this tarp. I’m 6′ and this is 9′.
Edit Video with pitched as high as possible, storm mode, and storm mode + awning: https://www.youtube.com/watch?v=WC2xVovd5bc
