
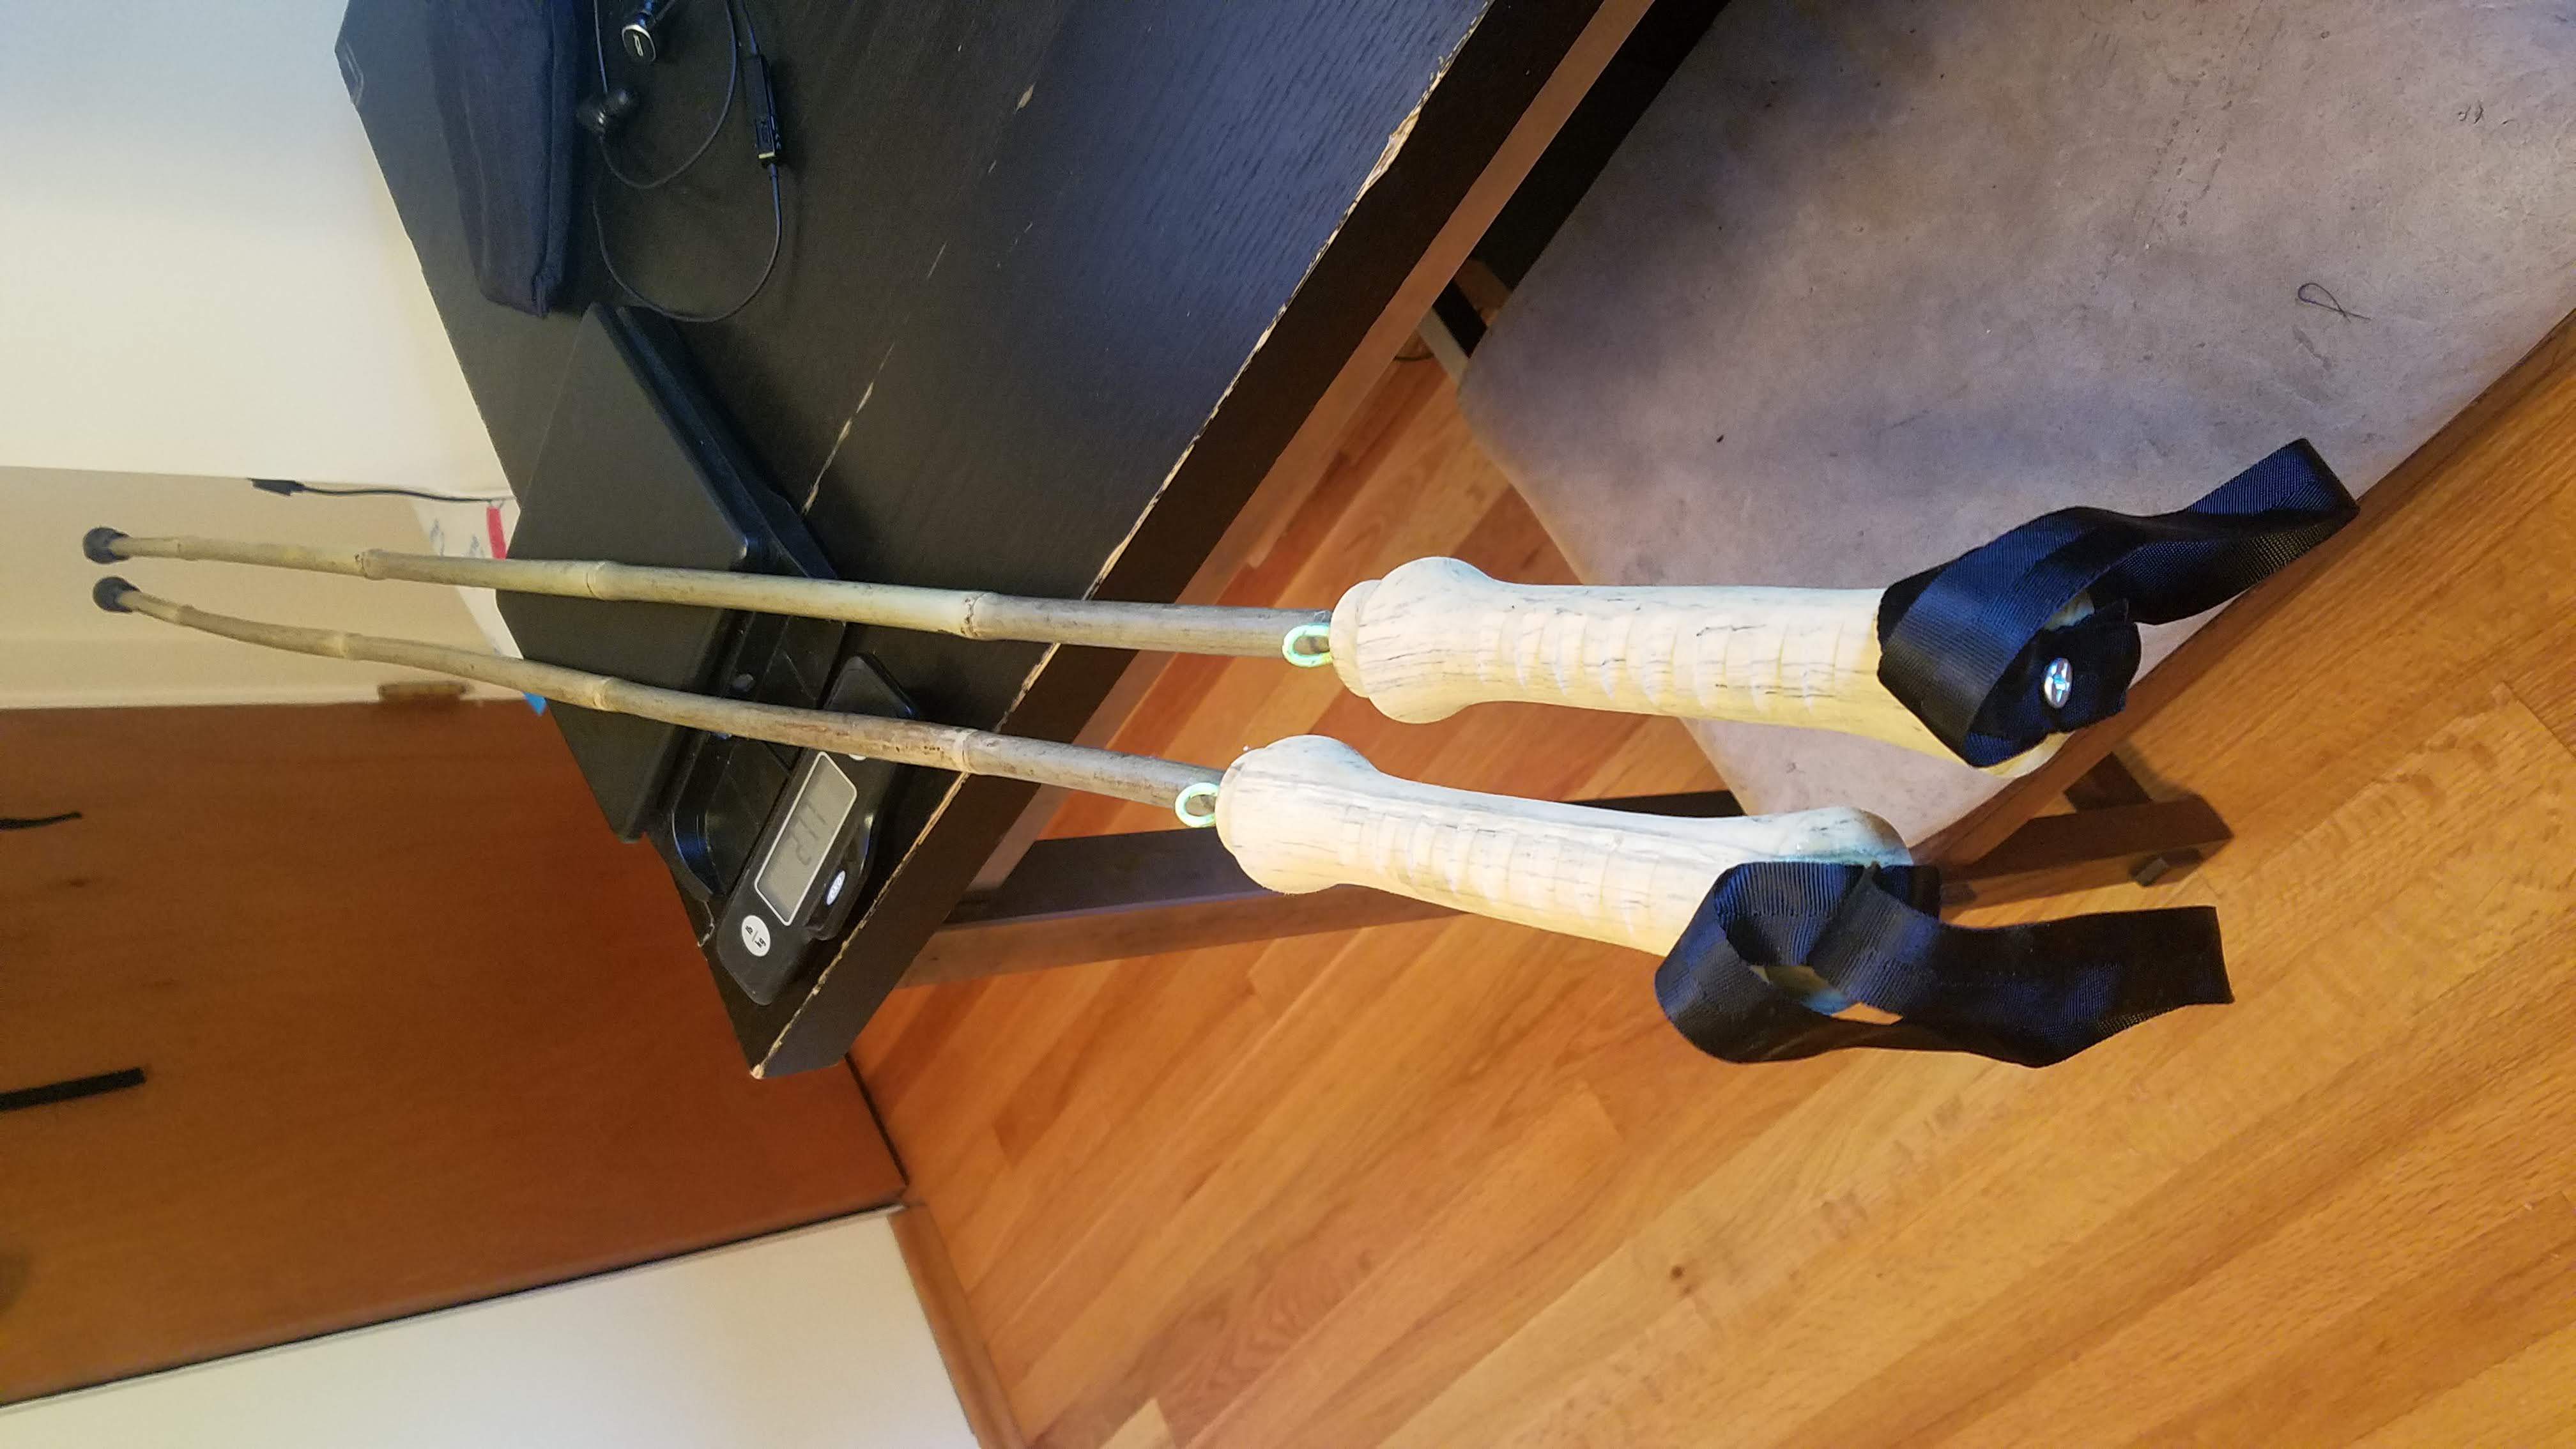
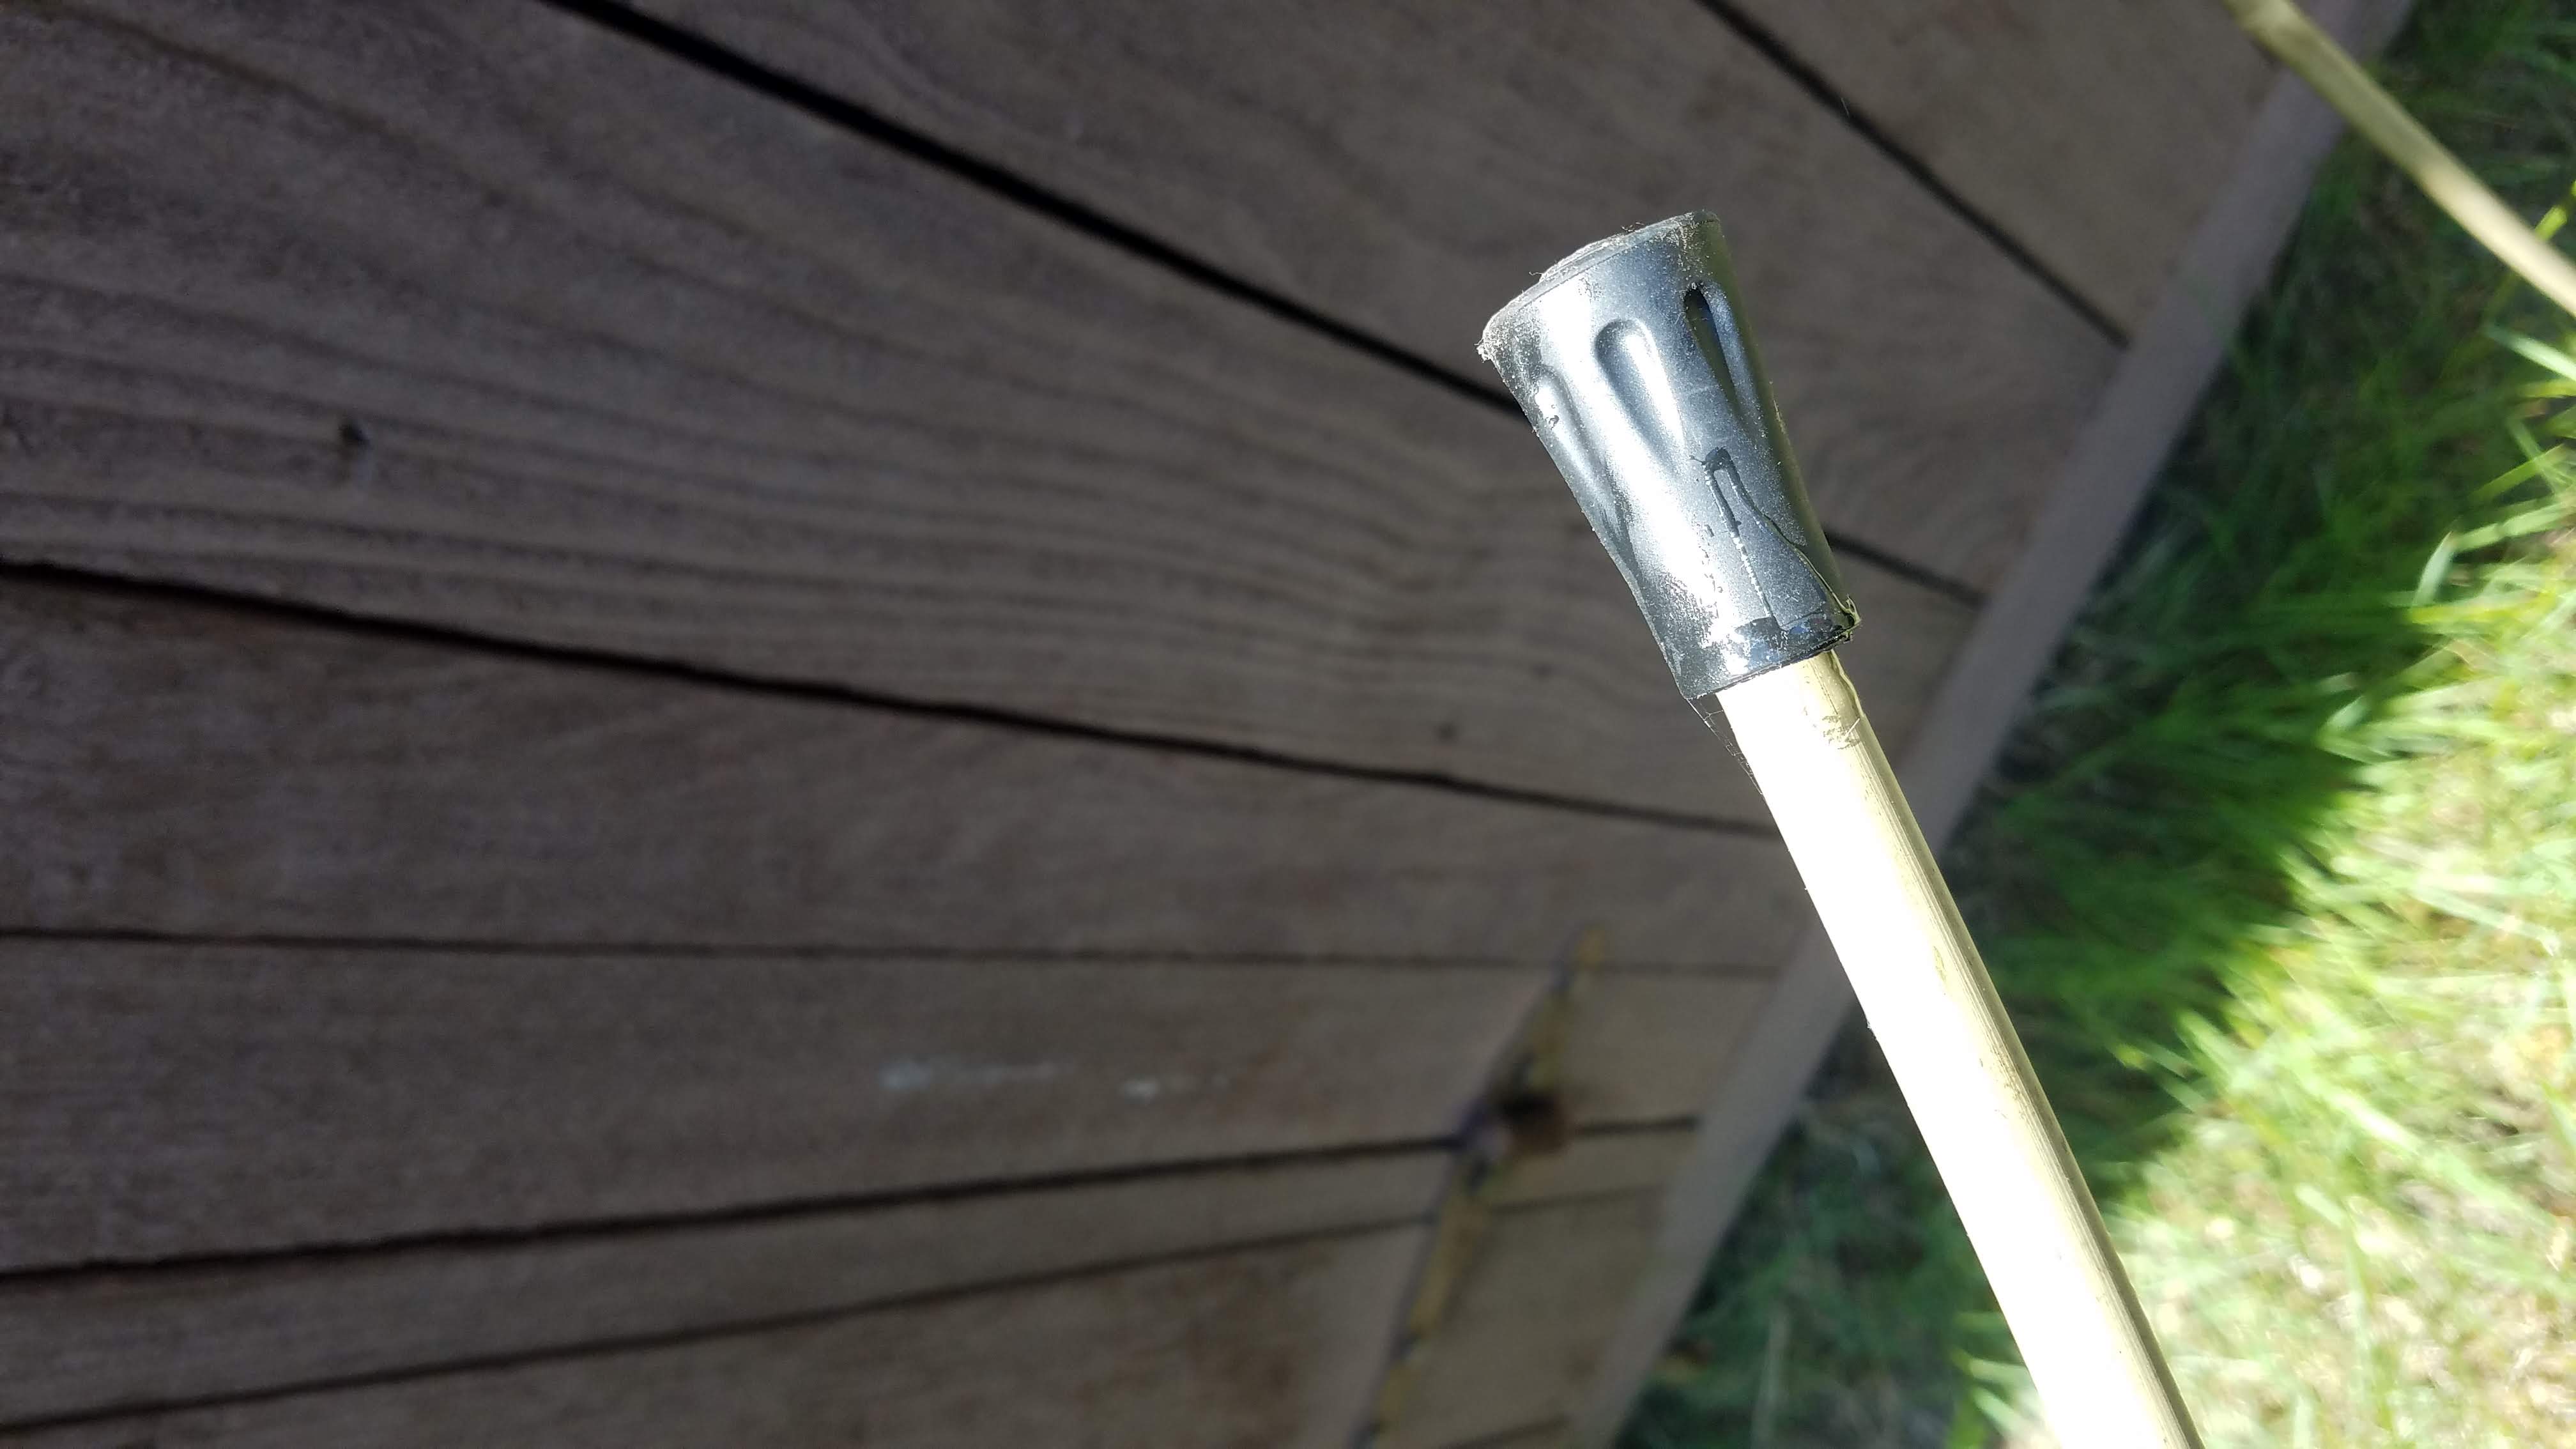
These are $15 Gossamer Gear cork grips, $5 rubber end caps, and then $6 in 1/2” bamboo rods.
I used this sealant / adhesive for $4.50: https://amzn.to/2RgGHTq [this link helps this blog’s monthly hosting fees].
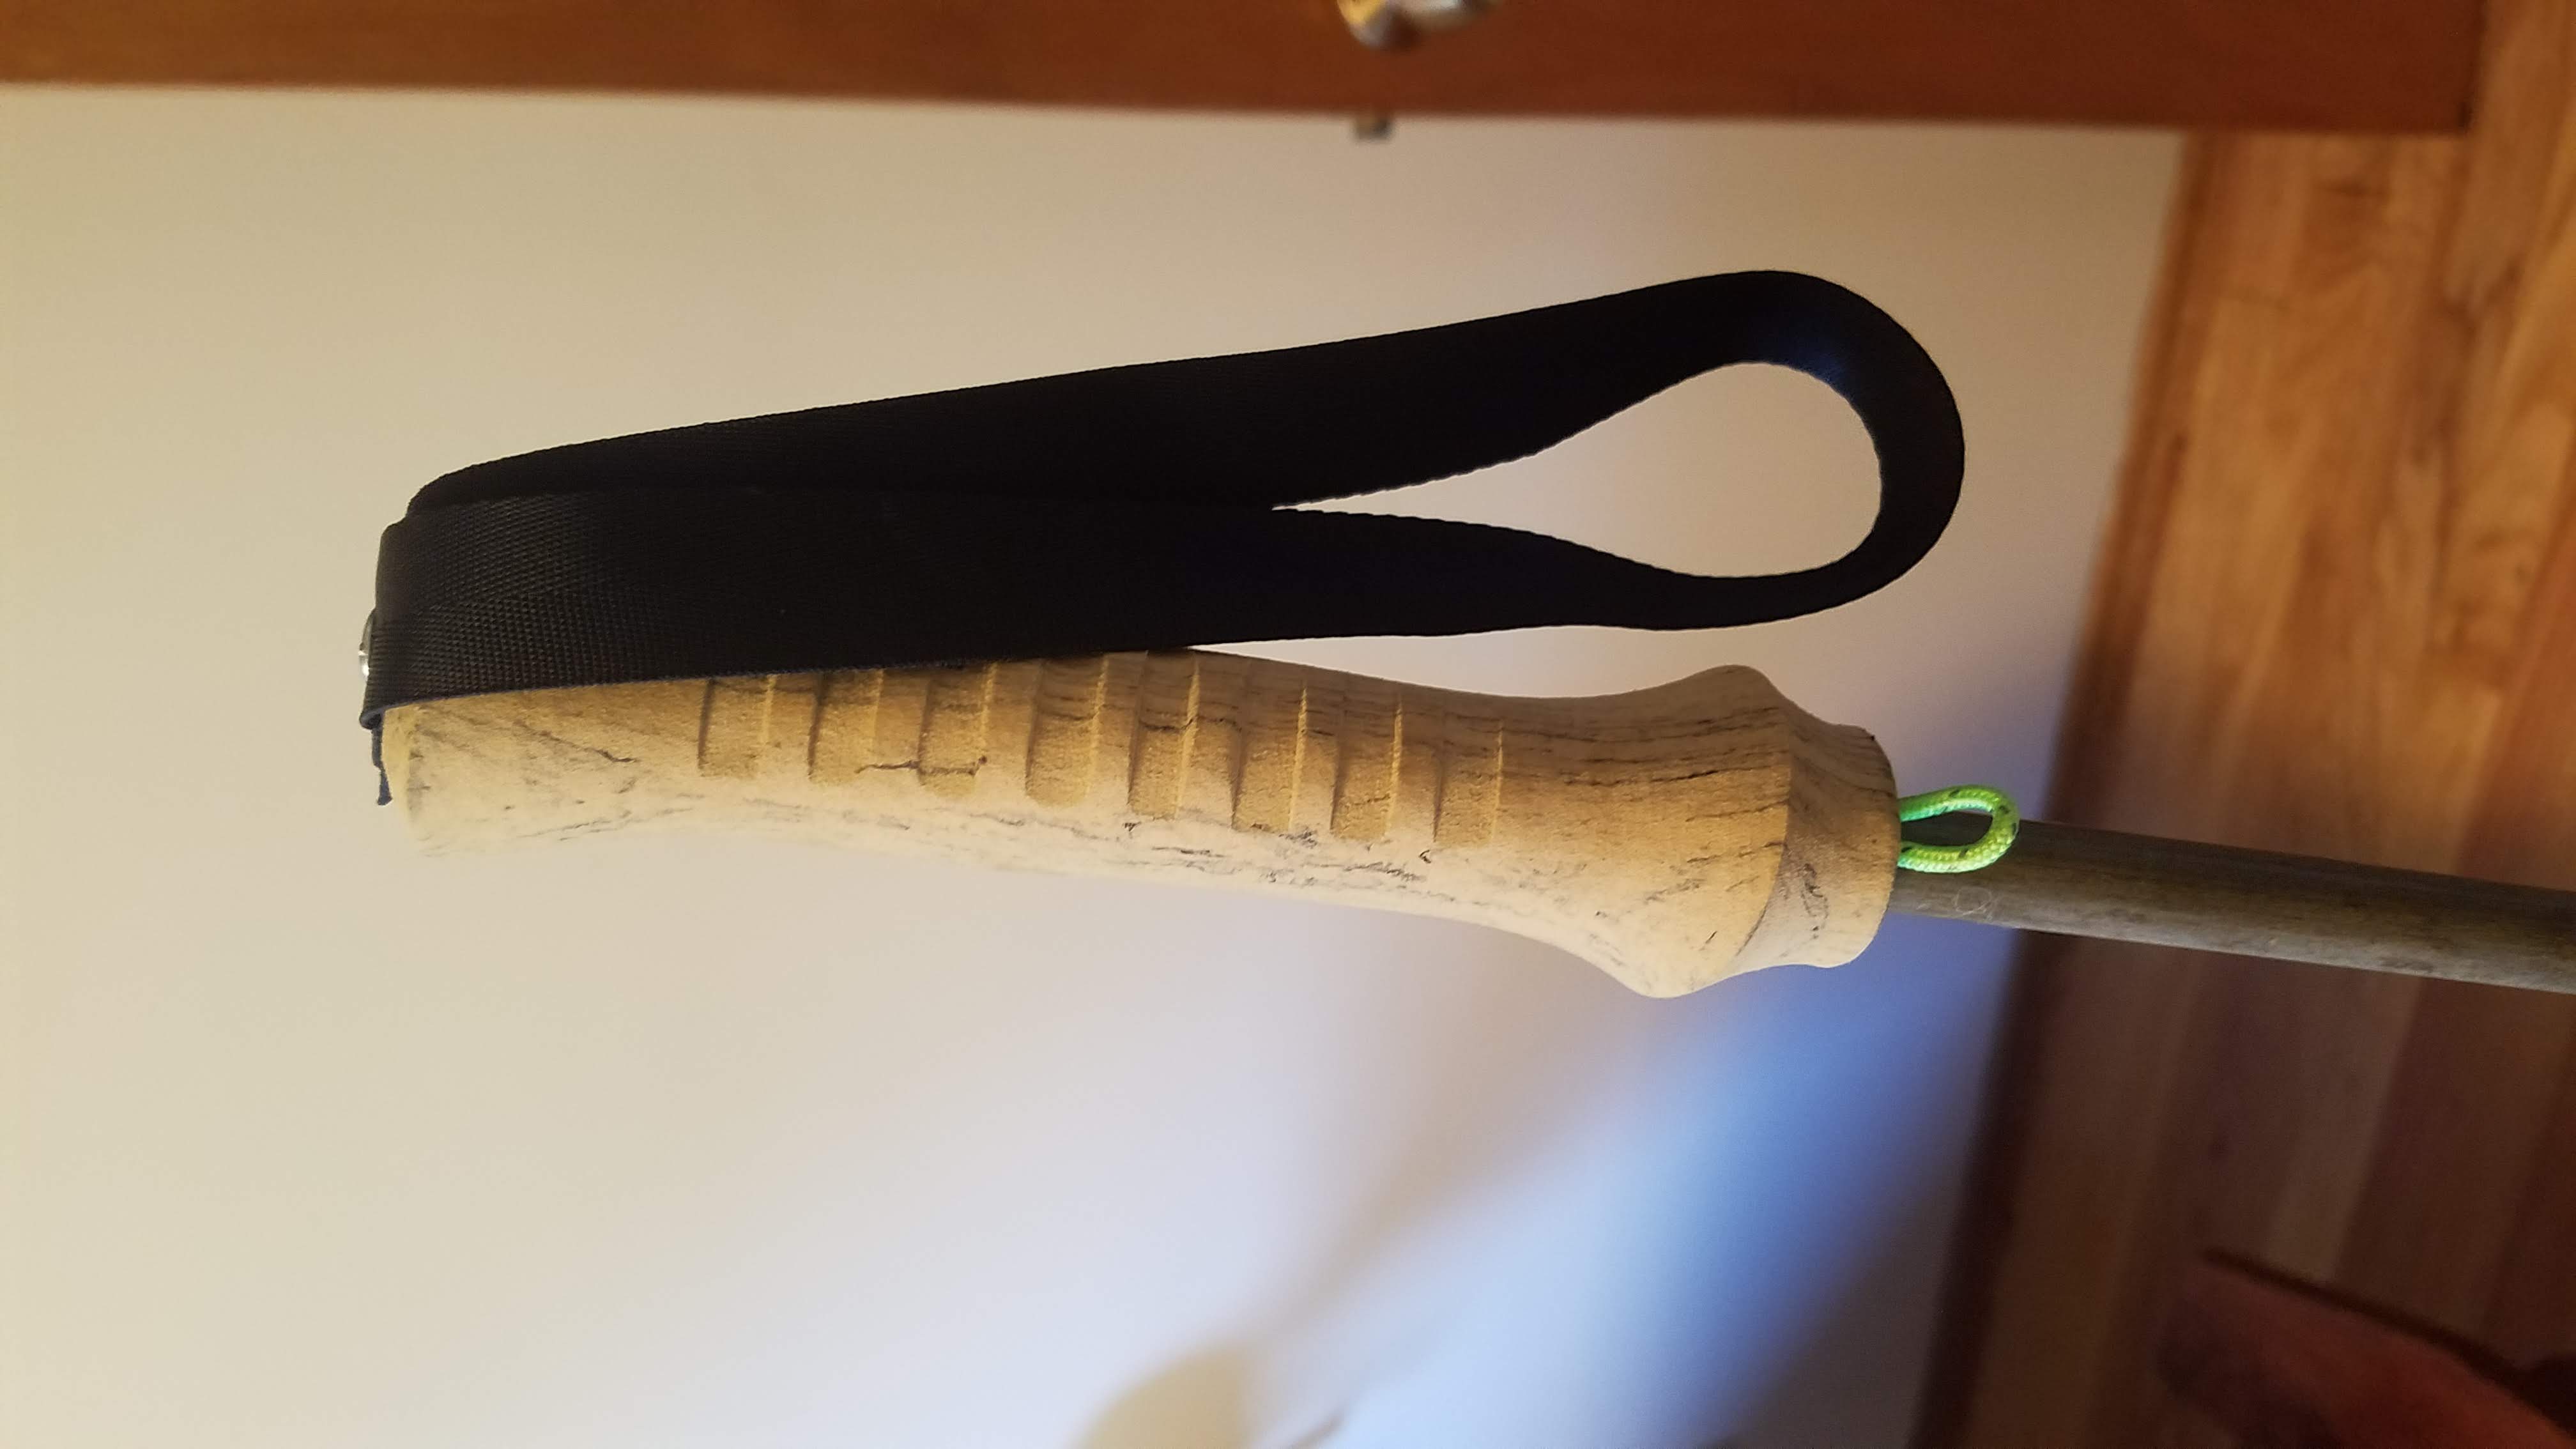
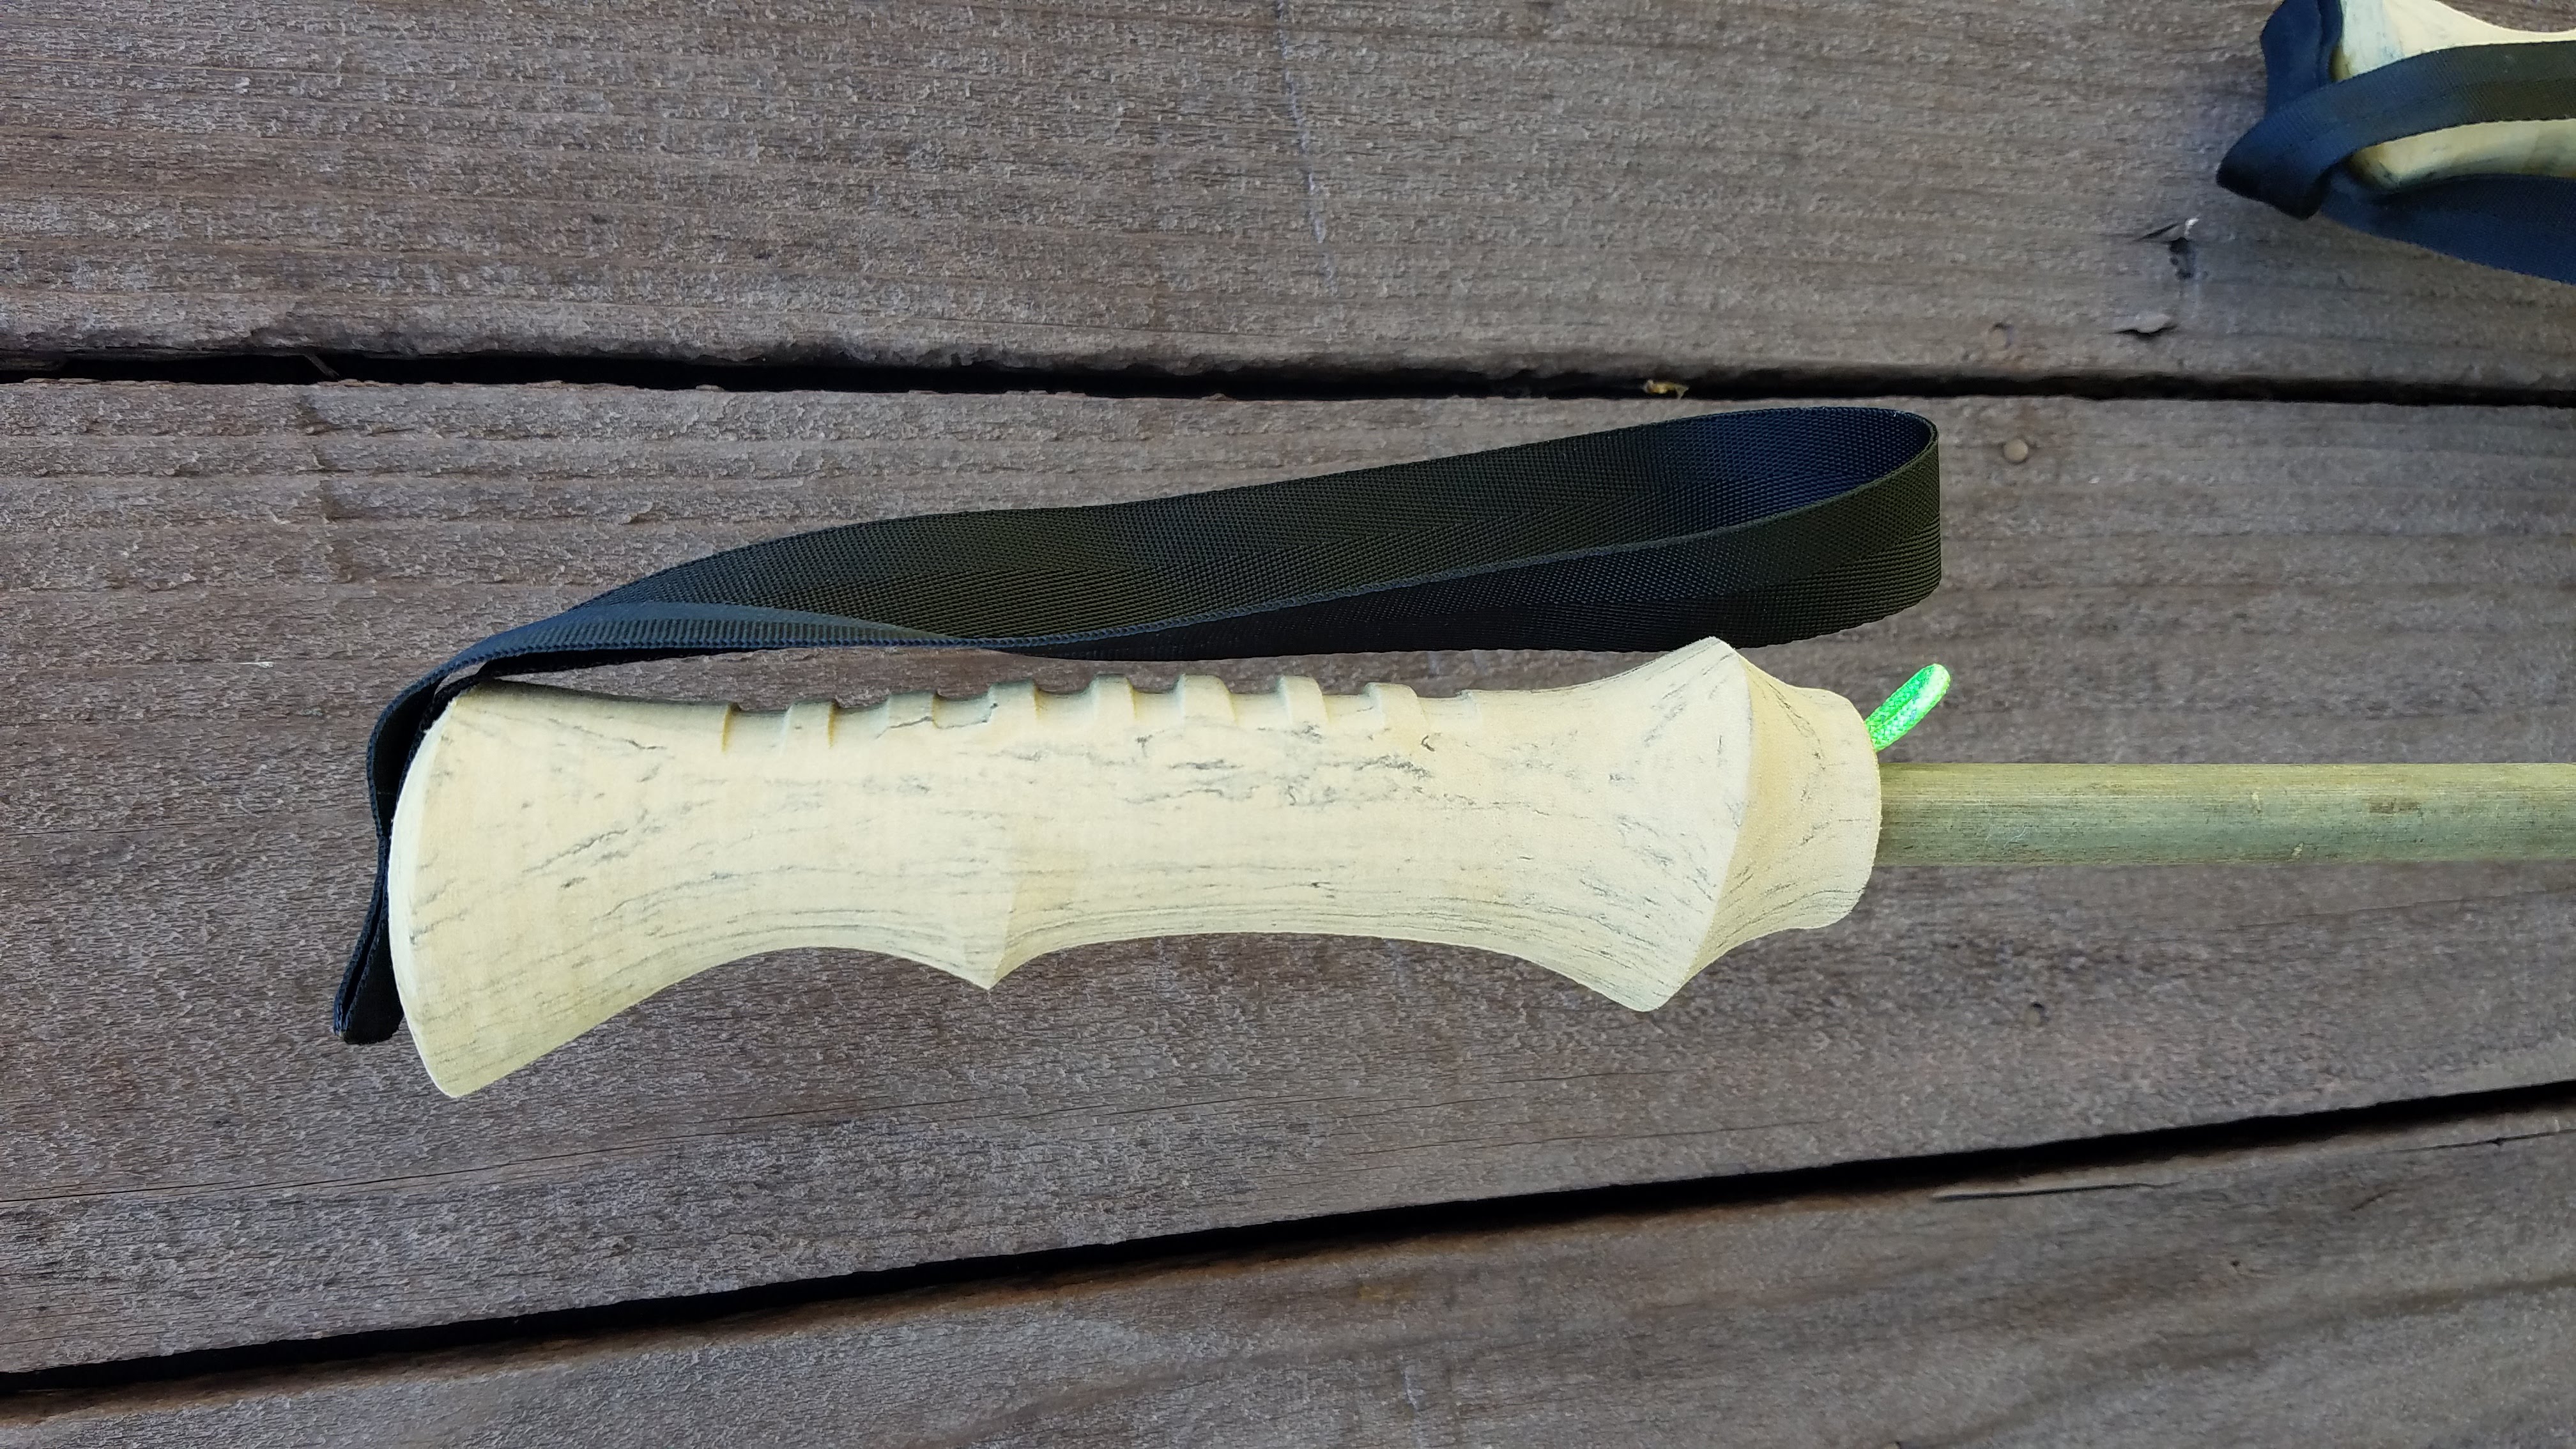
I added Grosgrain ribbon to the top with a screw and fit that length to the perfect size, then committed with a single hole through both layers of the ribbon.
I added some small 2mm cord at the bottom so I can easily lace a guyline through for setting up a tarp.
Mine are fit to size, then slightly longer than normal, because:
- They are fixed length so I have to make a decision about 80/20 on the use cases
- I need them more for downhill knee support than uphill climbing
- The taller they are the more flexibility I have will shelter setup
UPDATE with more instruction:
So far these bad boys have ~35 miles on them so not nearly enough time for a review of their durability so please keep that in mind in this post! But with that being said, check it out!
Supplies needed:
-
$15 – Gossamer Gear Trekking Pole Grips
-
$5 – Gossamer Gear Trekking Pole Rubber Tips
-
$5 – Sealant [Gear Aid Seam Grip WP Waterproof Sealant and Adhesive for Tents and Outdoor Fabric]
-
$5 – 1/2” Bamboo rods (6′ then cut to size)
-
Some extra cordage and ribbon you can find around the house + two screws
How to make:
-
Open the sealant and attach the rubber tips to ensure you have the right height for sizing later — just cover the interior of the rubber tip and exterior of the bamboo and slide on [30 seconds]
-
Measure your ideal fixed-length height by slipping the grips on over the bamboo. Put on your hiking shoes, find a flat area, then stand and get a sense of how tall you want yours. I made my slightly taller than the height of my elbow joint because I get the most utility out of my poles on downhills and for shelter setup. Make them your ideal height! Then mark the very top of the pole and cut it off.
-
Cut 5” pieces of cordage for the bottom of the grip so you can use that to pitch your shelter (by stringing your tarp/tie out points through the cord) img https://imgur.com/a/addOv4A [optional]
-
Wrap your ribbon around your hand fitted to the grip and make sure it’s a snug fit. I held onto the grip and ribbon with one hand, then used the other hand to mark with a needle the exact dot that I’d want to screw the ribbon into the top of the pole. I then opened the hole with a small screw to ensure it was prepared for the final step. [Optional but most prefer wrist straps / I find them useful for uphills]
-
Time to adhere the final grips! Apply sealant to top three inches of the bamboo pole with tons of sealant on the inside of the grip. Fold the cordage in half and insert it into the grip with ~1/2” loop at the end (the rest of the cordage acts as more surface area to increase the strength of the adhesion). Then slide the cork and cordage down until the grips are in.
-
Now screw in the grosgrain ribbon! I added more sealant on the top of the bamboo to add more strength and deter fraying of the ribbon. I then just used a power drill and screwed the screw down, being super careful not to go too far which would split the bamboo and seriously impact its durability. Align the ribbon with the back of the grip.
-
Now test them while they are still malleable. Make sure they are exactly the same height and to your liking.
-
Let them dry for two full days!


This is truly awesome Denny. I hope you are still creating things.
-Nick
Prescott, AZ
Thanks Nick! I am still making! I’ll have to post up two EDC packs I’ve recently made for my wife and I. Plus a lot of tea videos @teadb