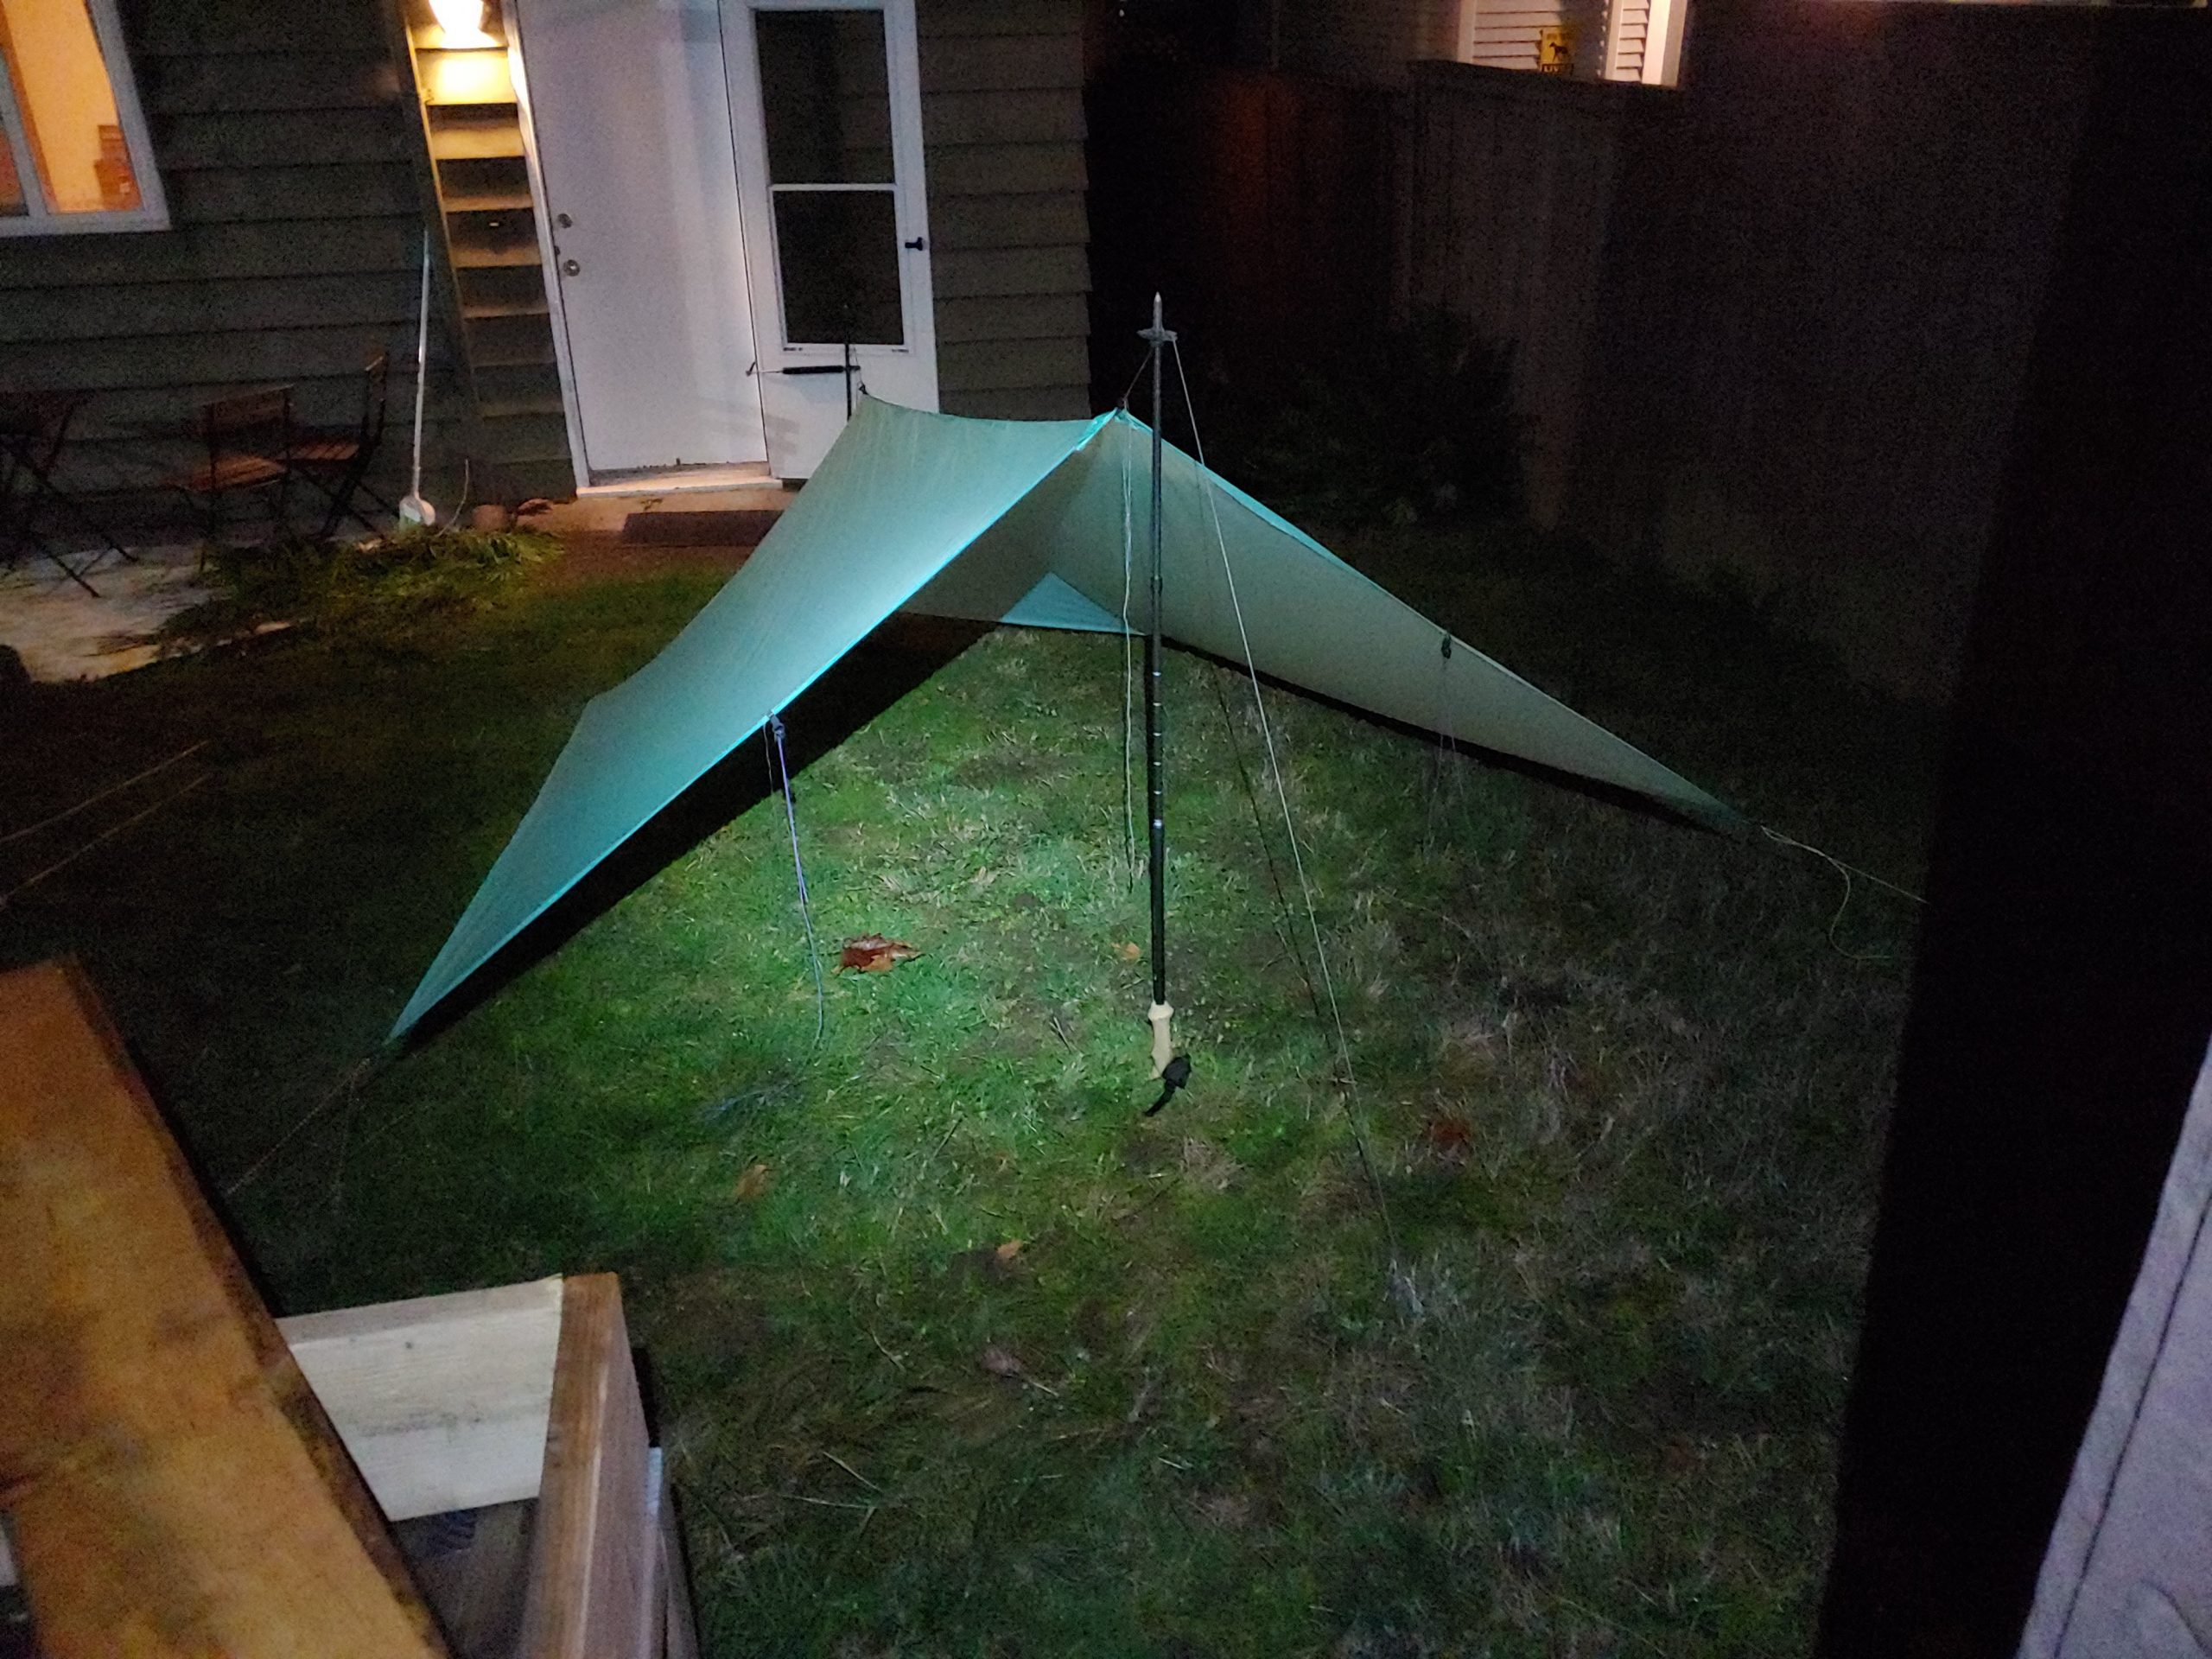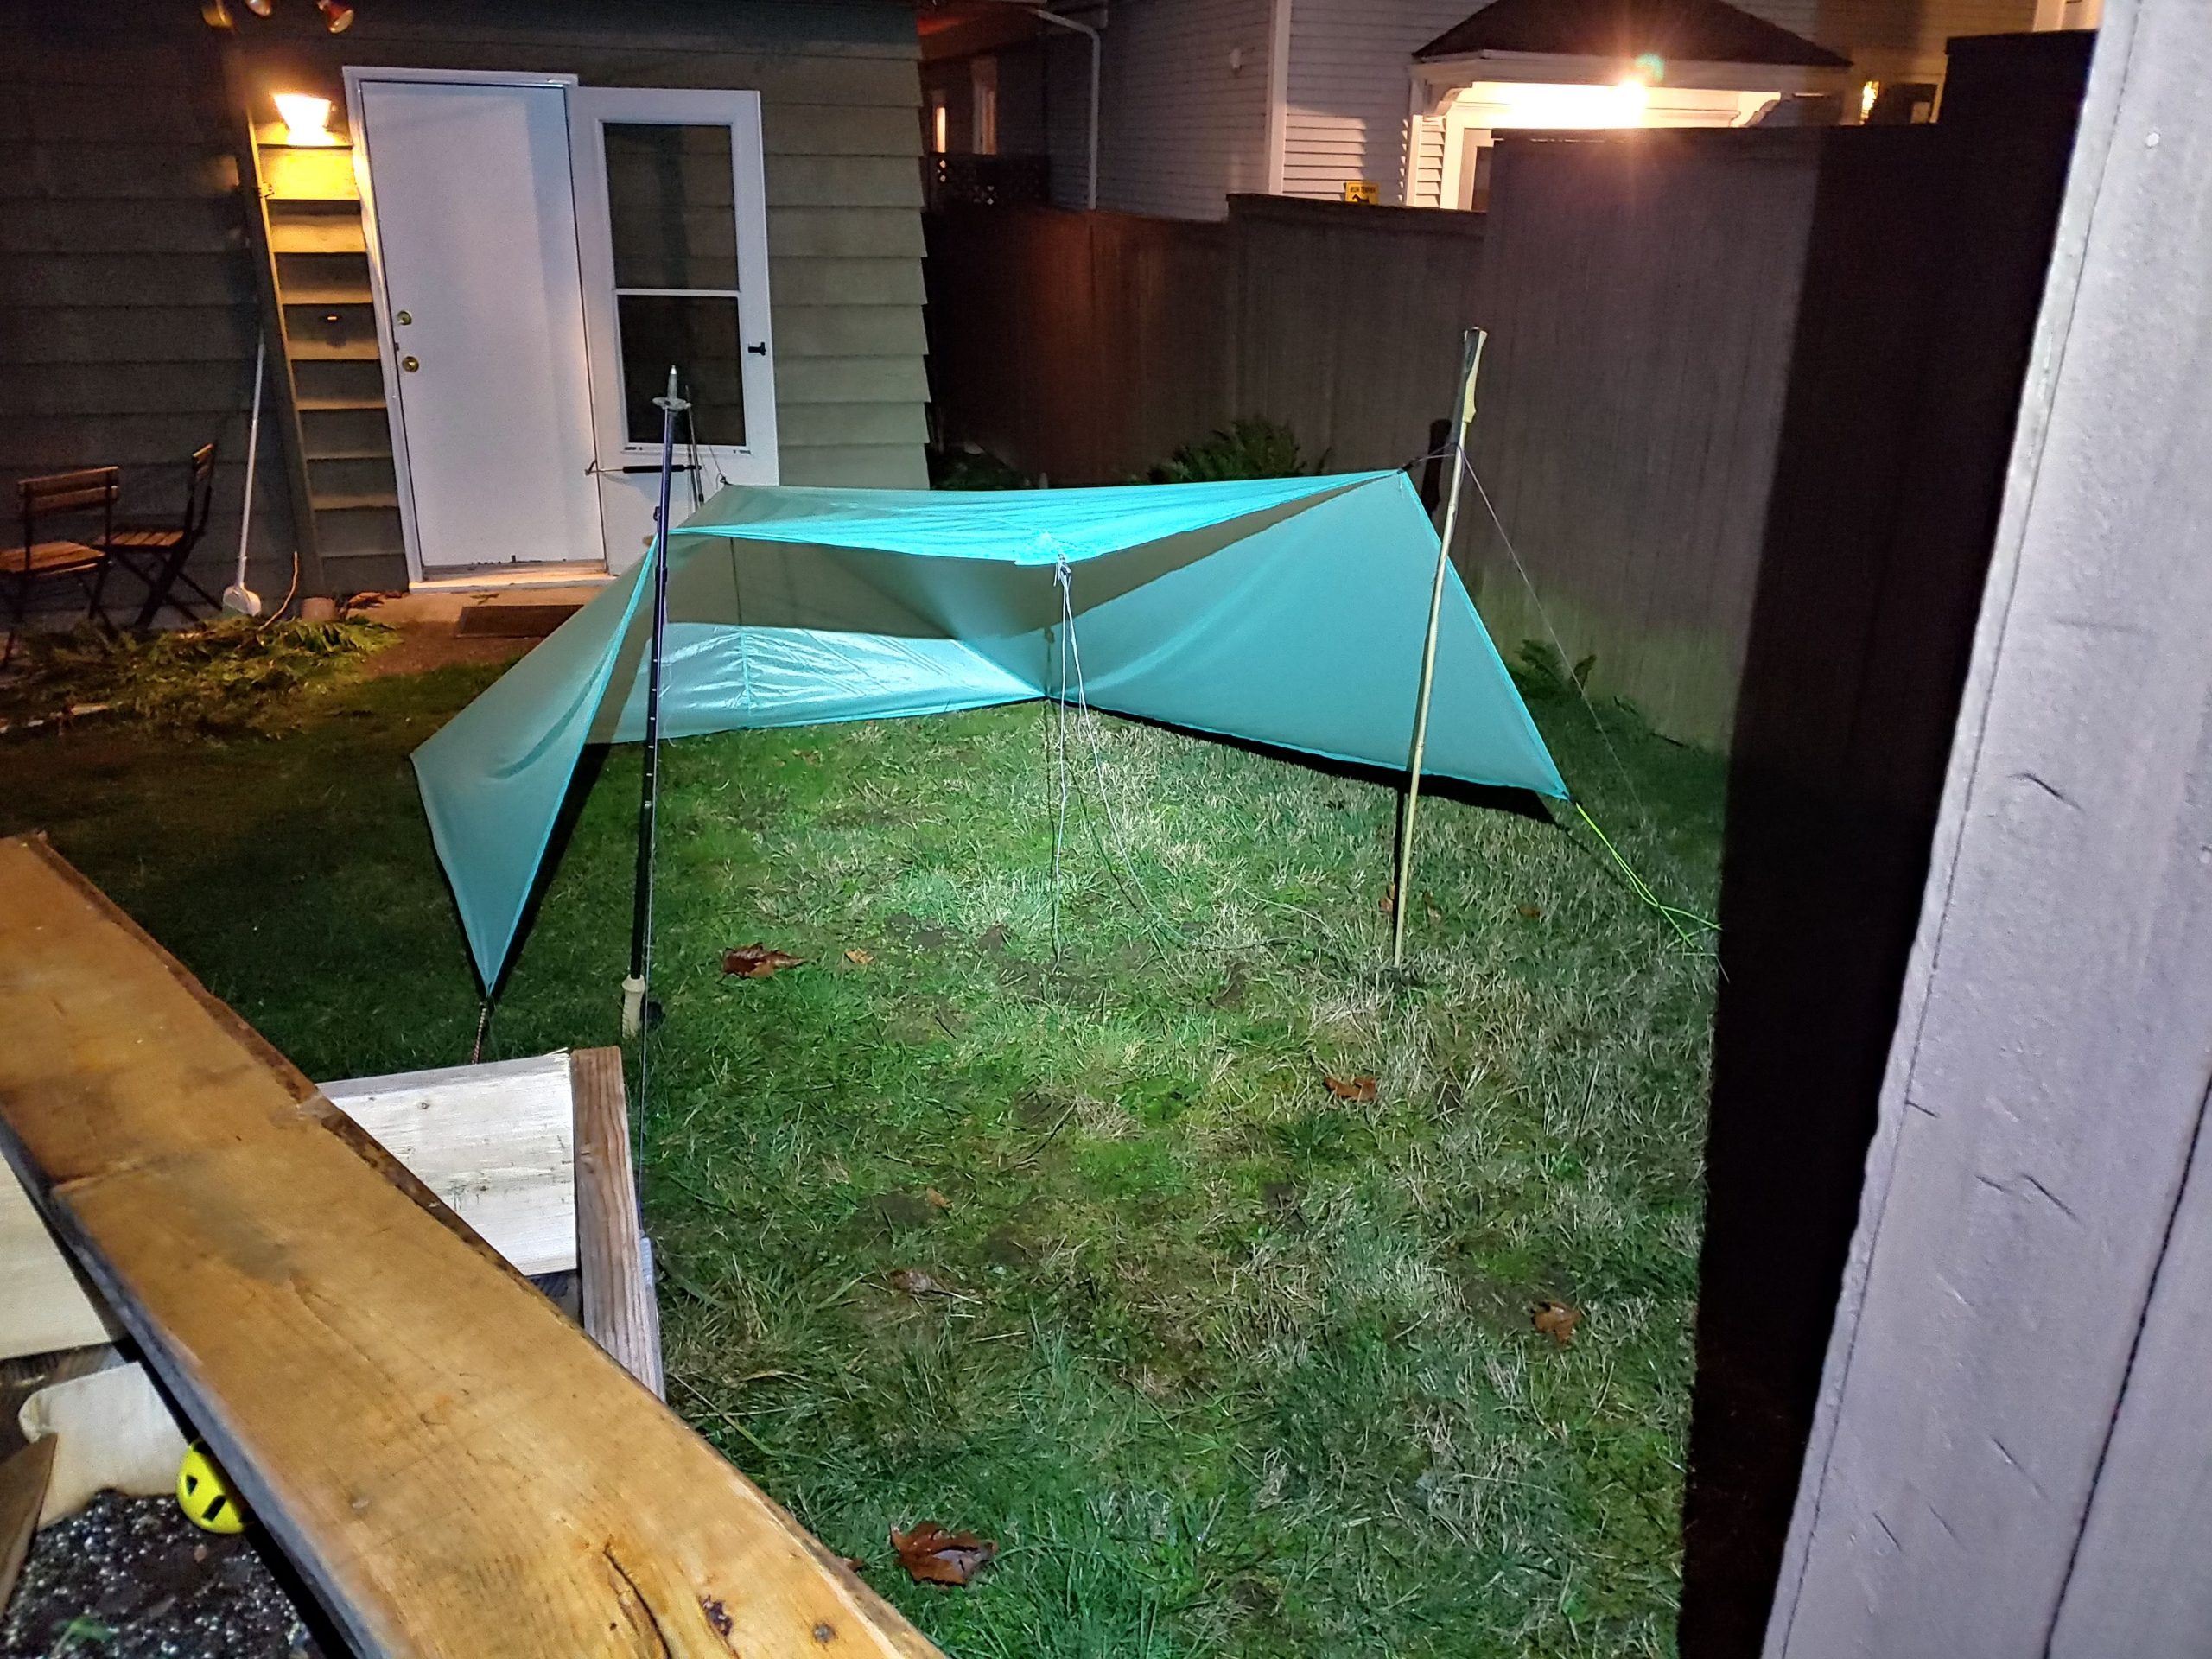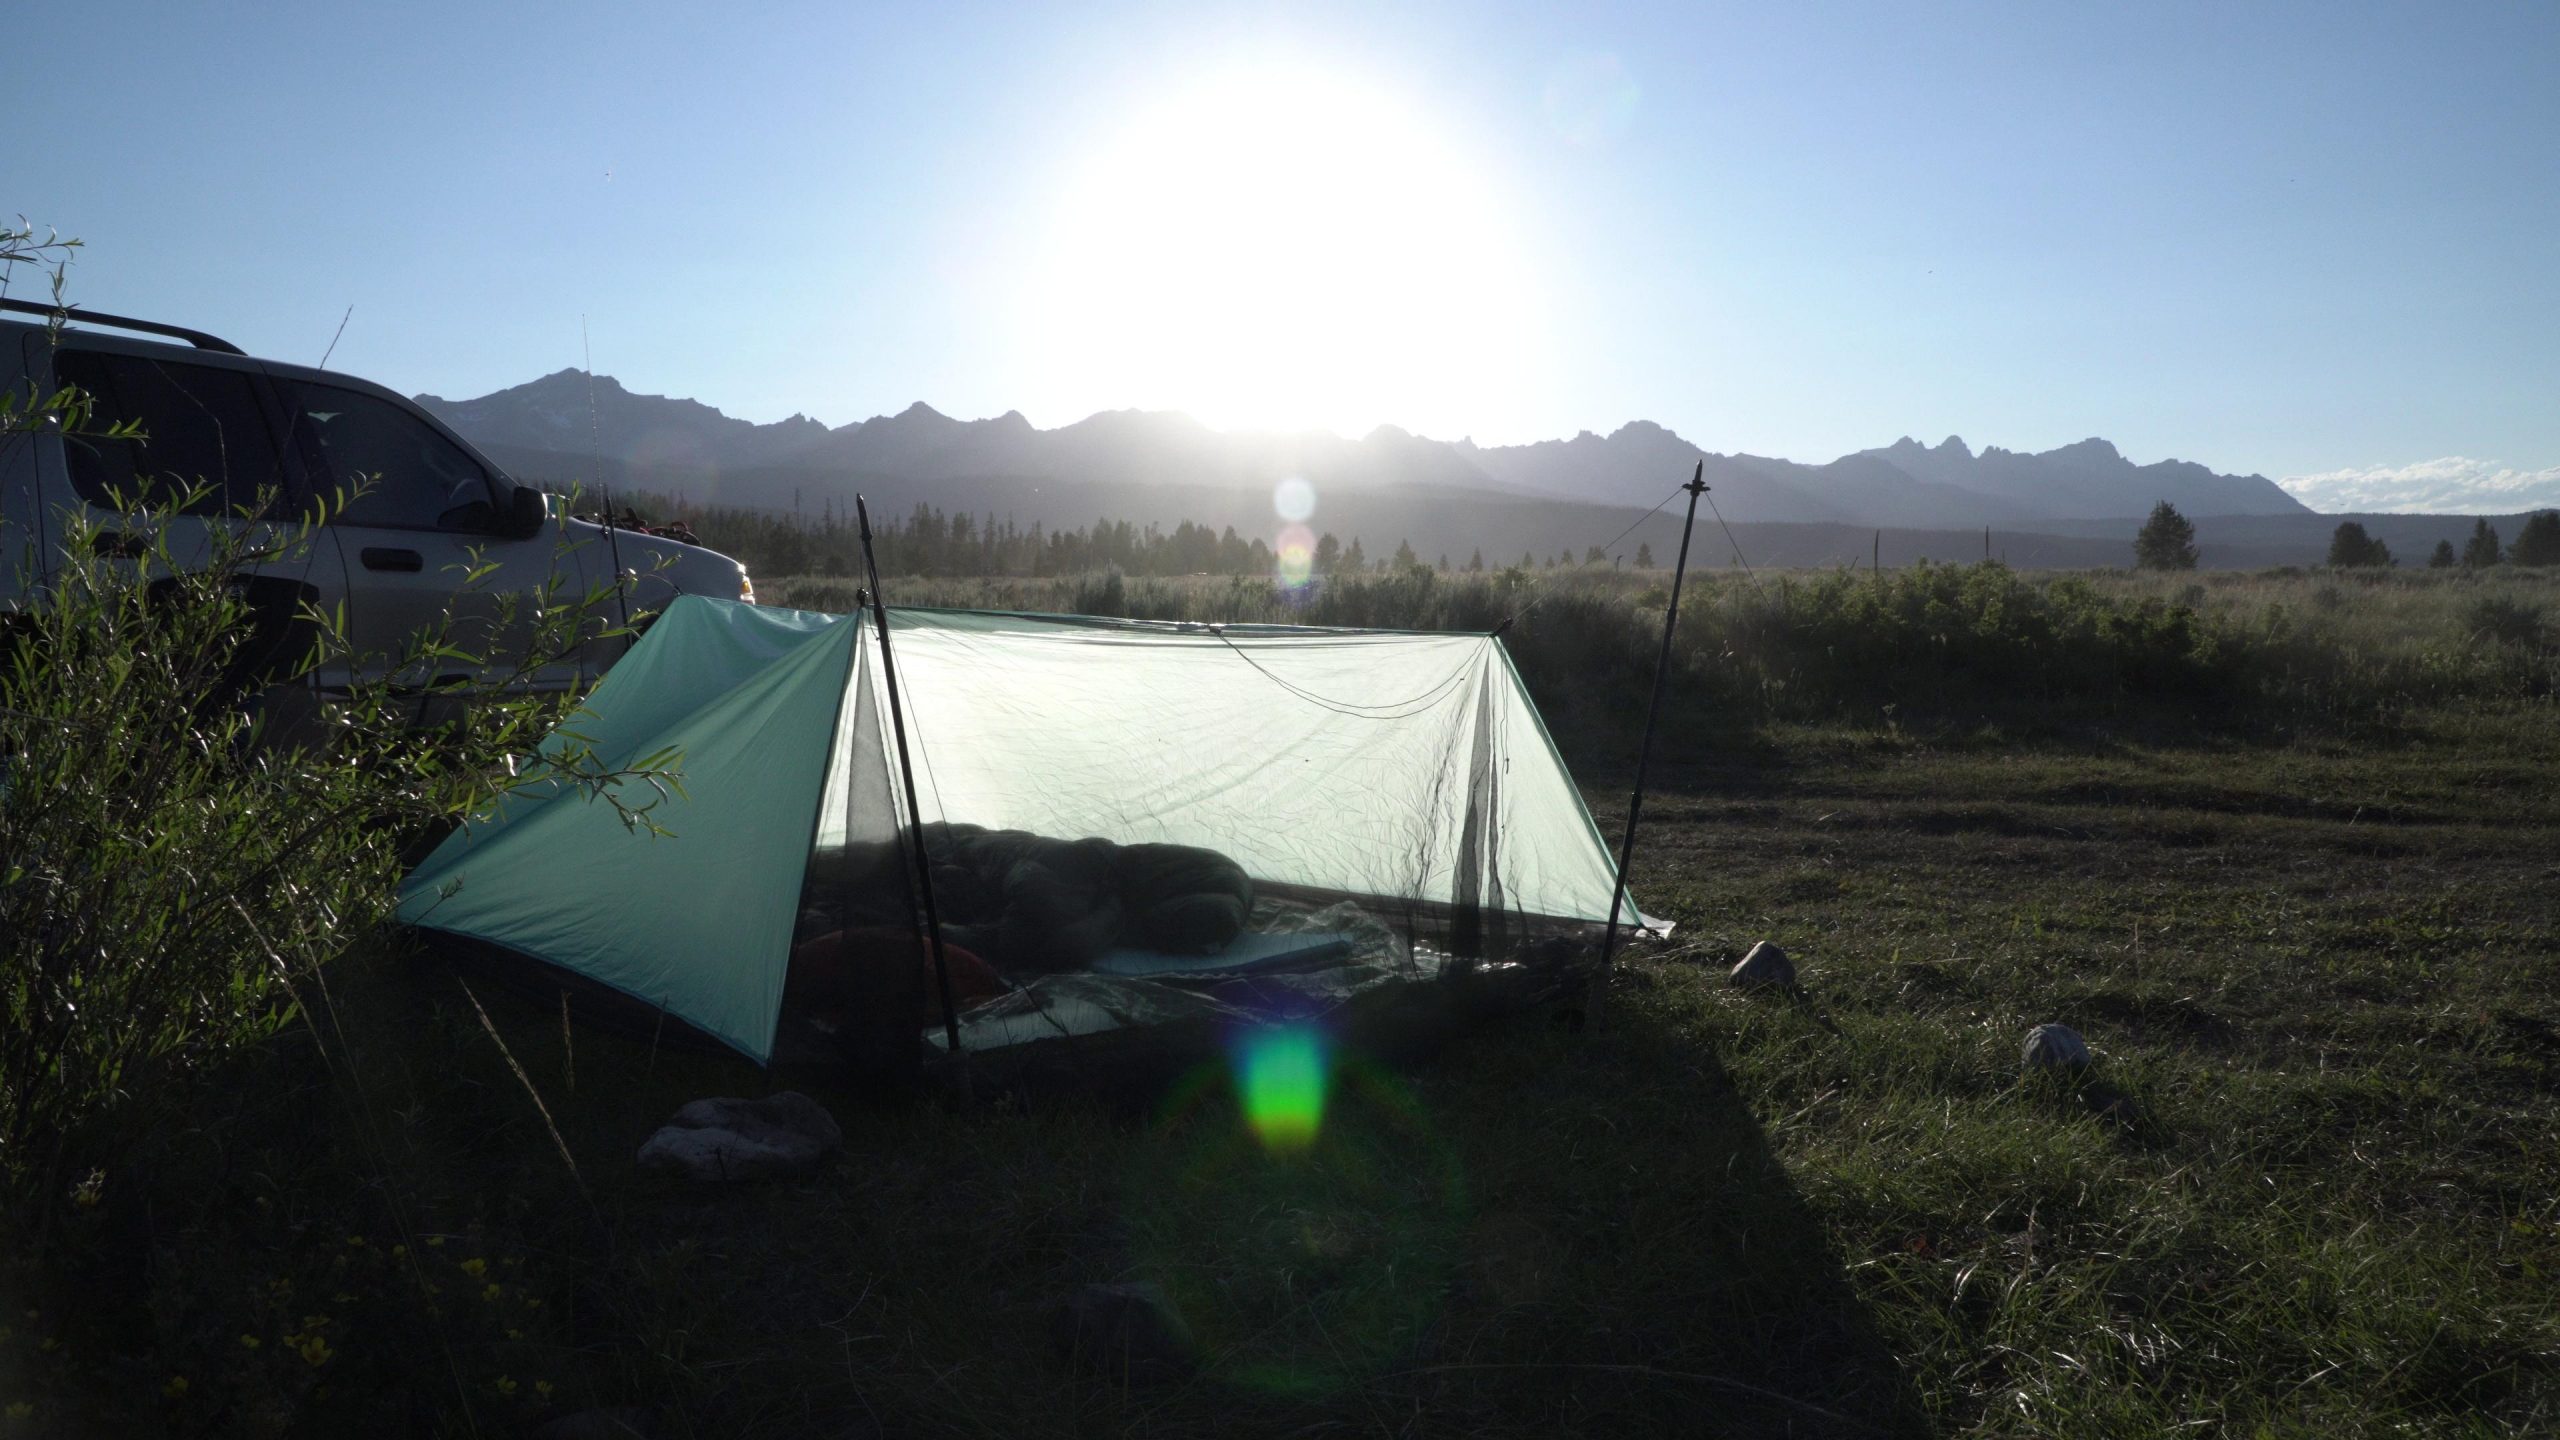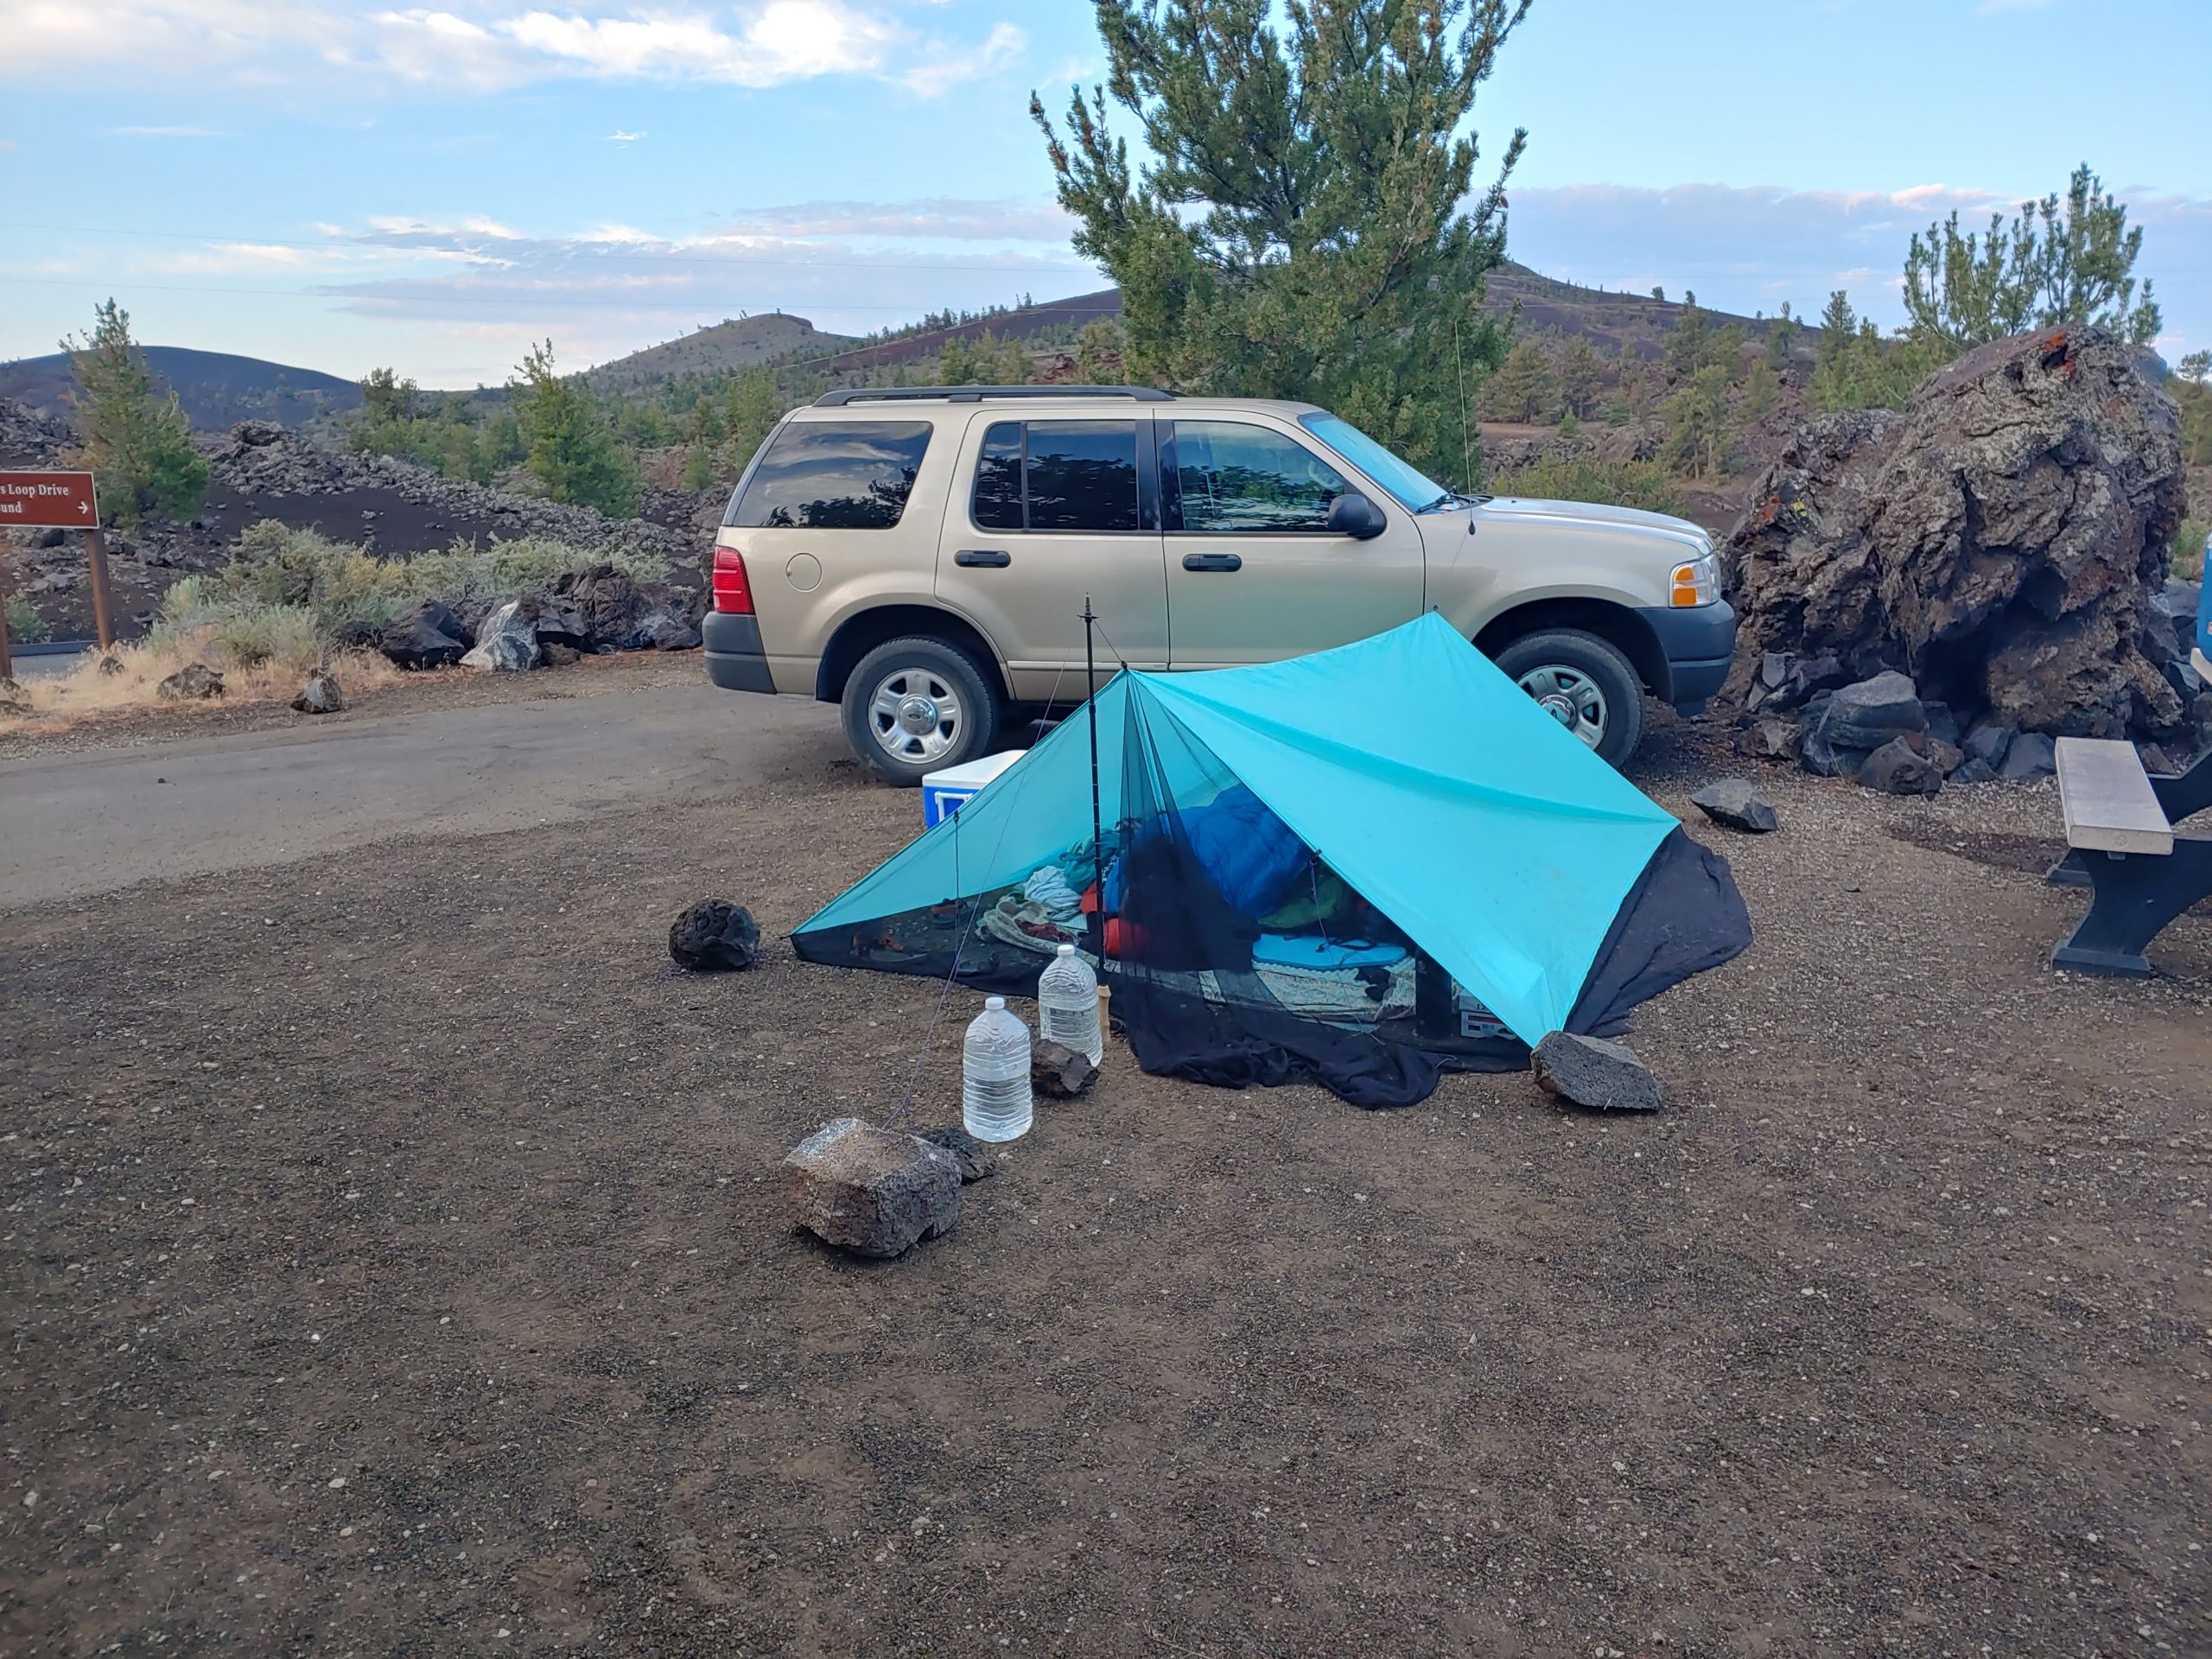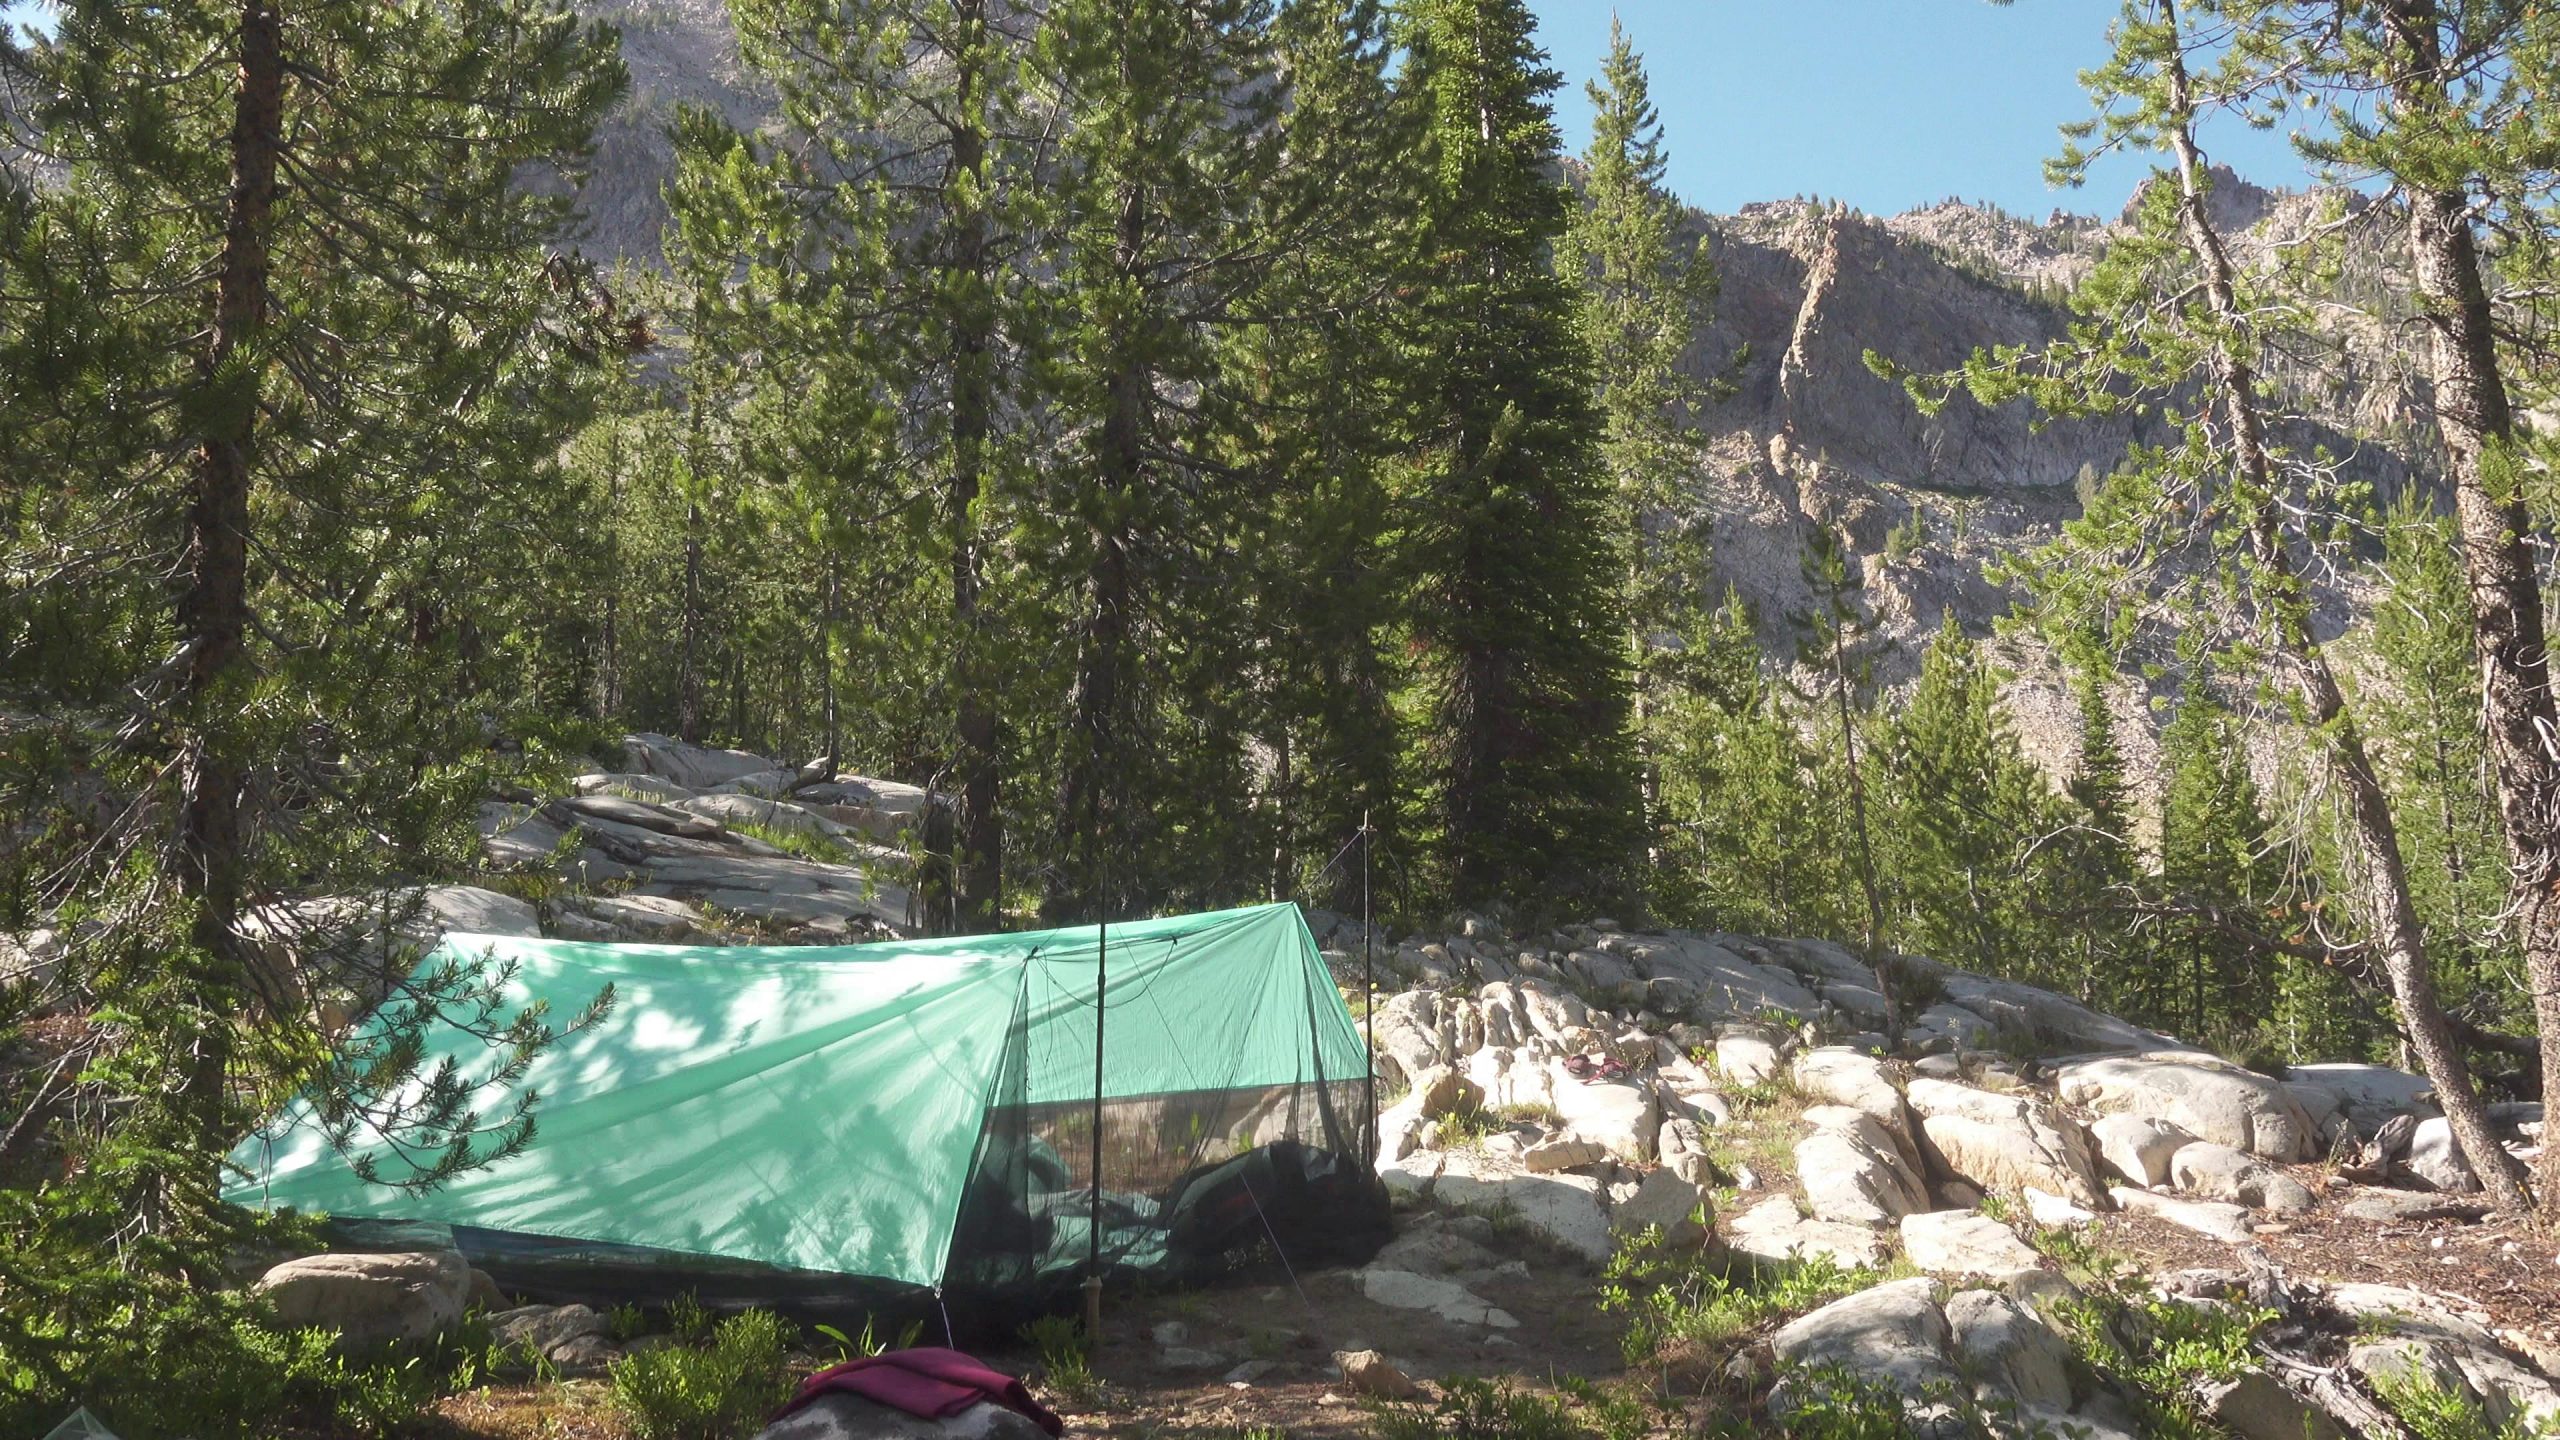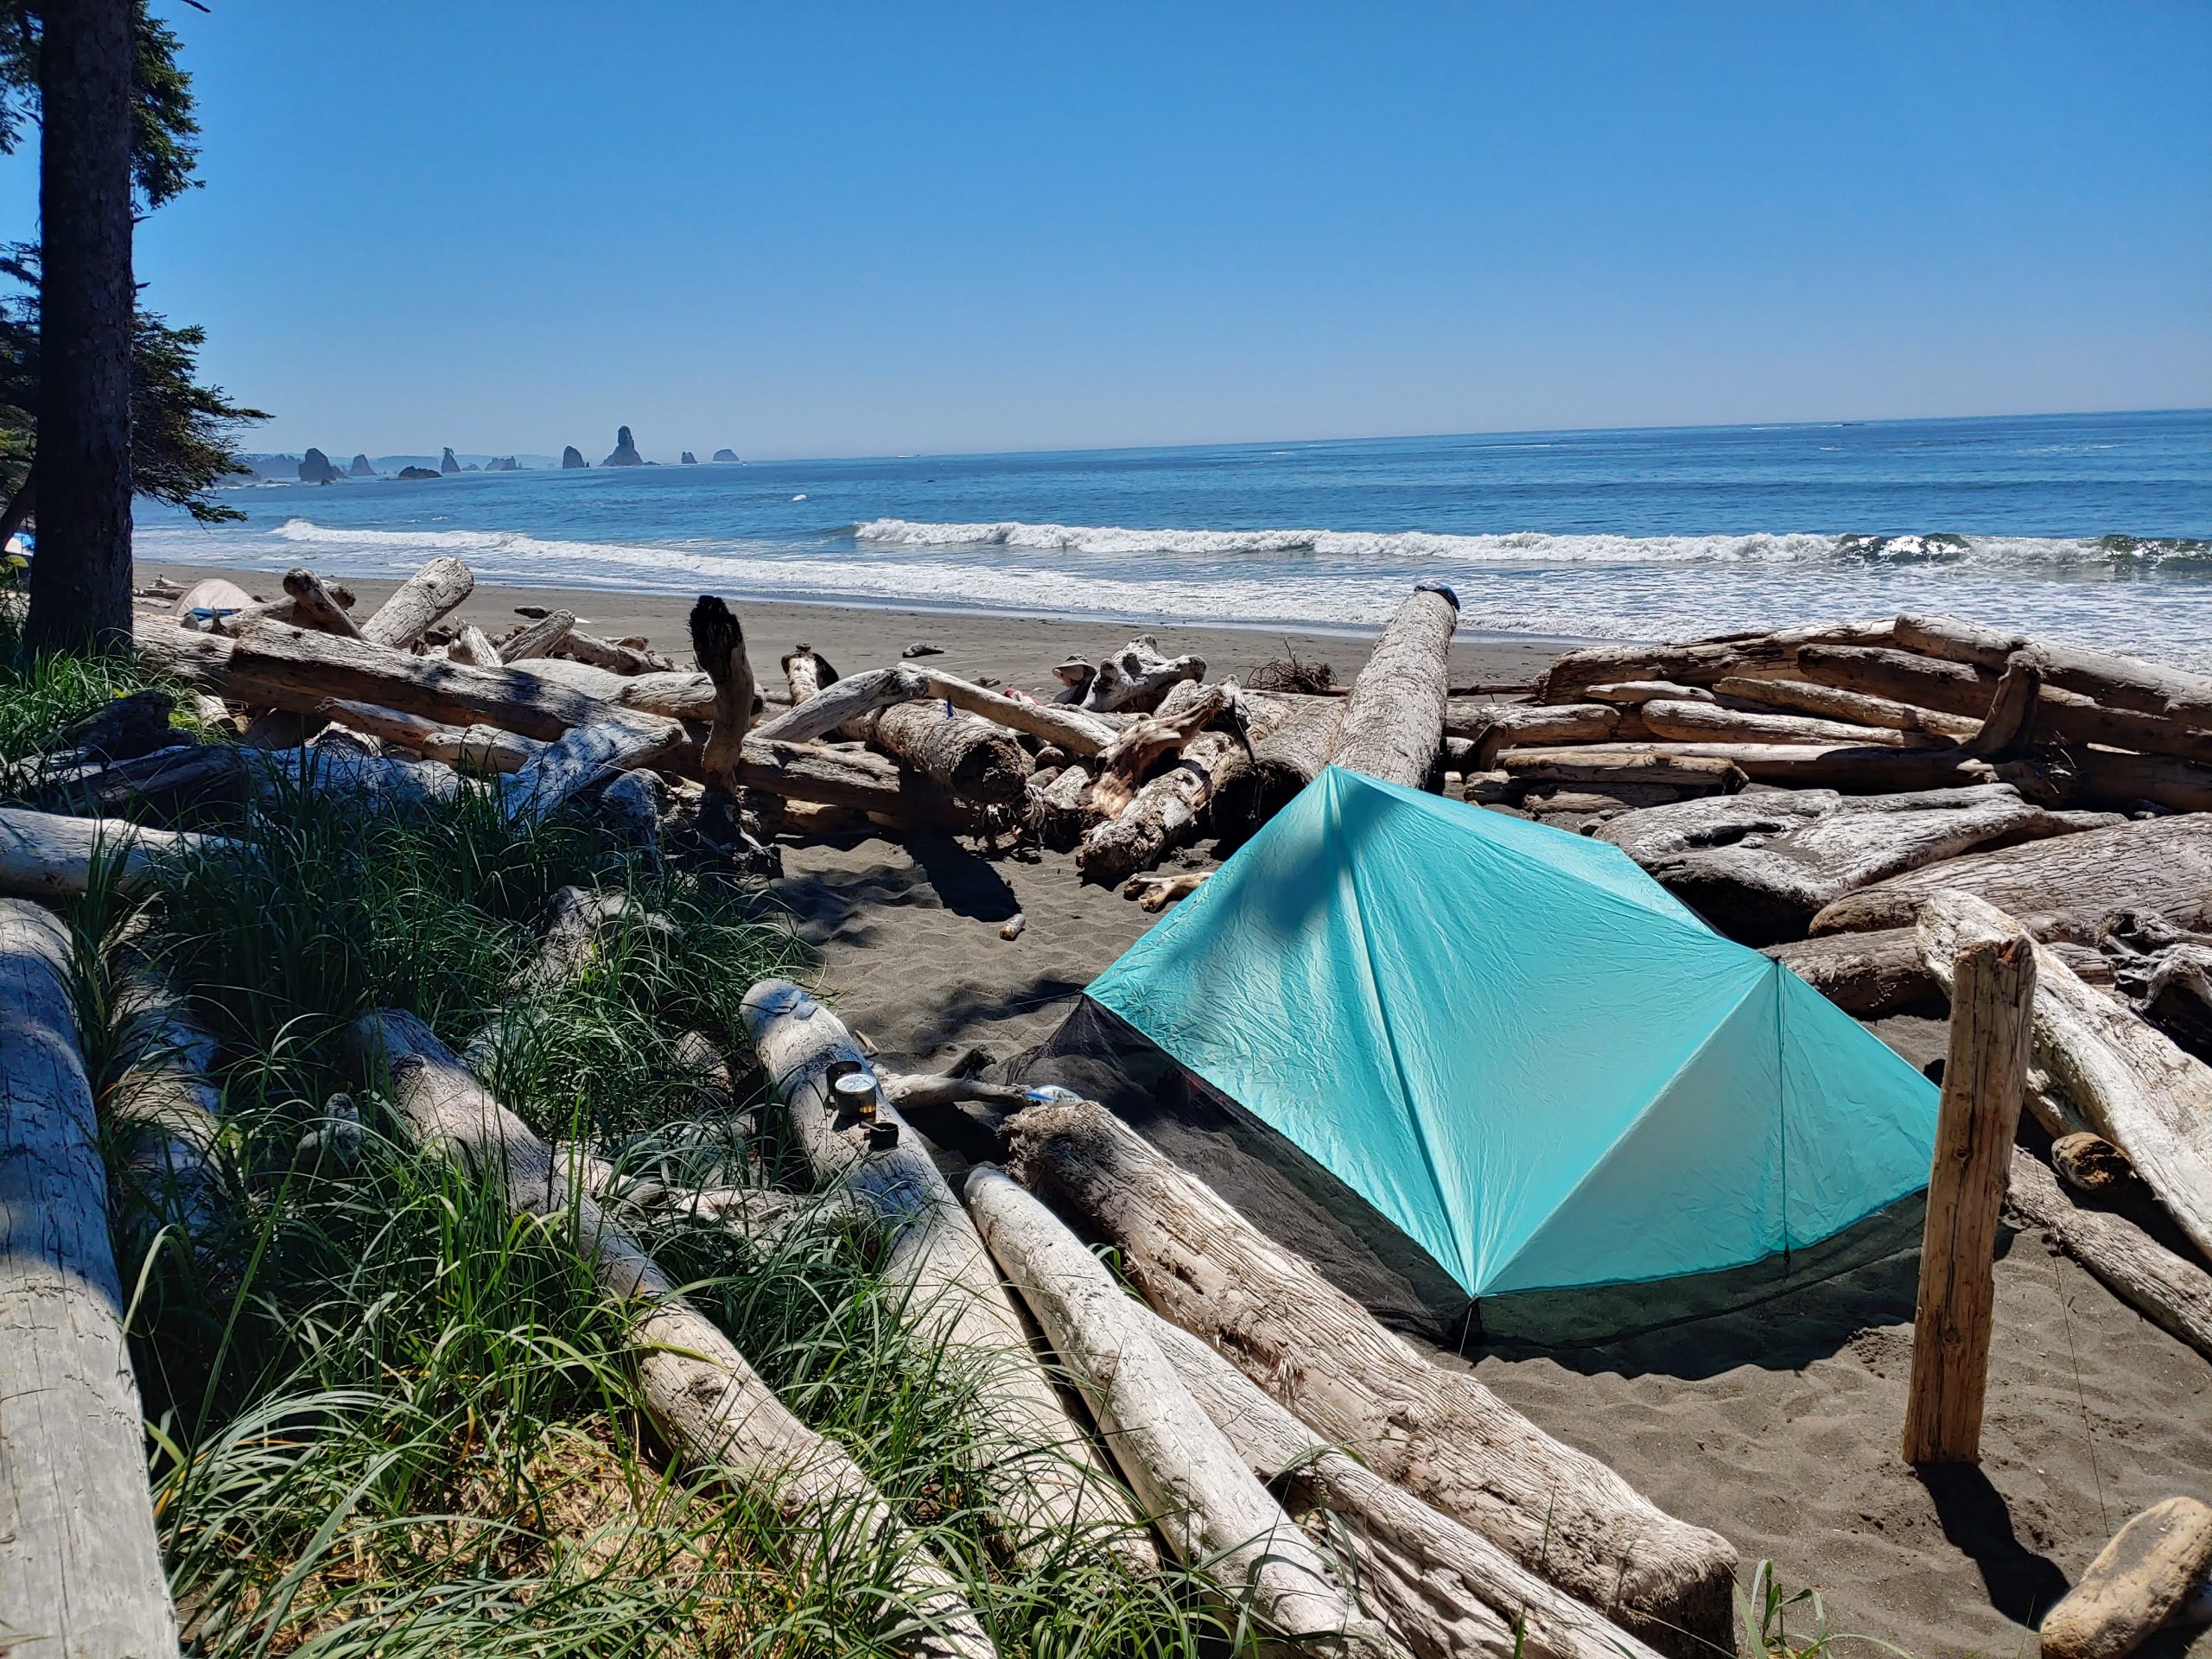
Design Intentions:
— Mostly for summer bug protection in fair weather
— Easy entry / exit
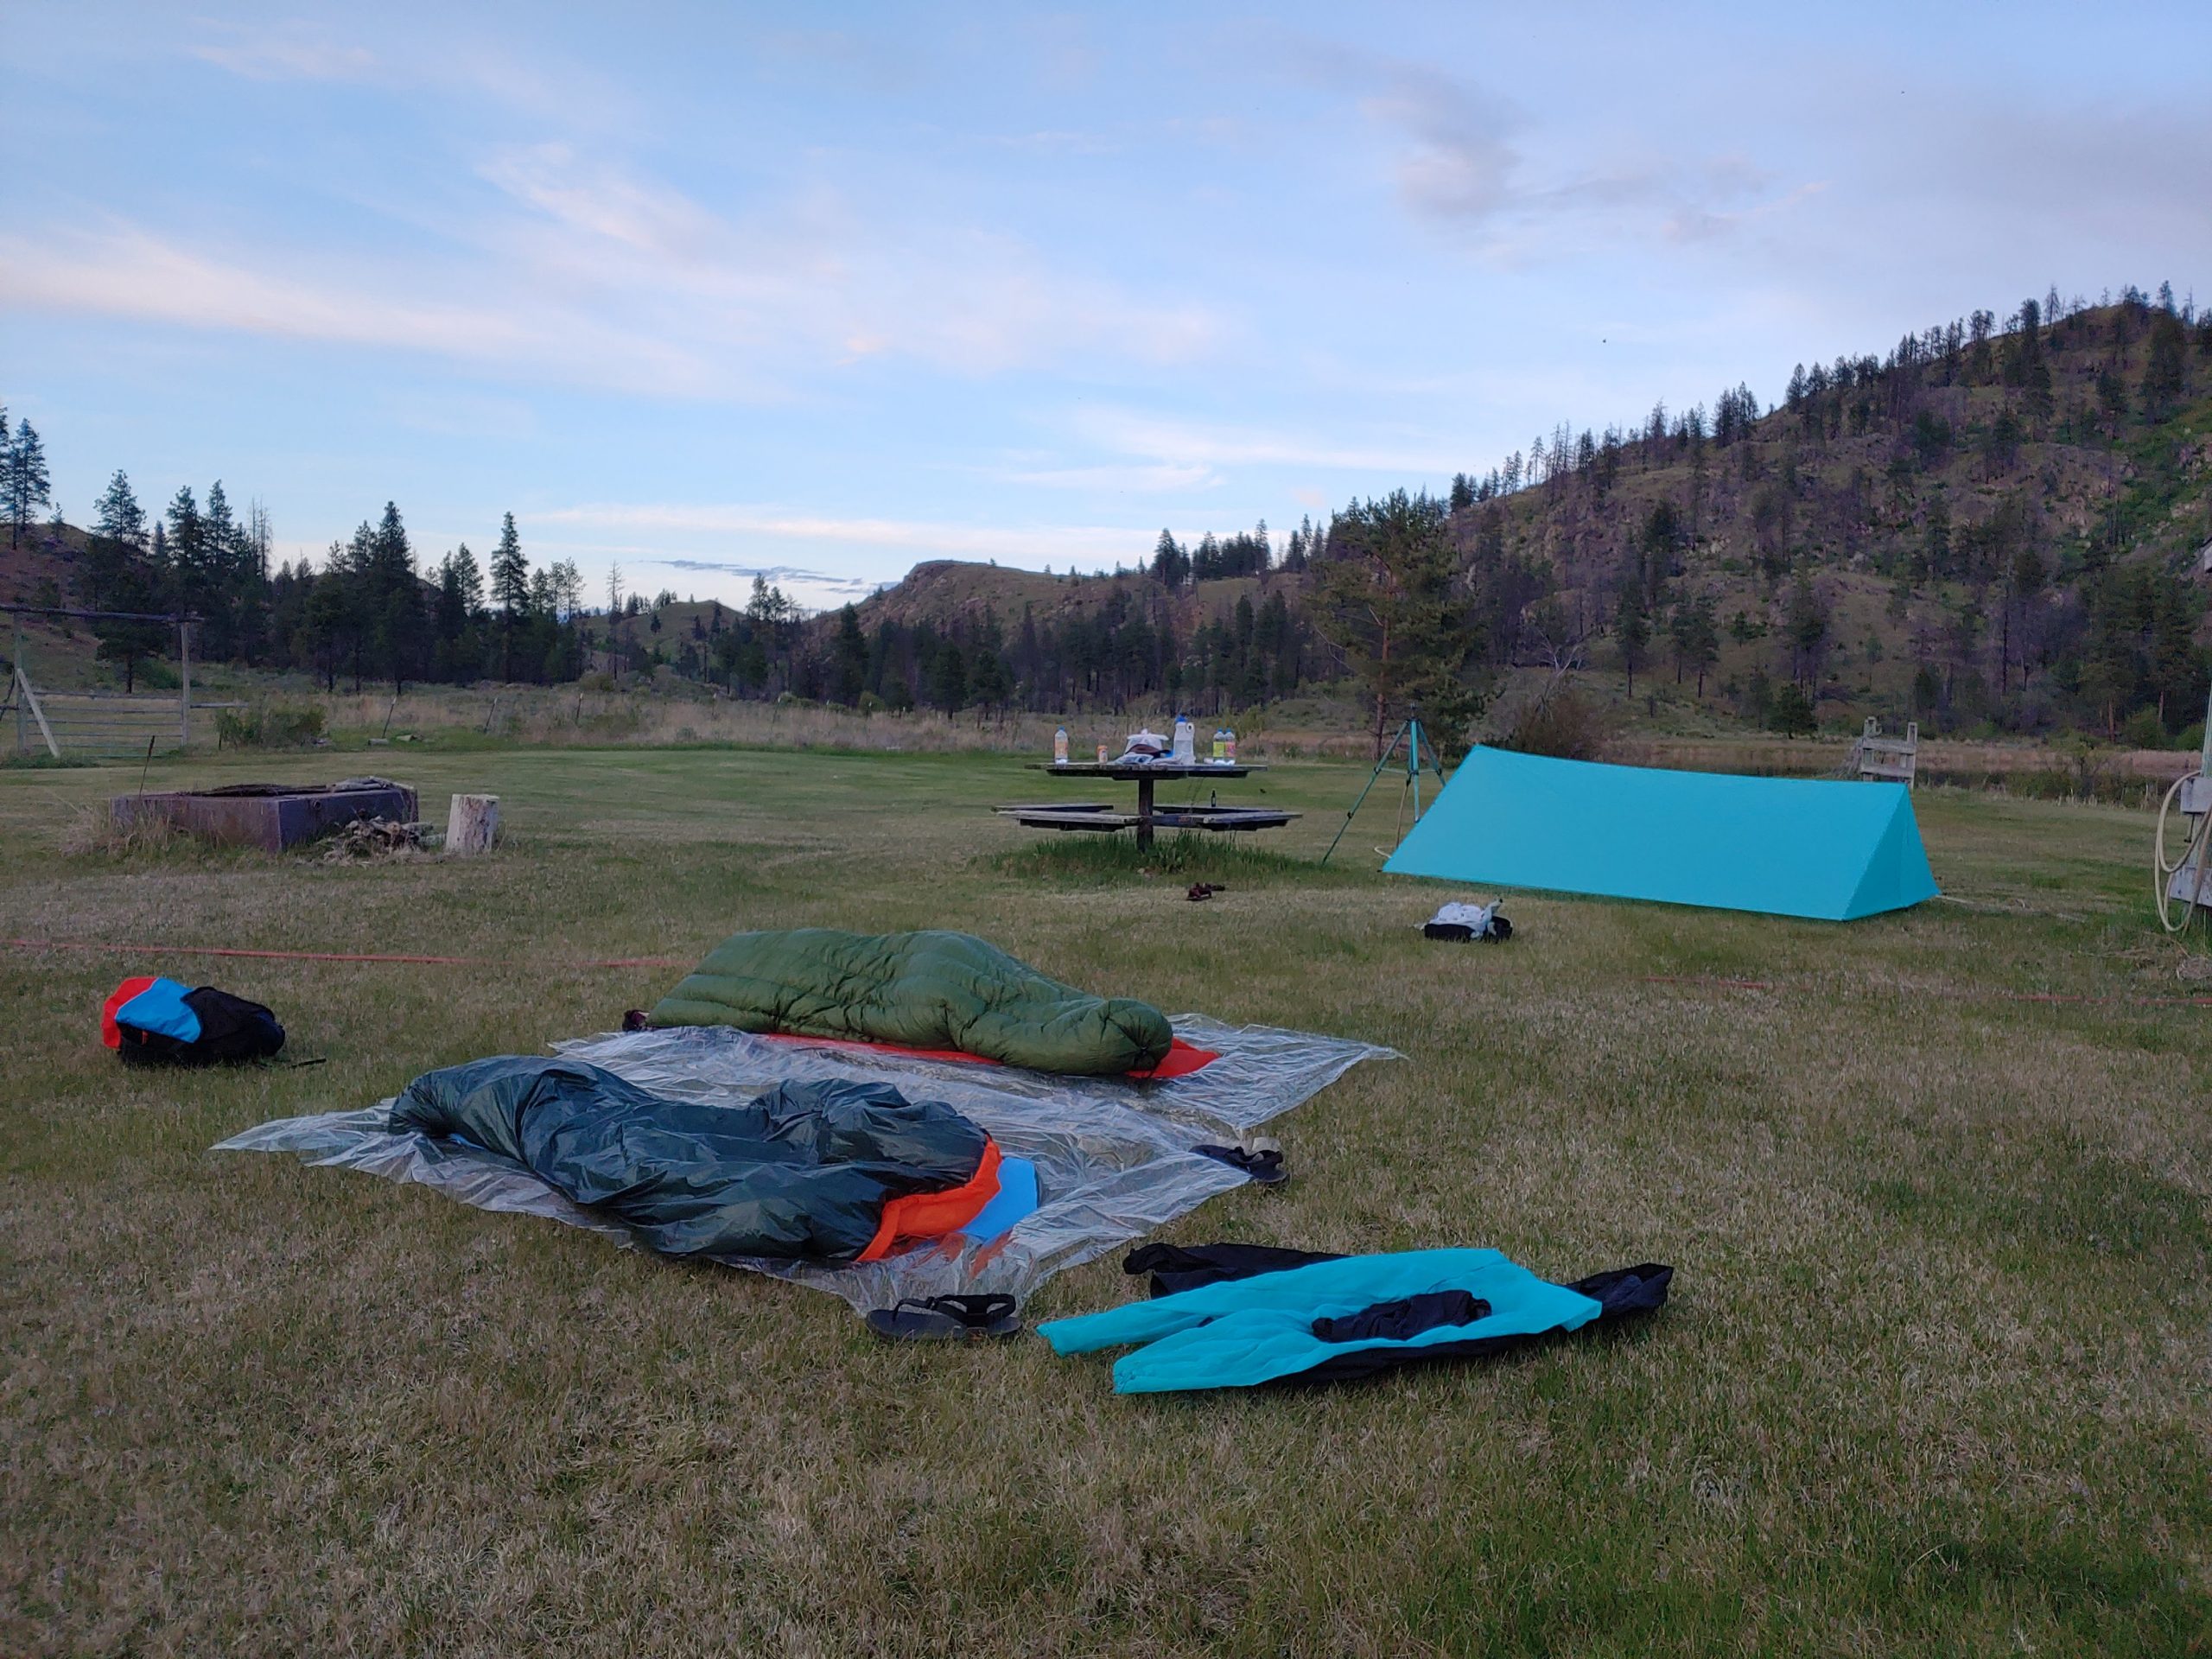
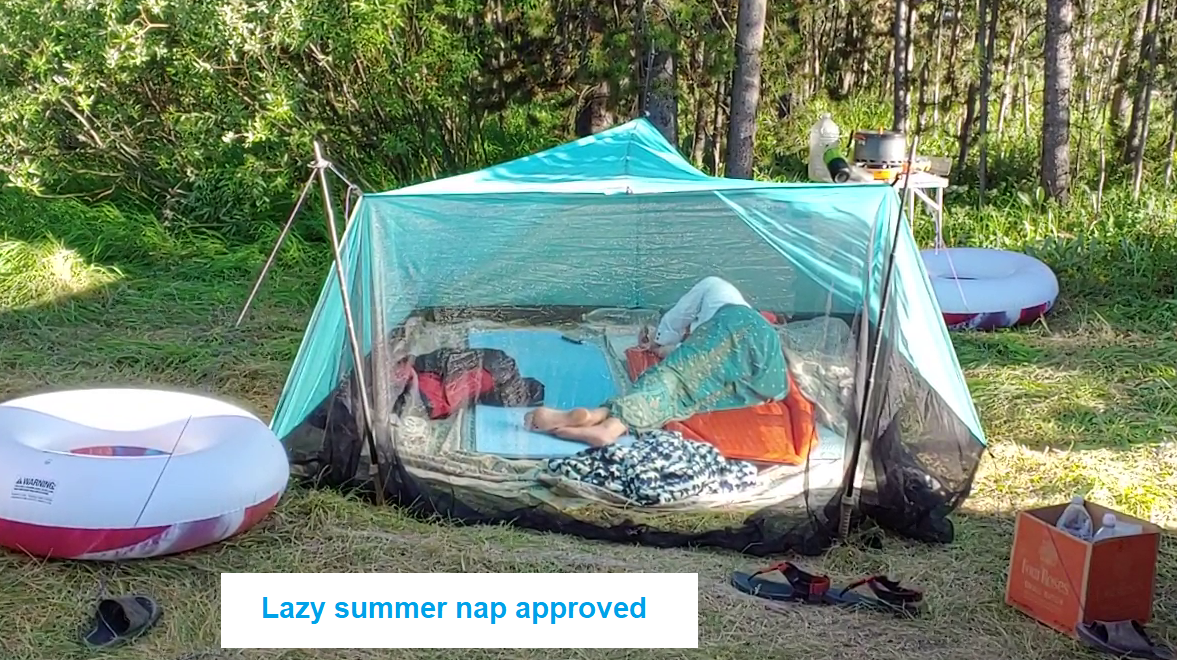
— Extremely spacious (way more than a tent)
— Flexibility to handle a big storm & wind
— It “feels like an enclosed tent and I’m not freaked out about the mountain critters”
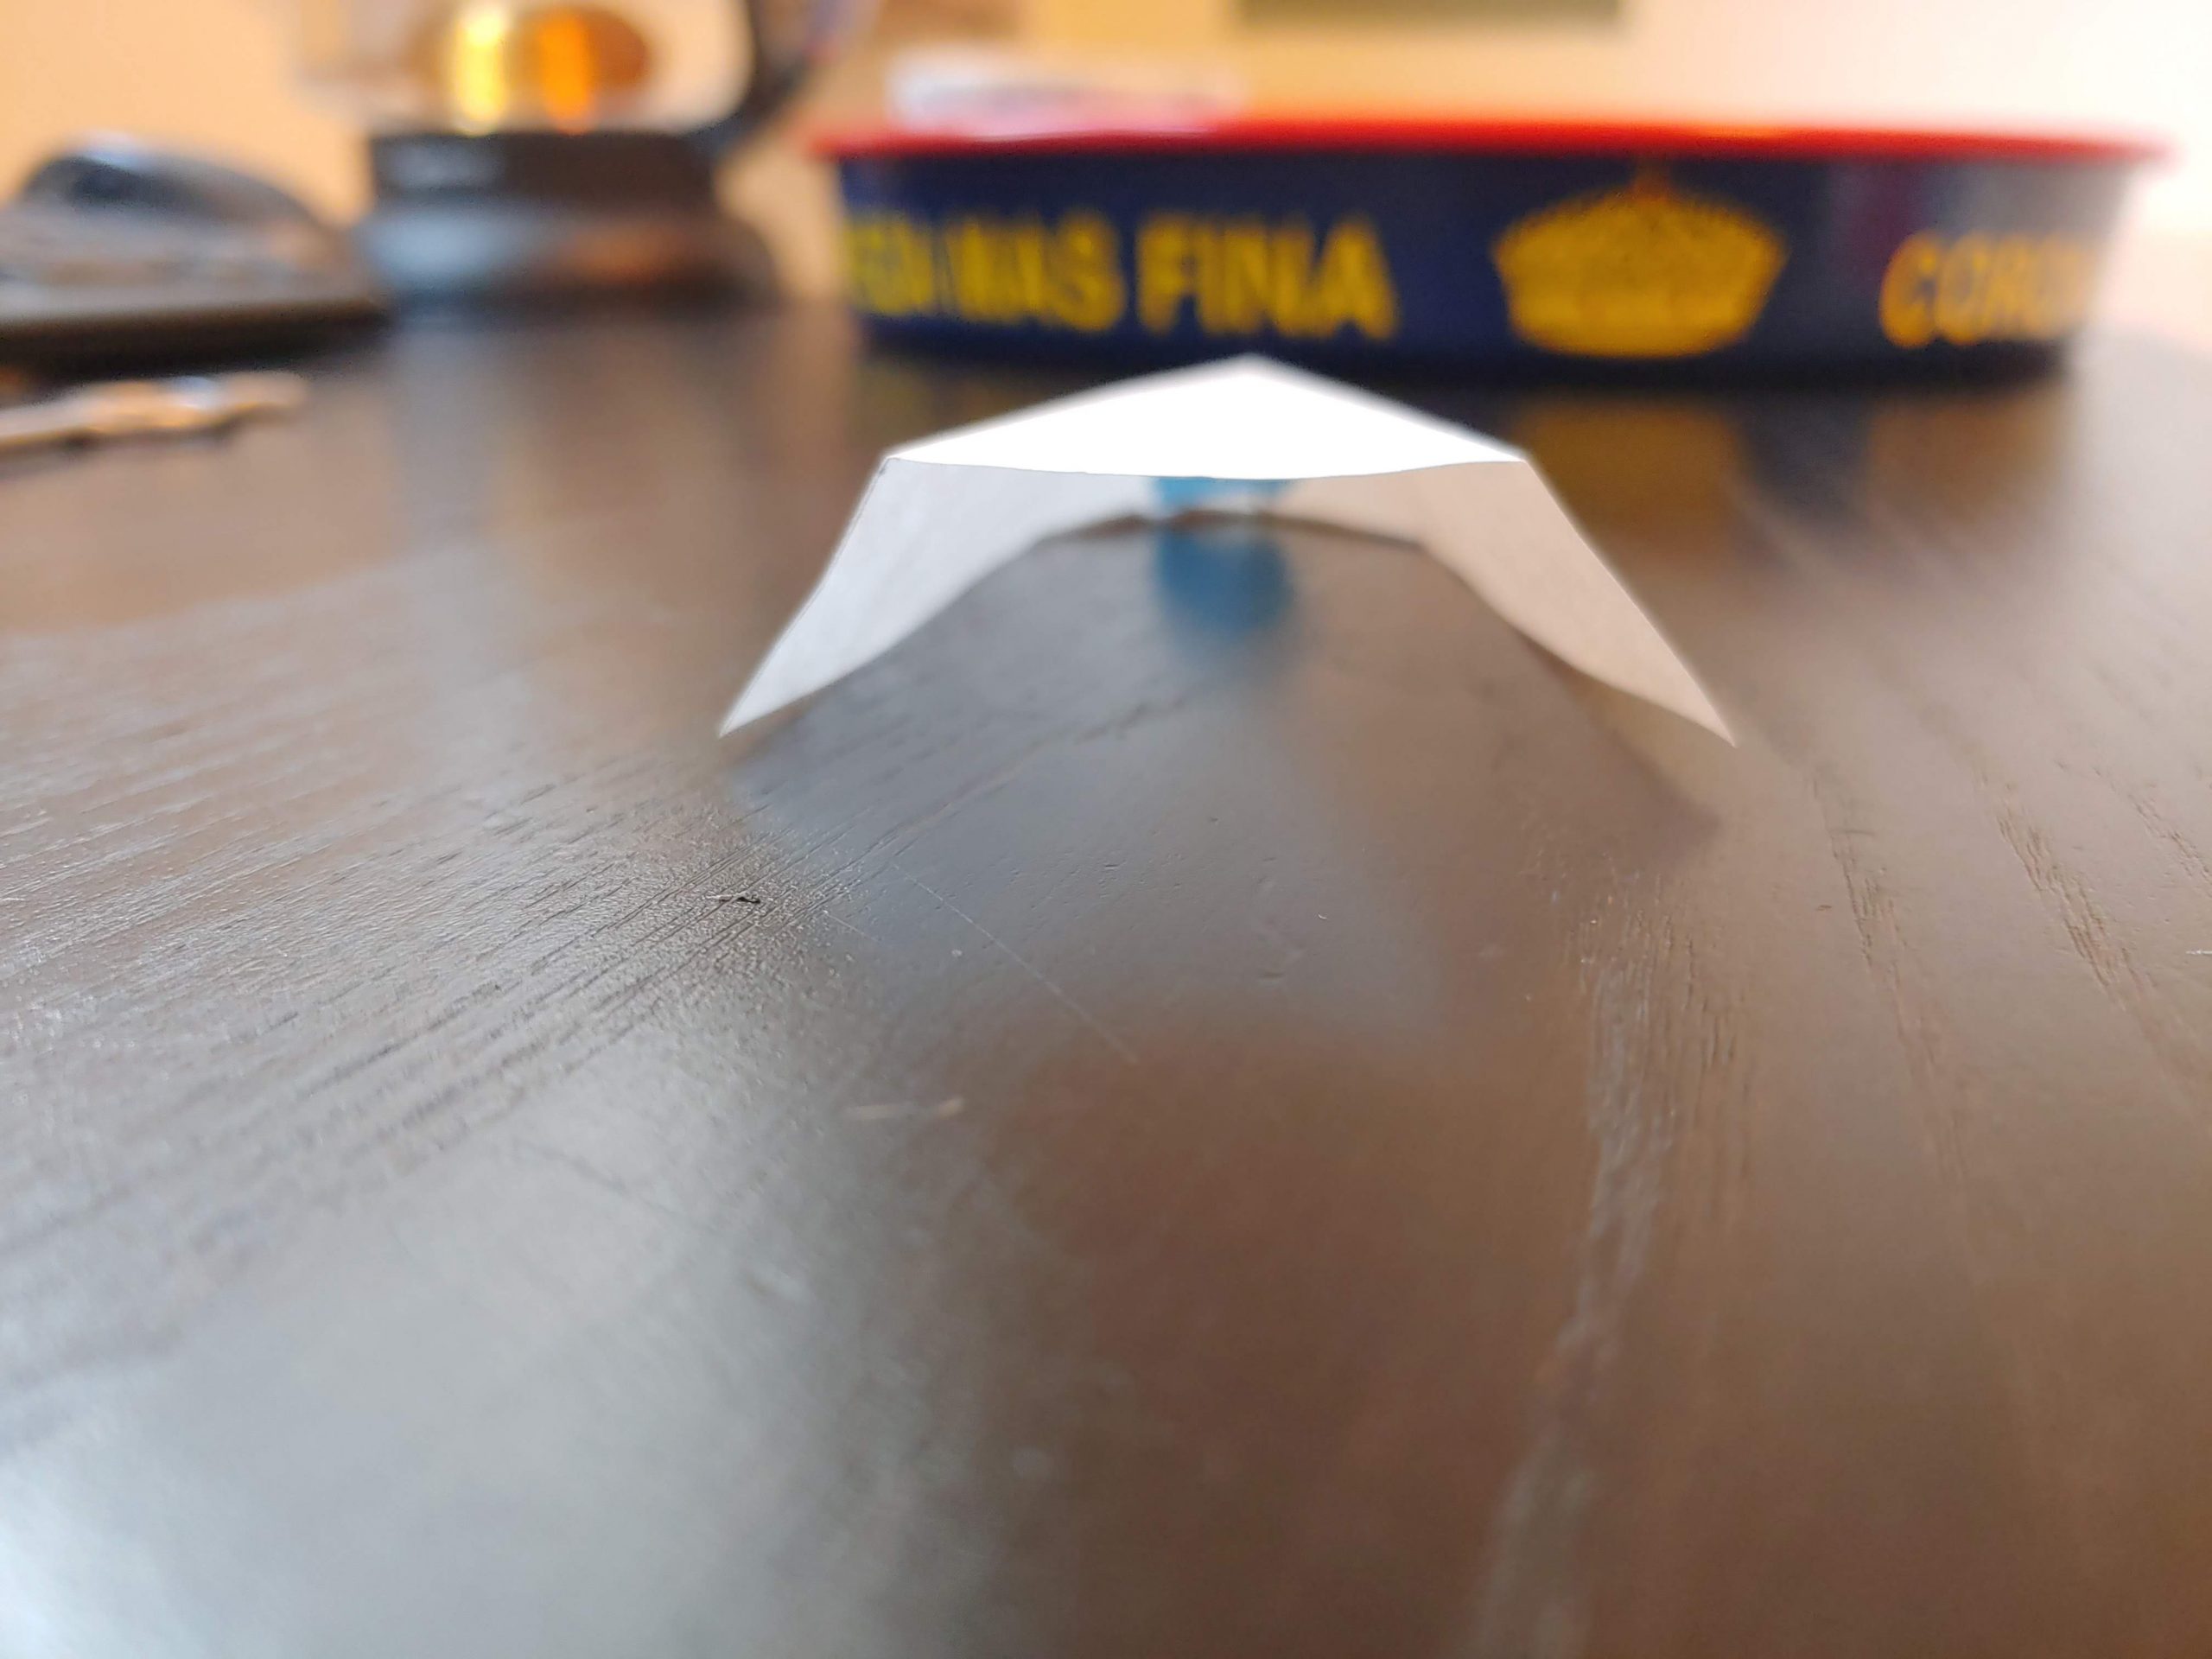
— View out of the front
Imgur Album:
Video:
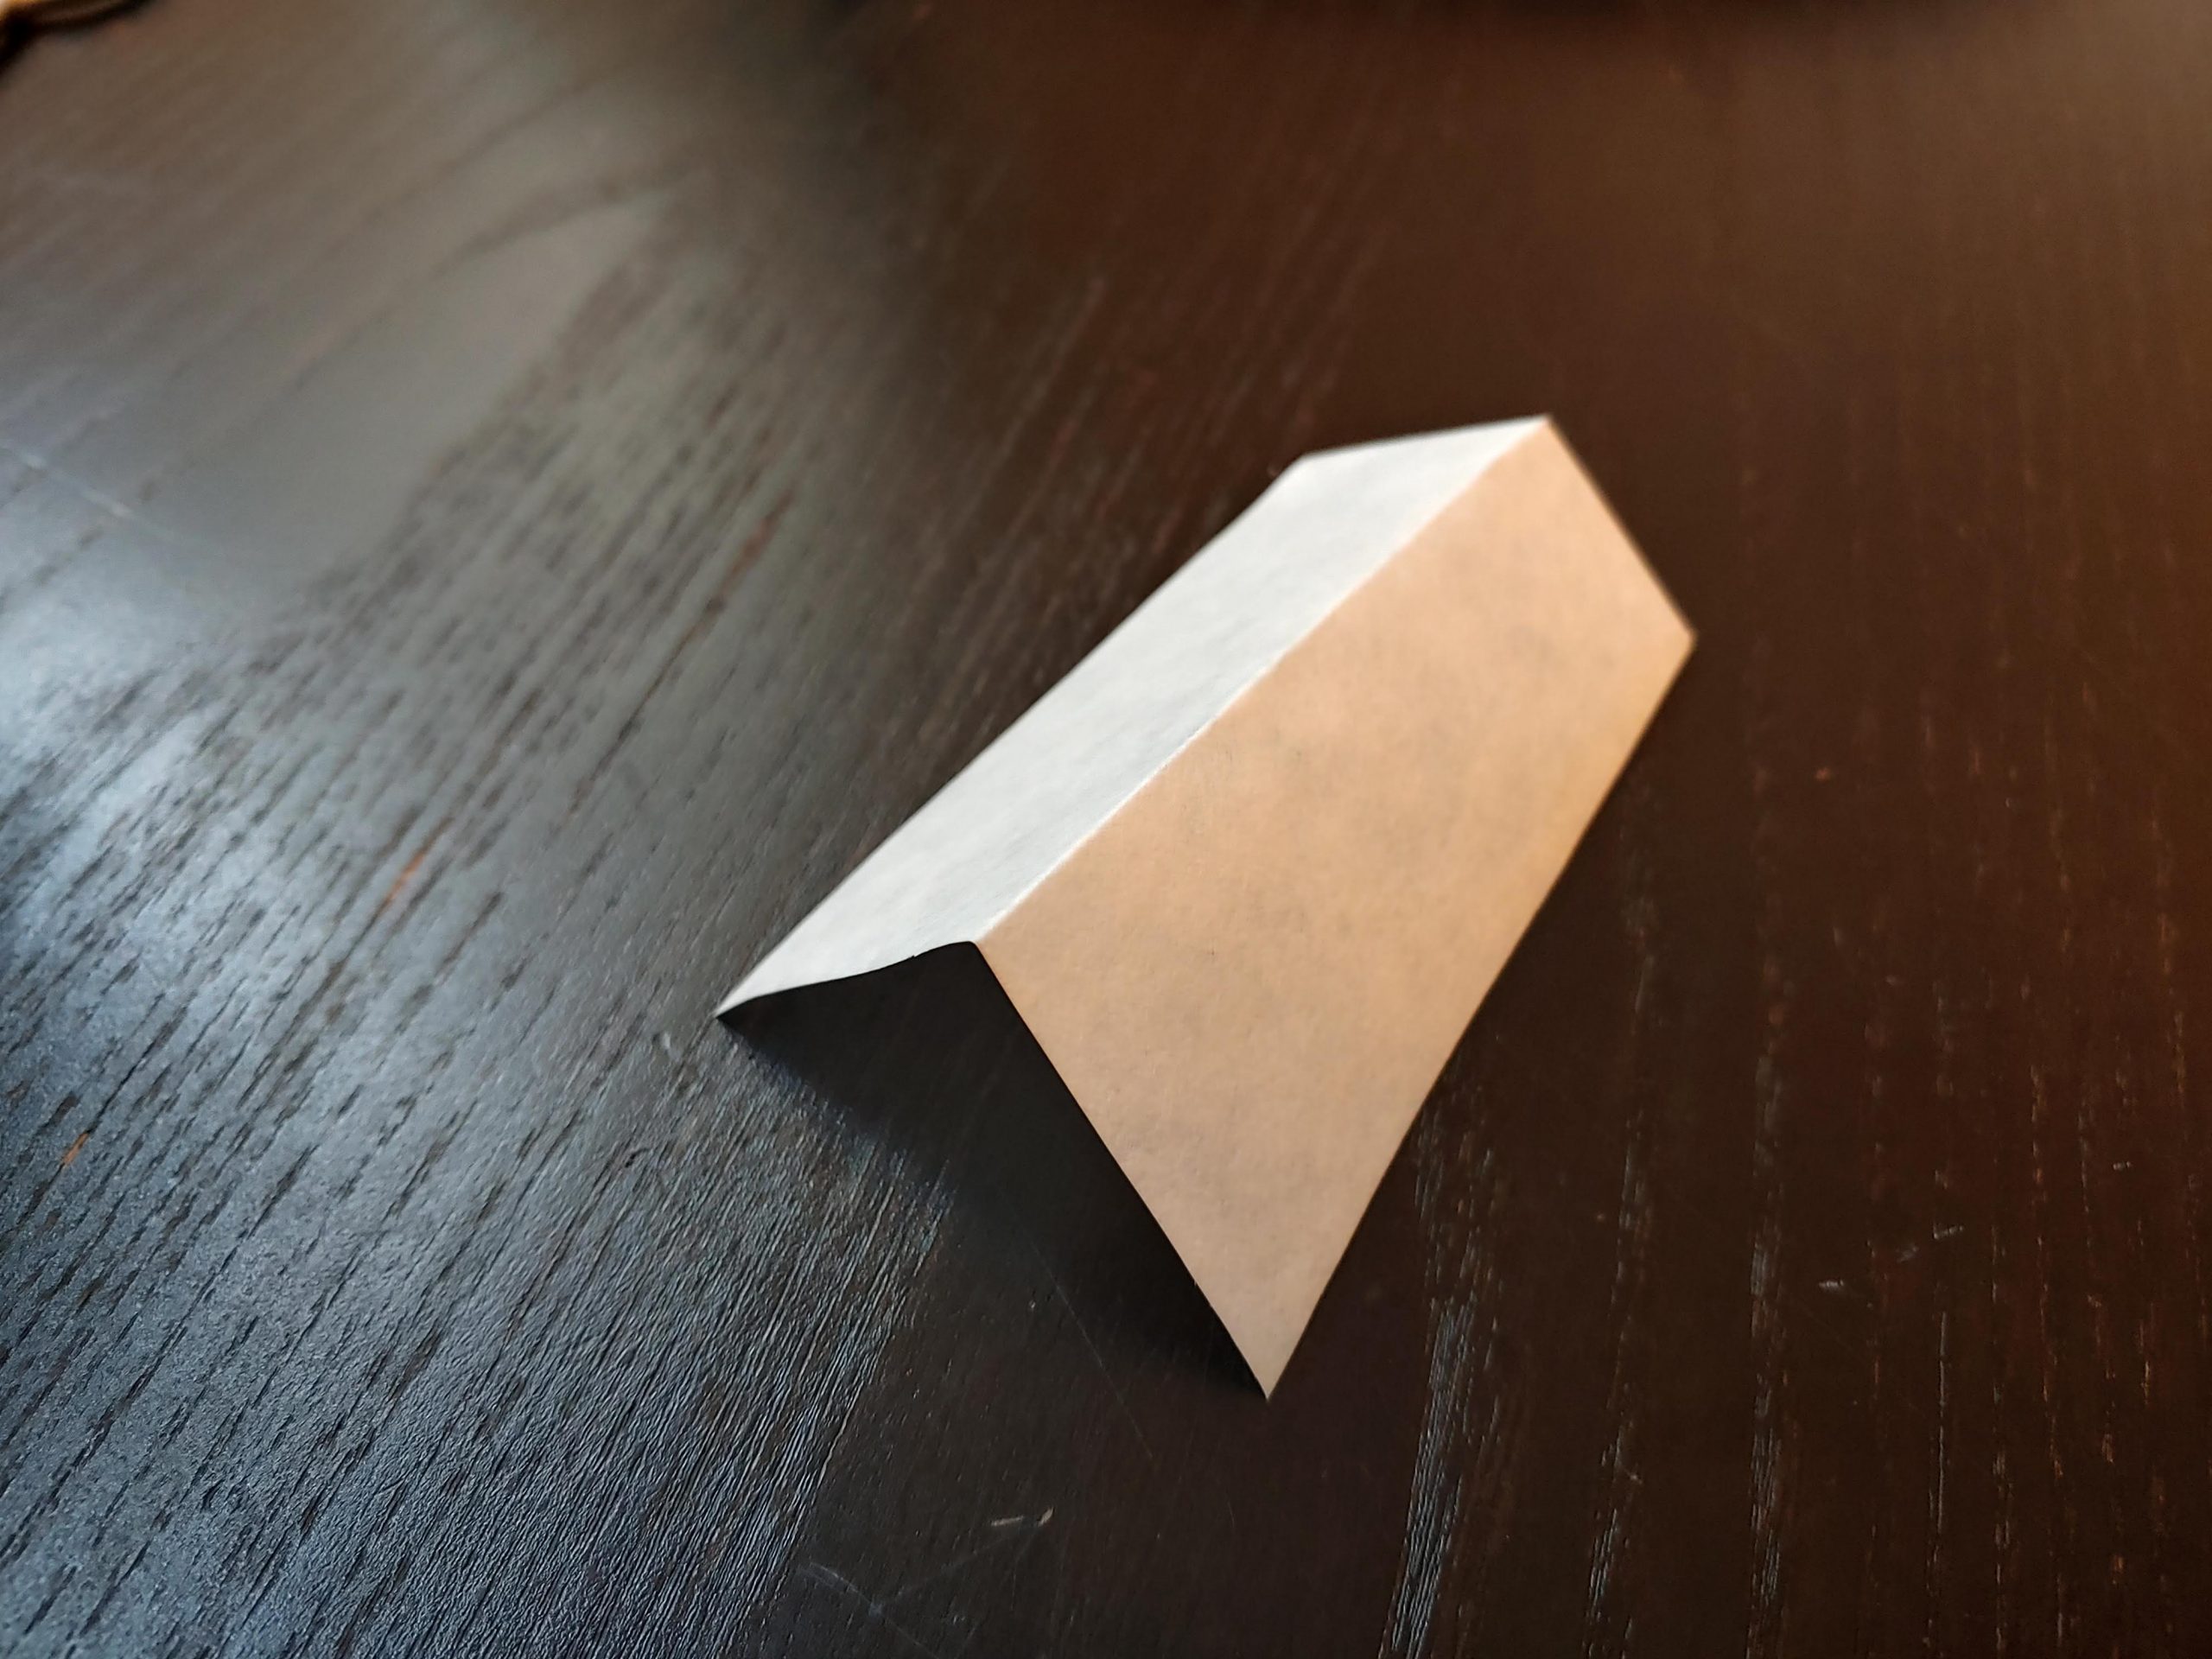
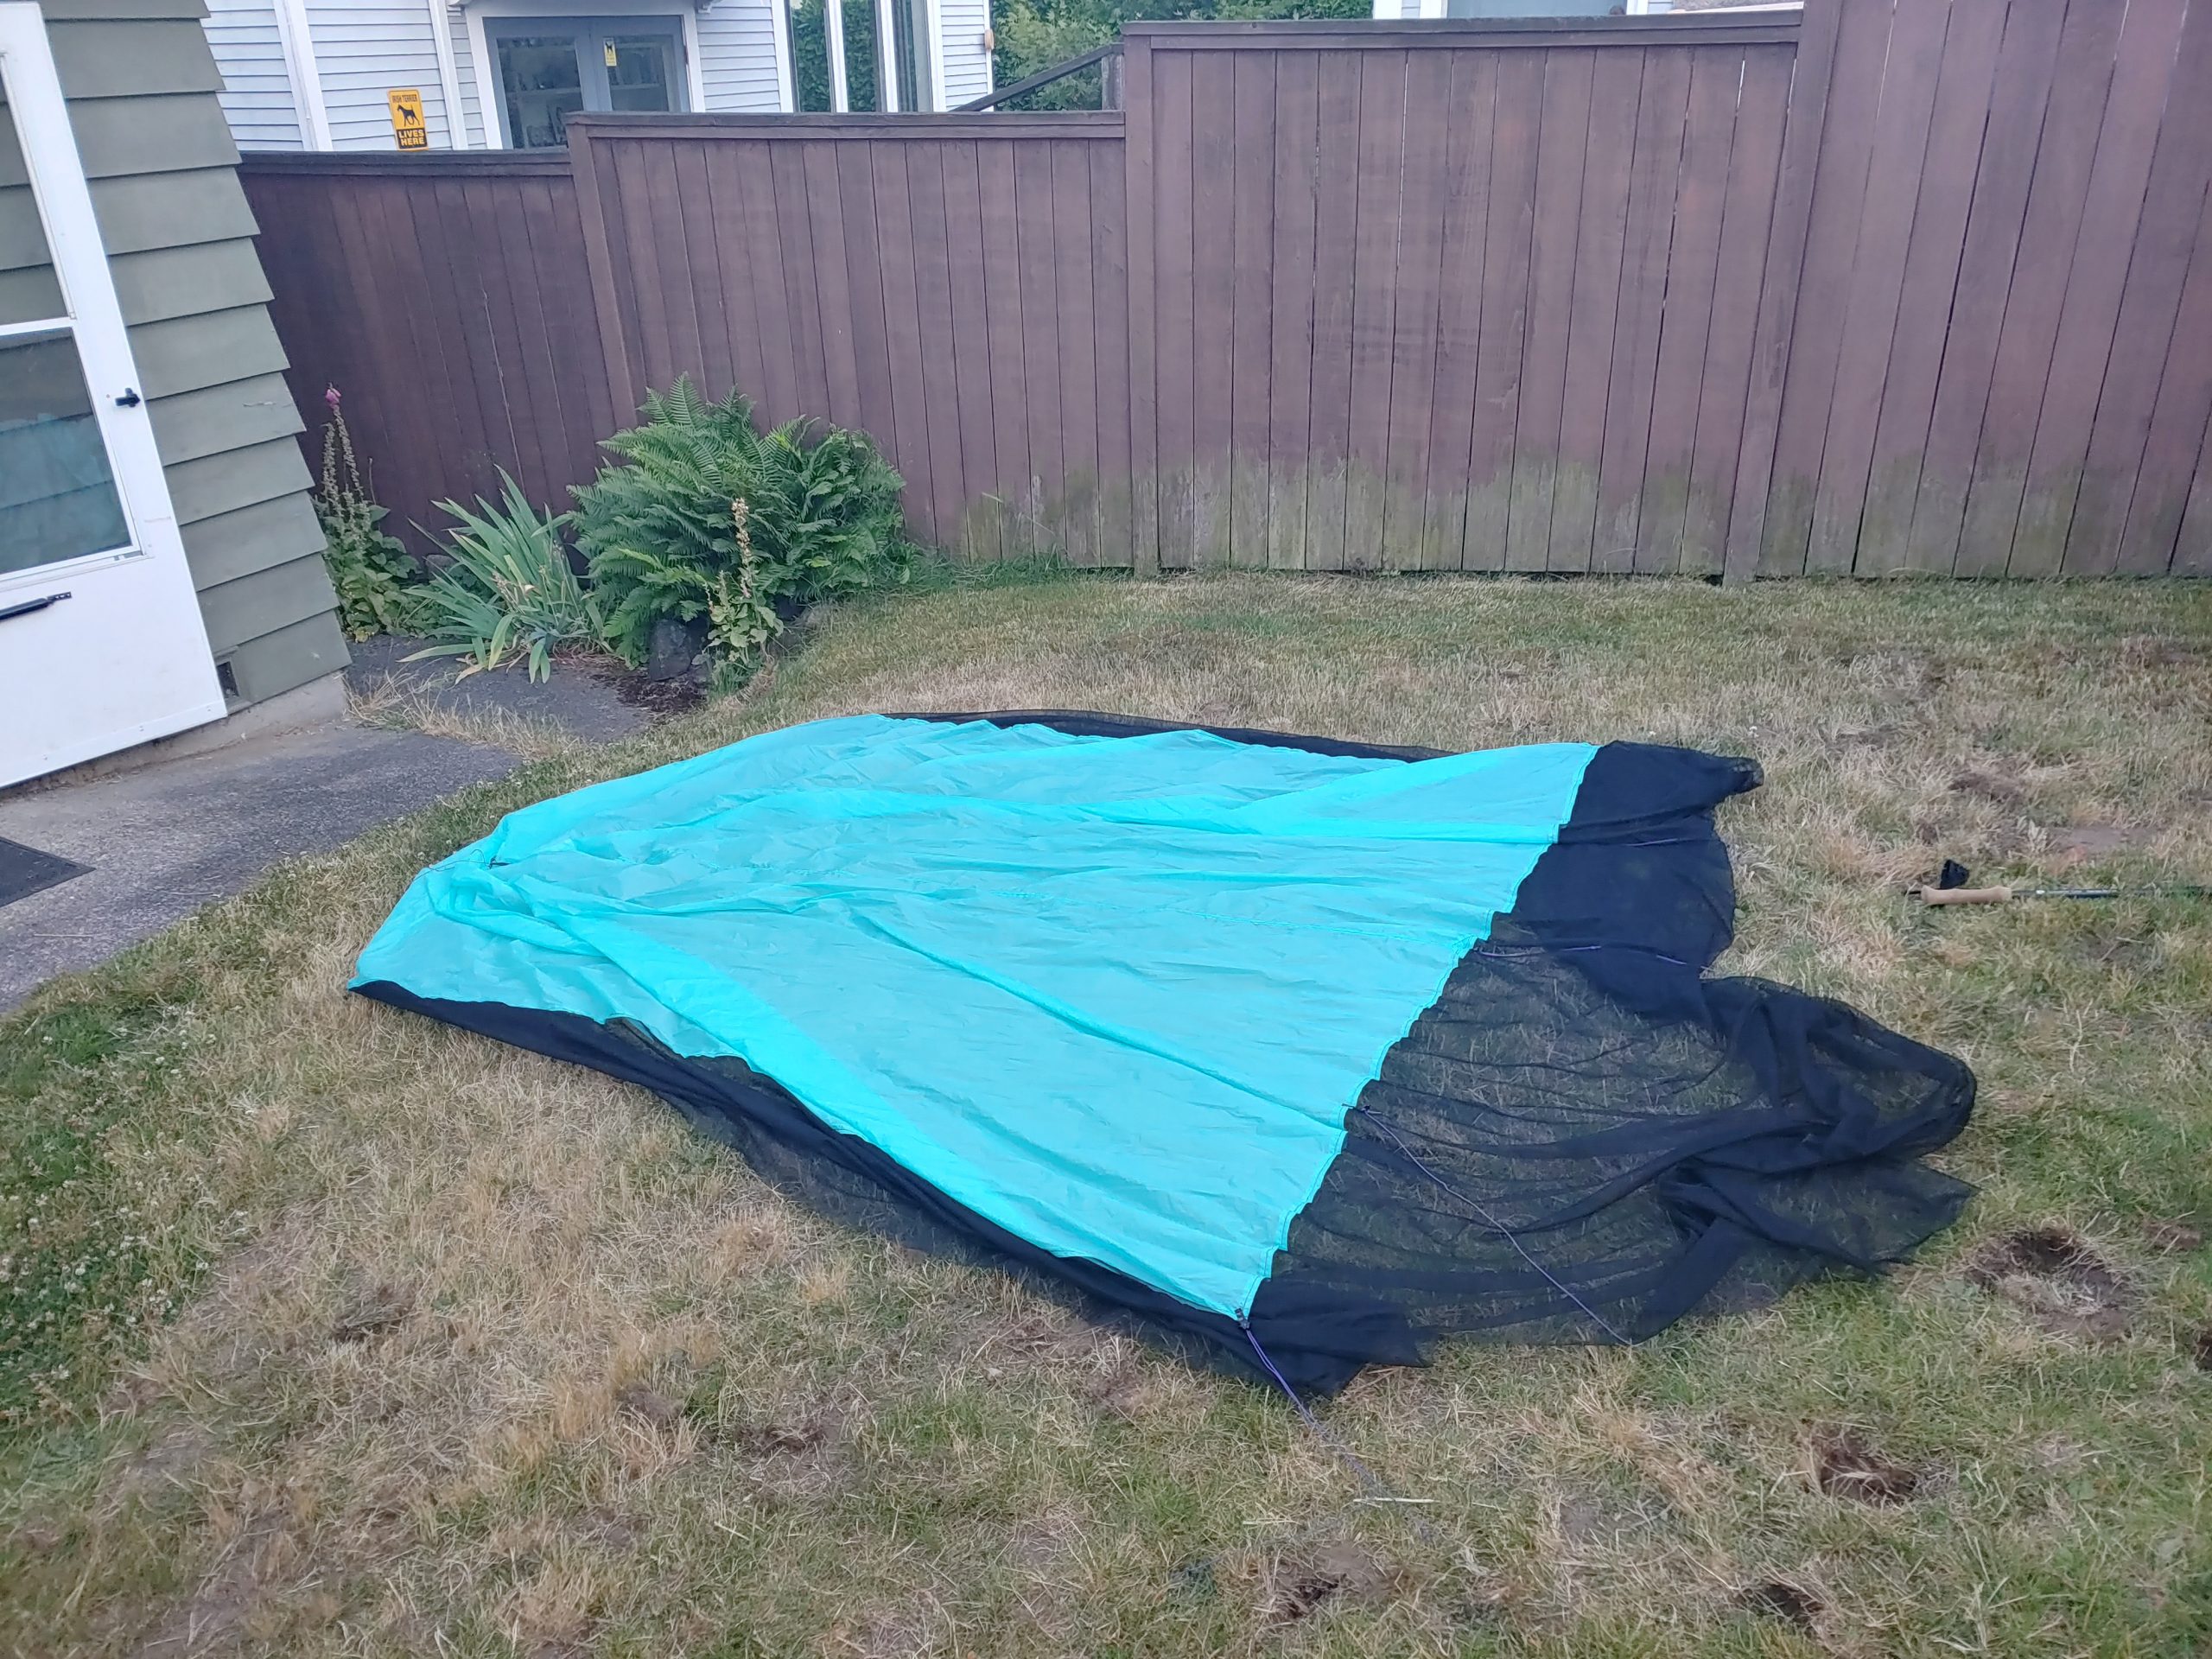
Materials:
2x panels of RSBTR membrane silpoly pu4000
.7oz perimeter bug netting
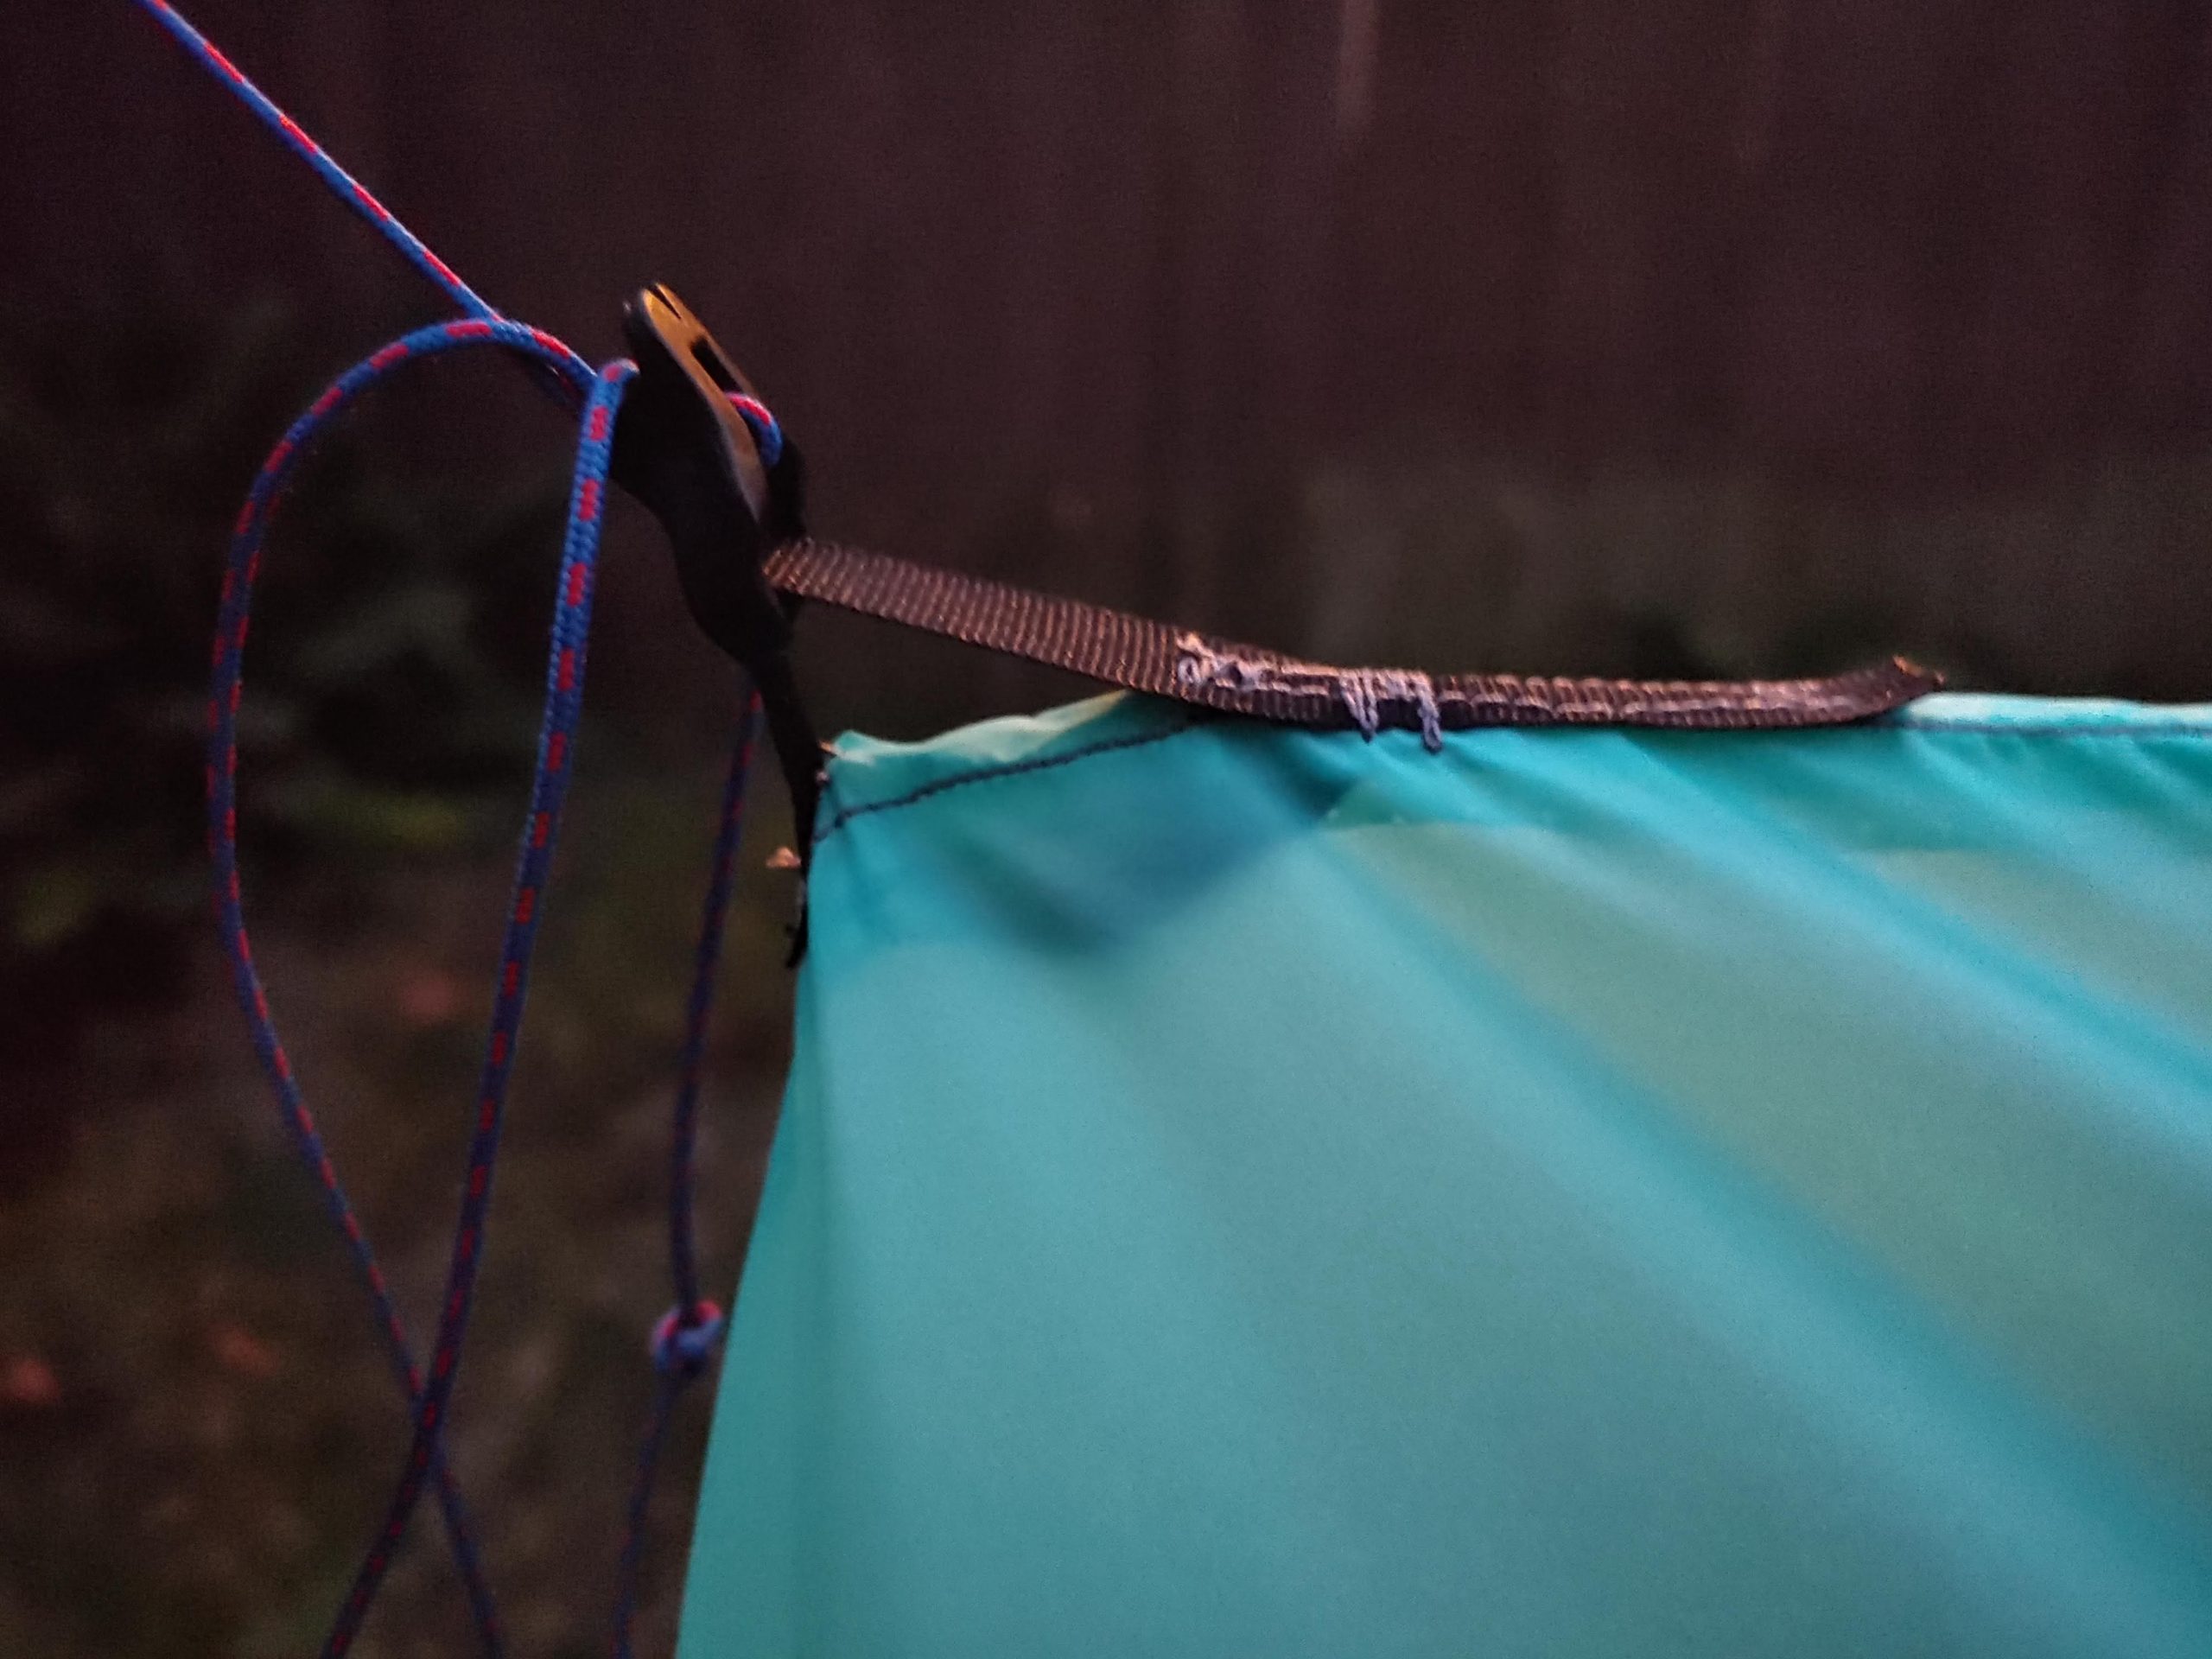
v-line-locs
1.8mm cordage
Weight:
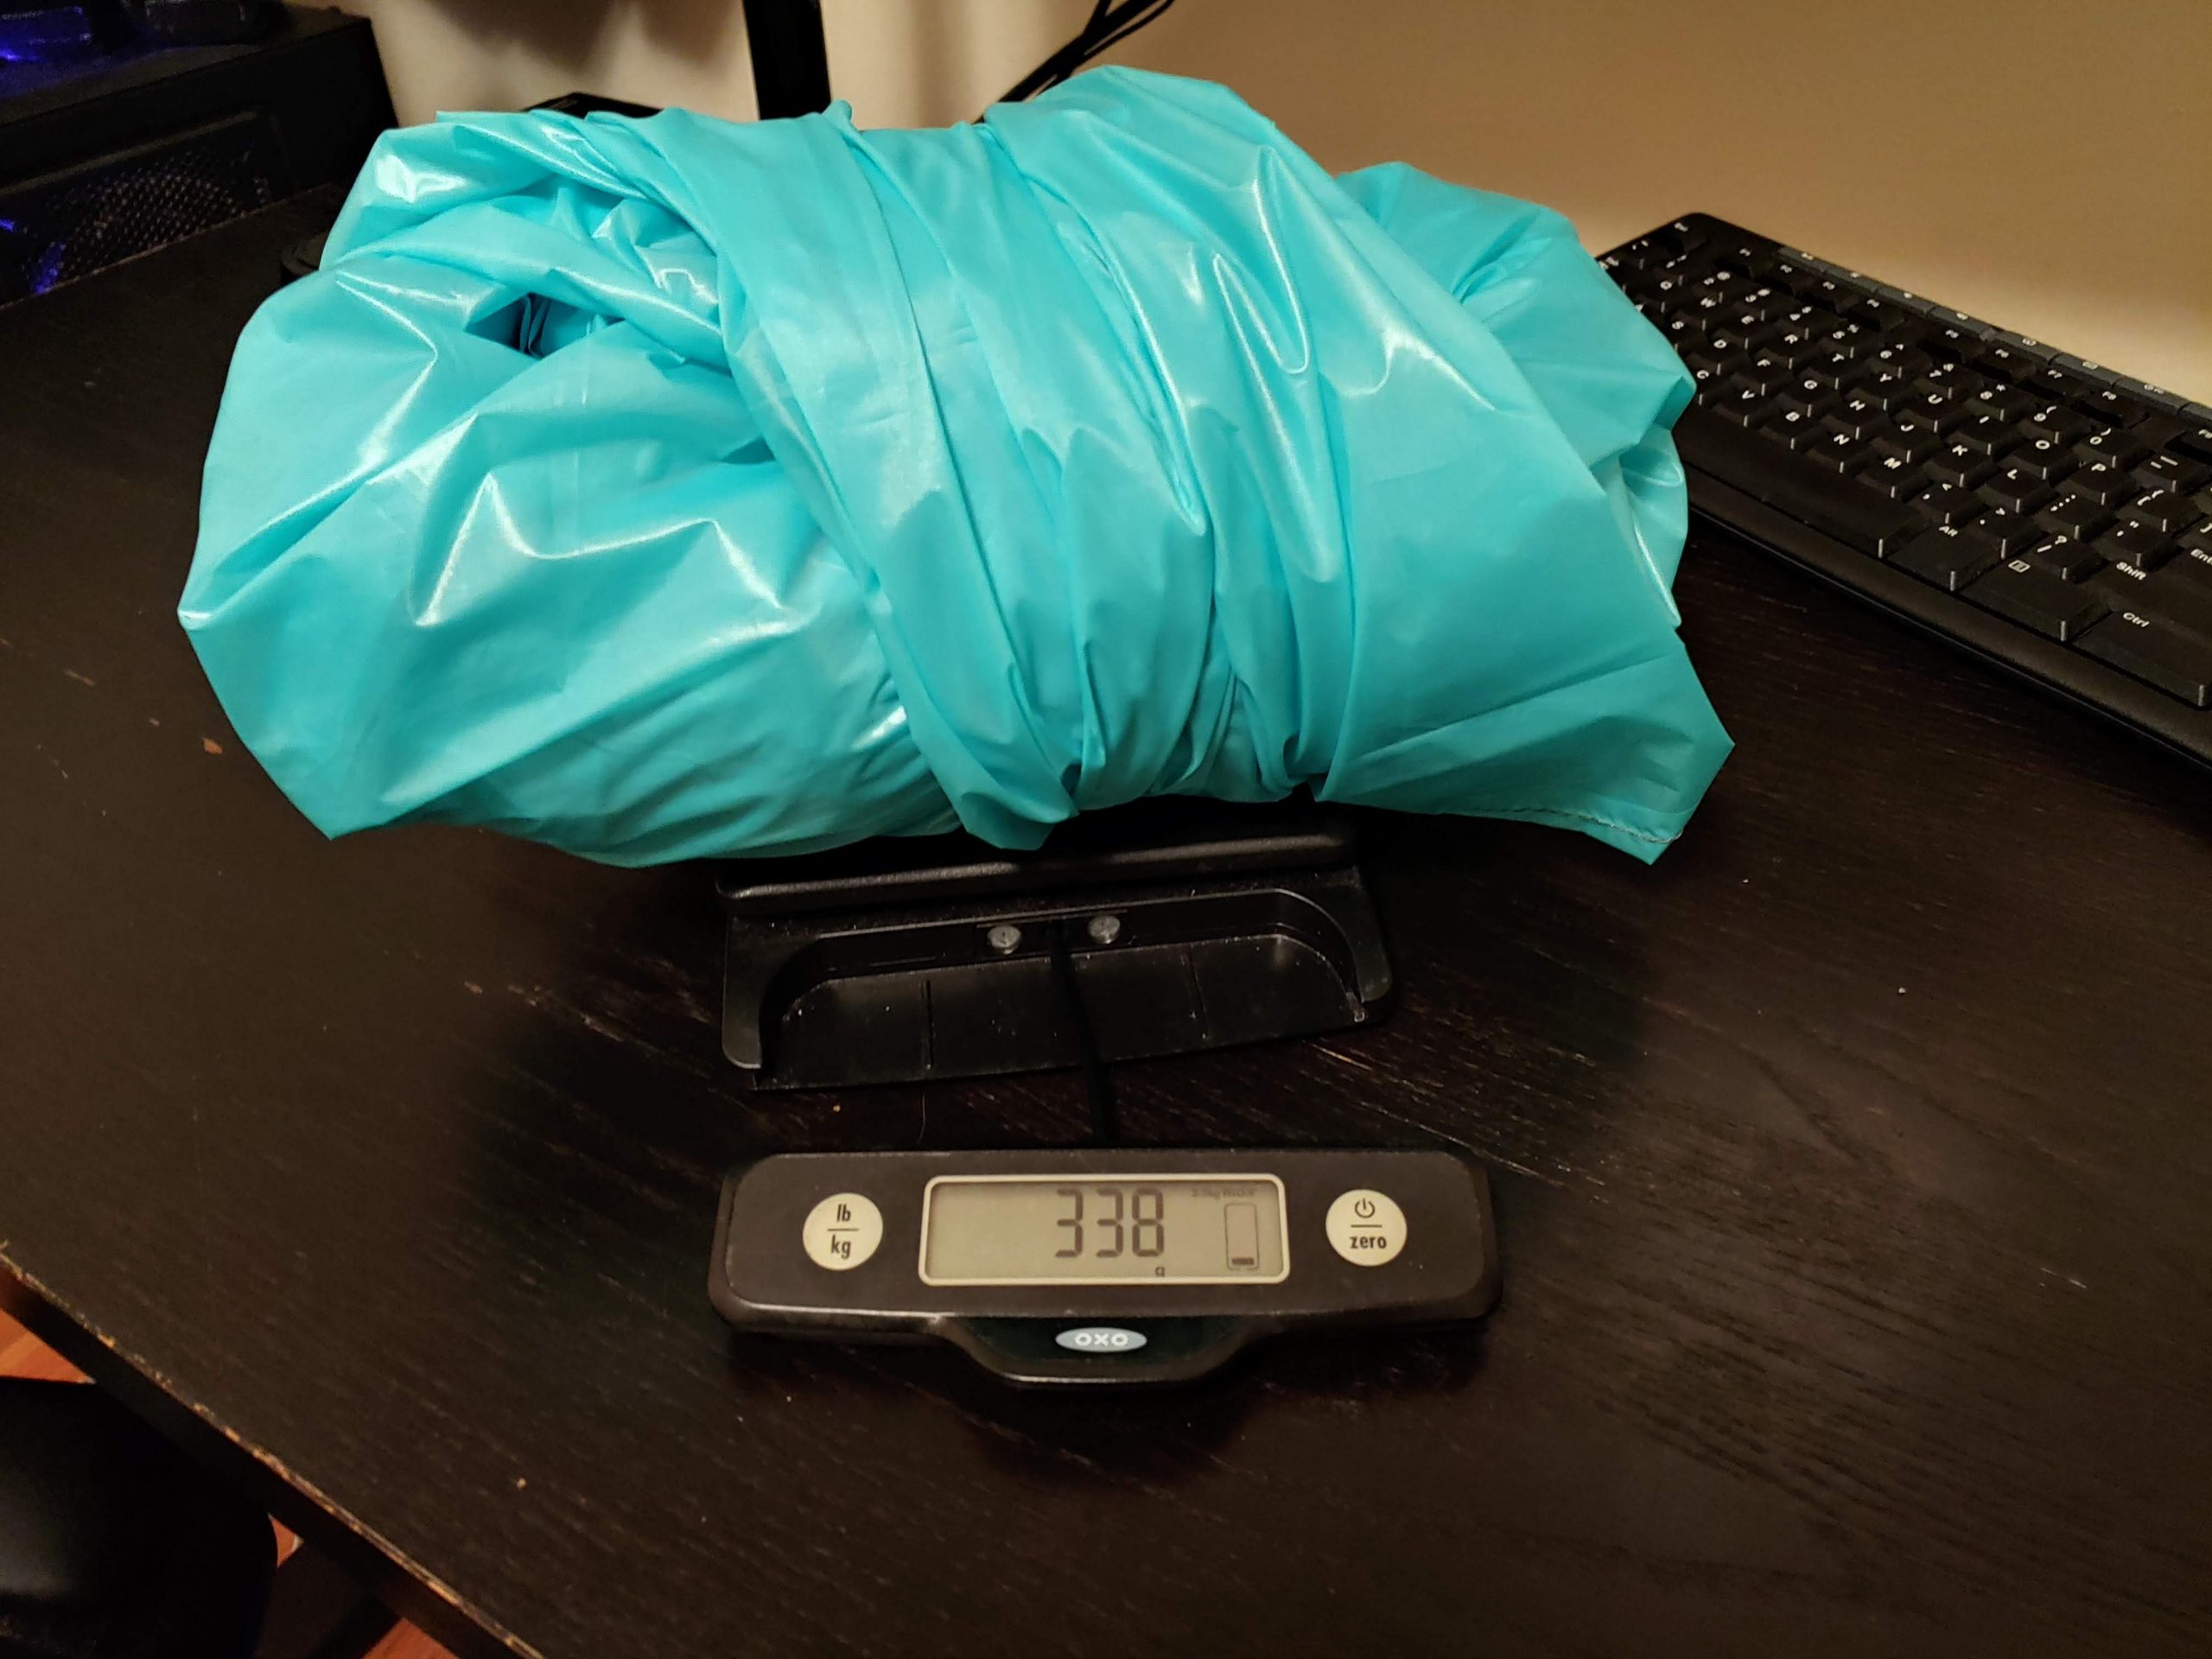
338g / 11.9oz – Without netting, seam sealing
581g / 20.5oz – Perimeter netting, sealed
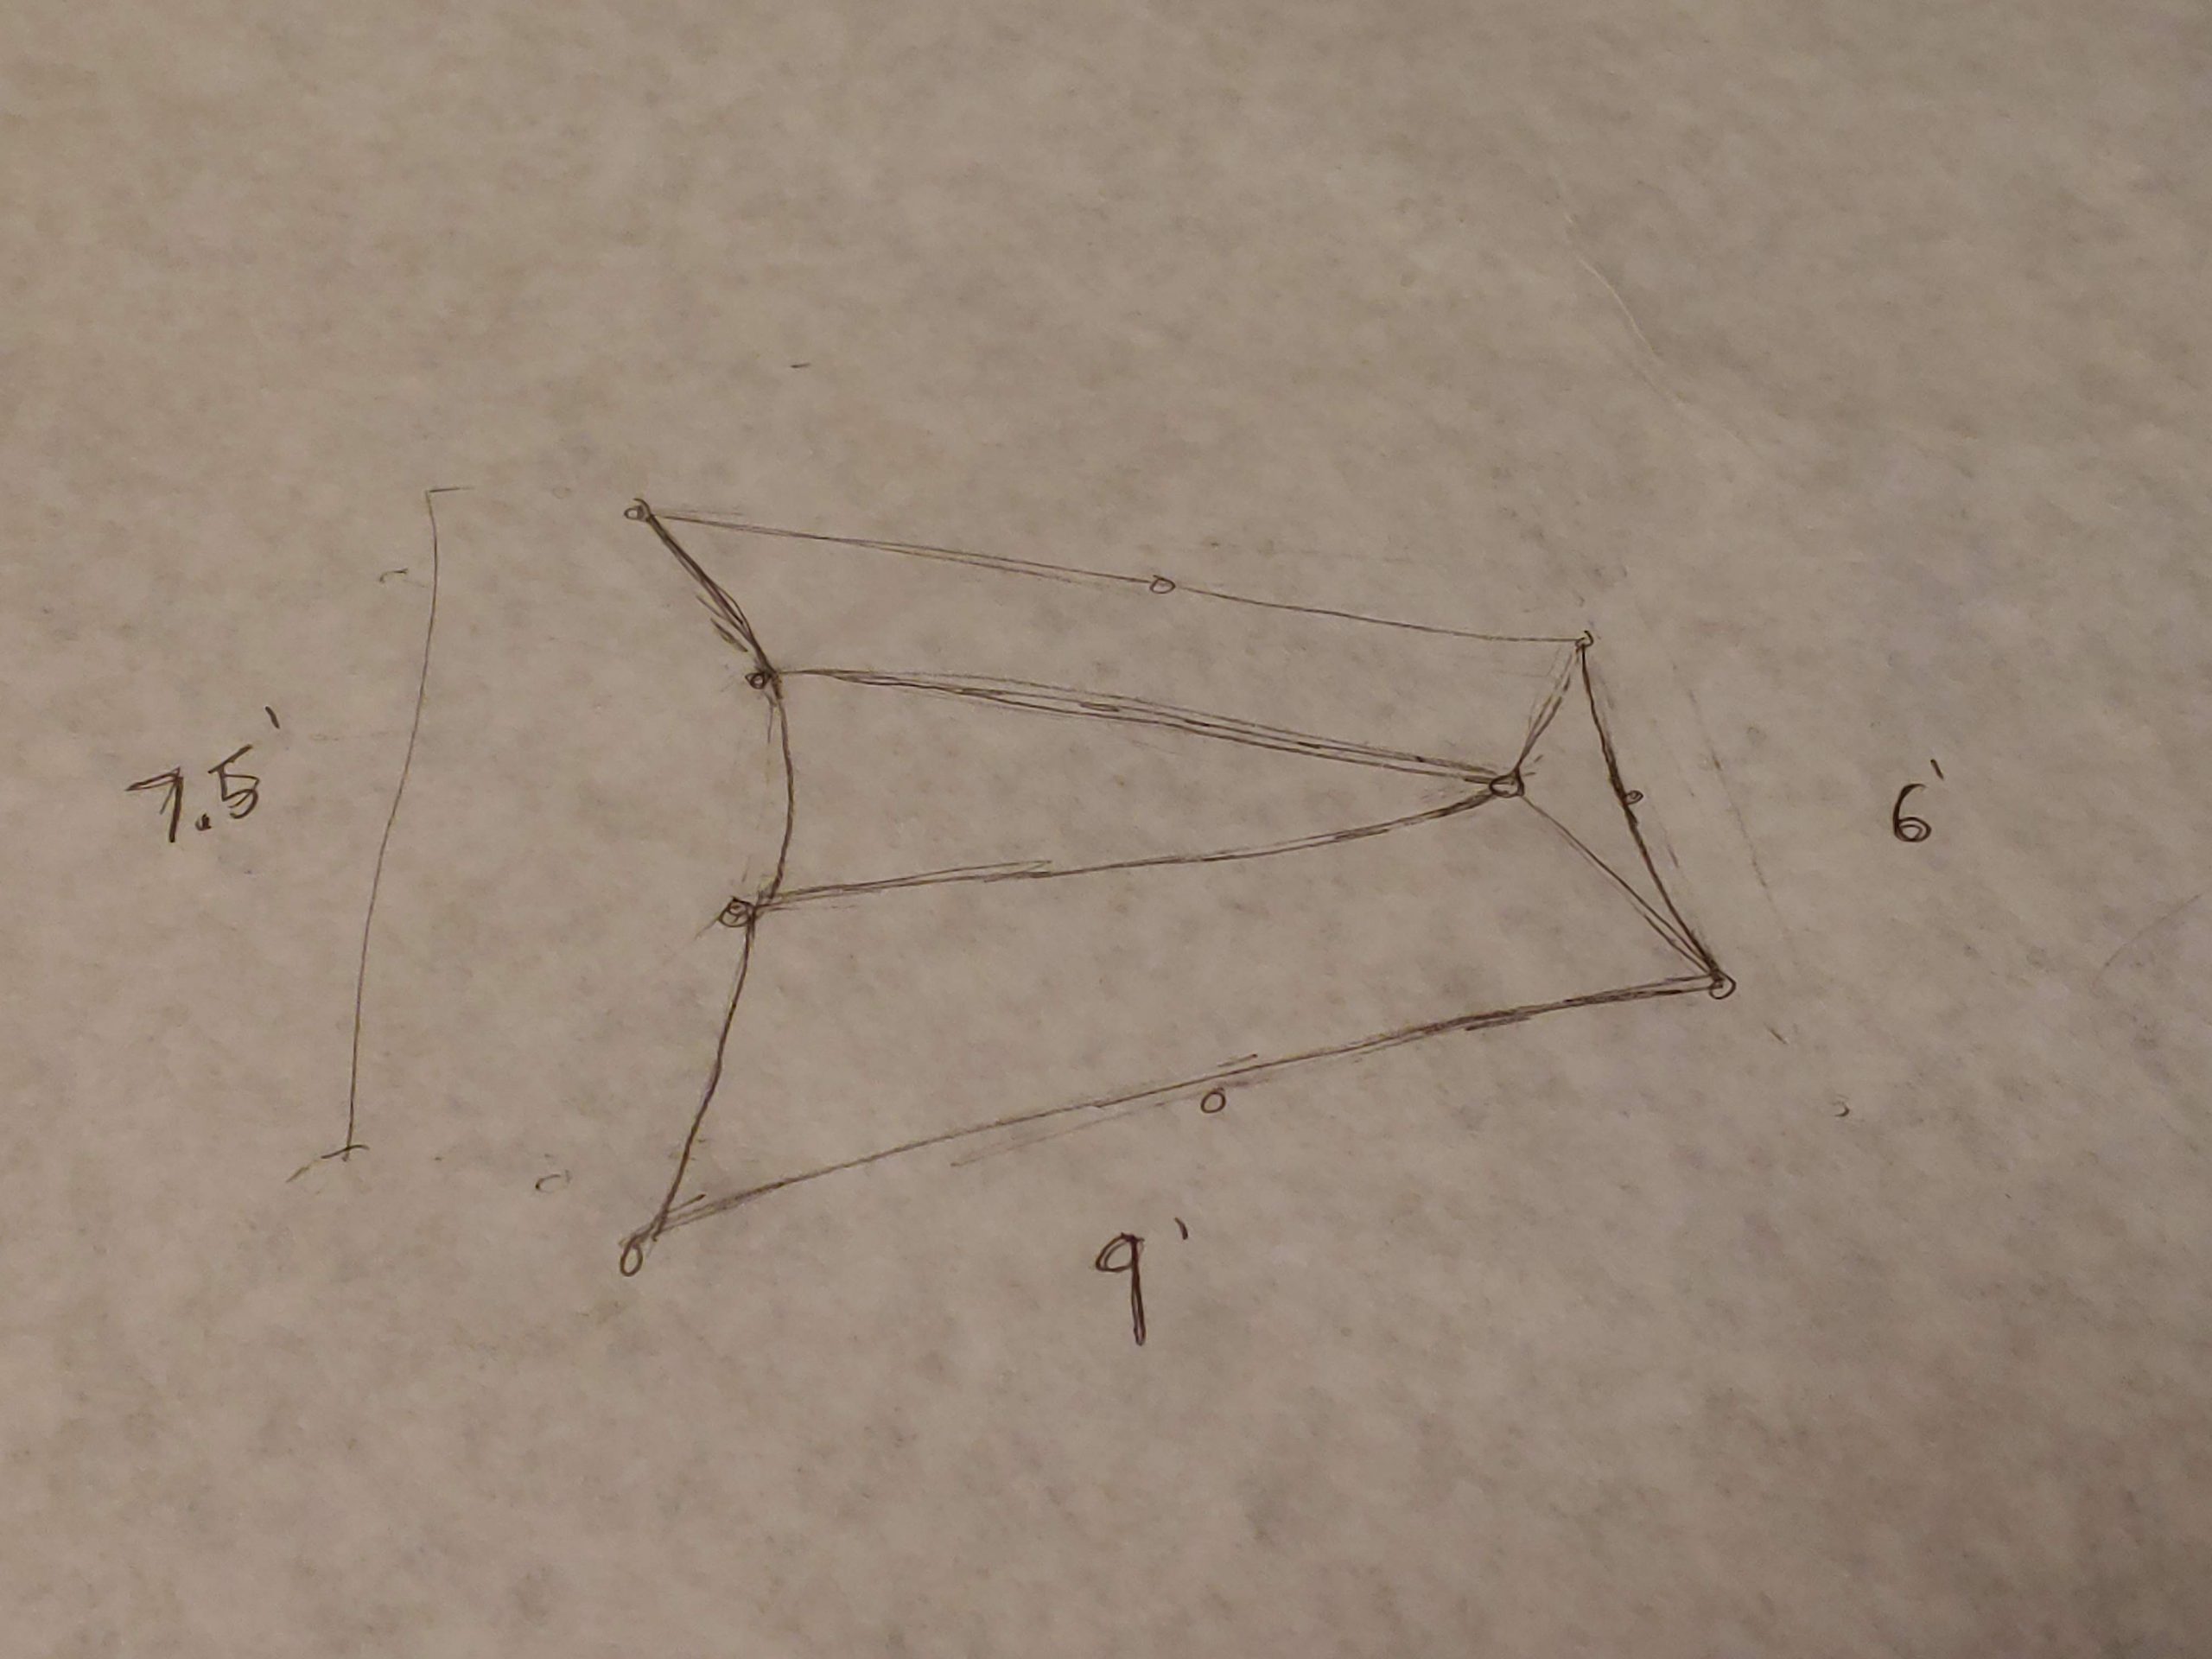
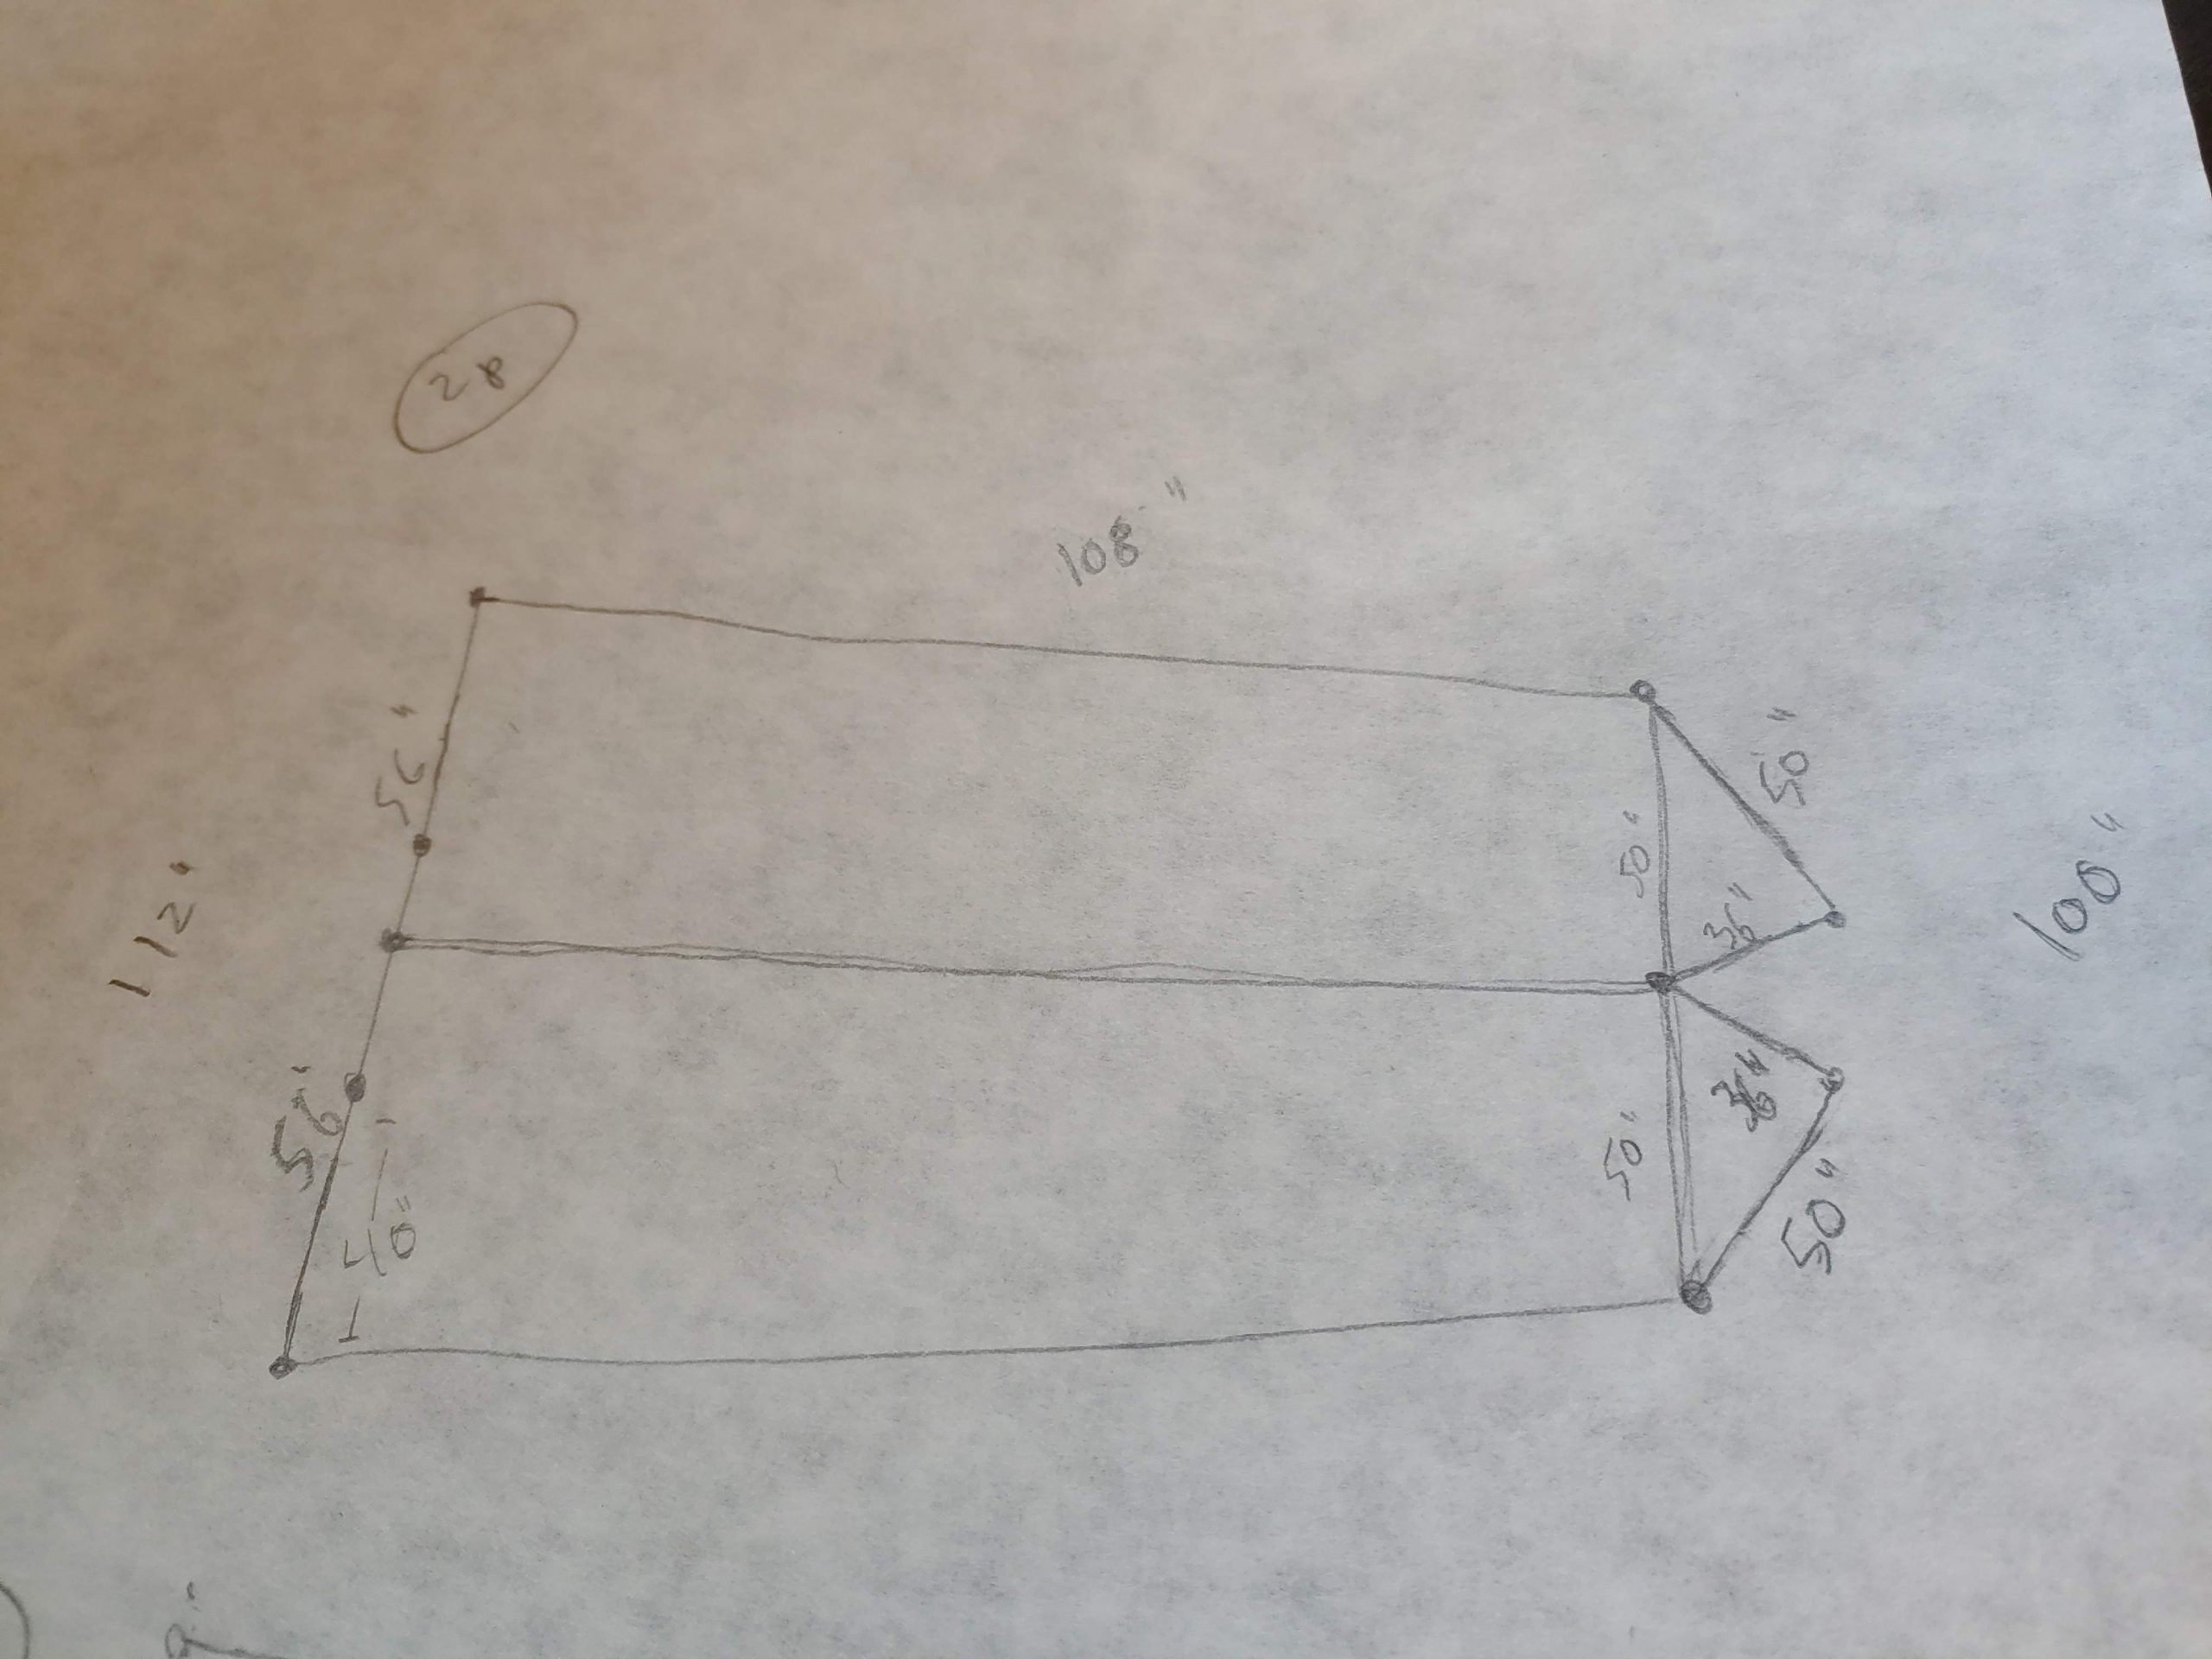
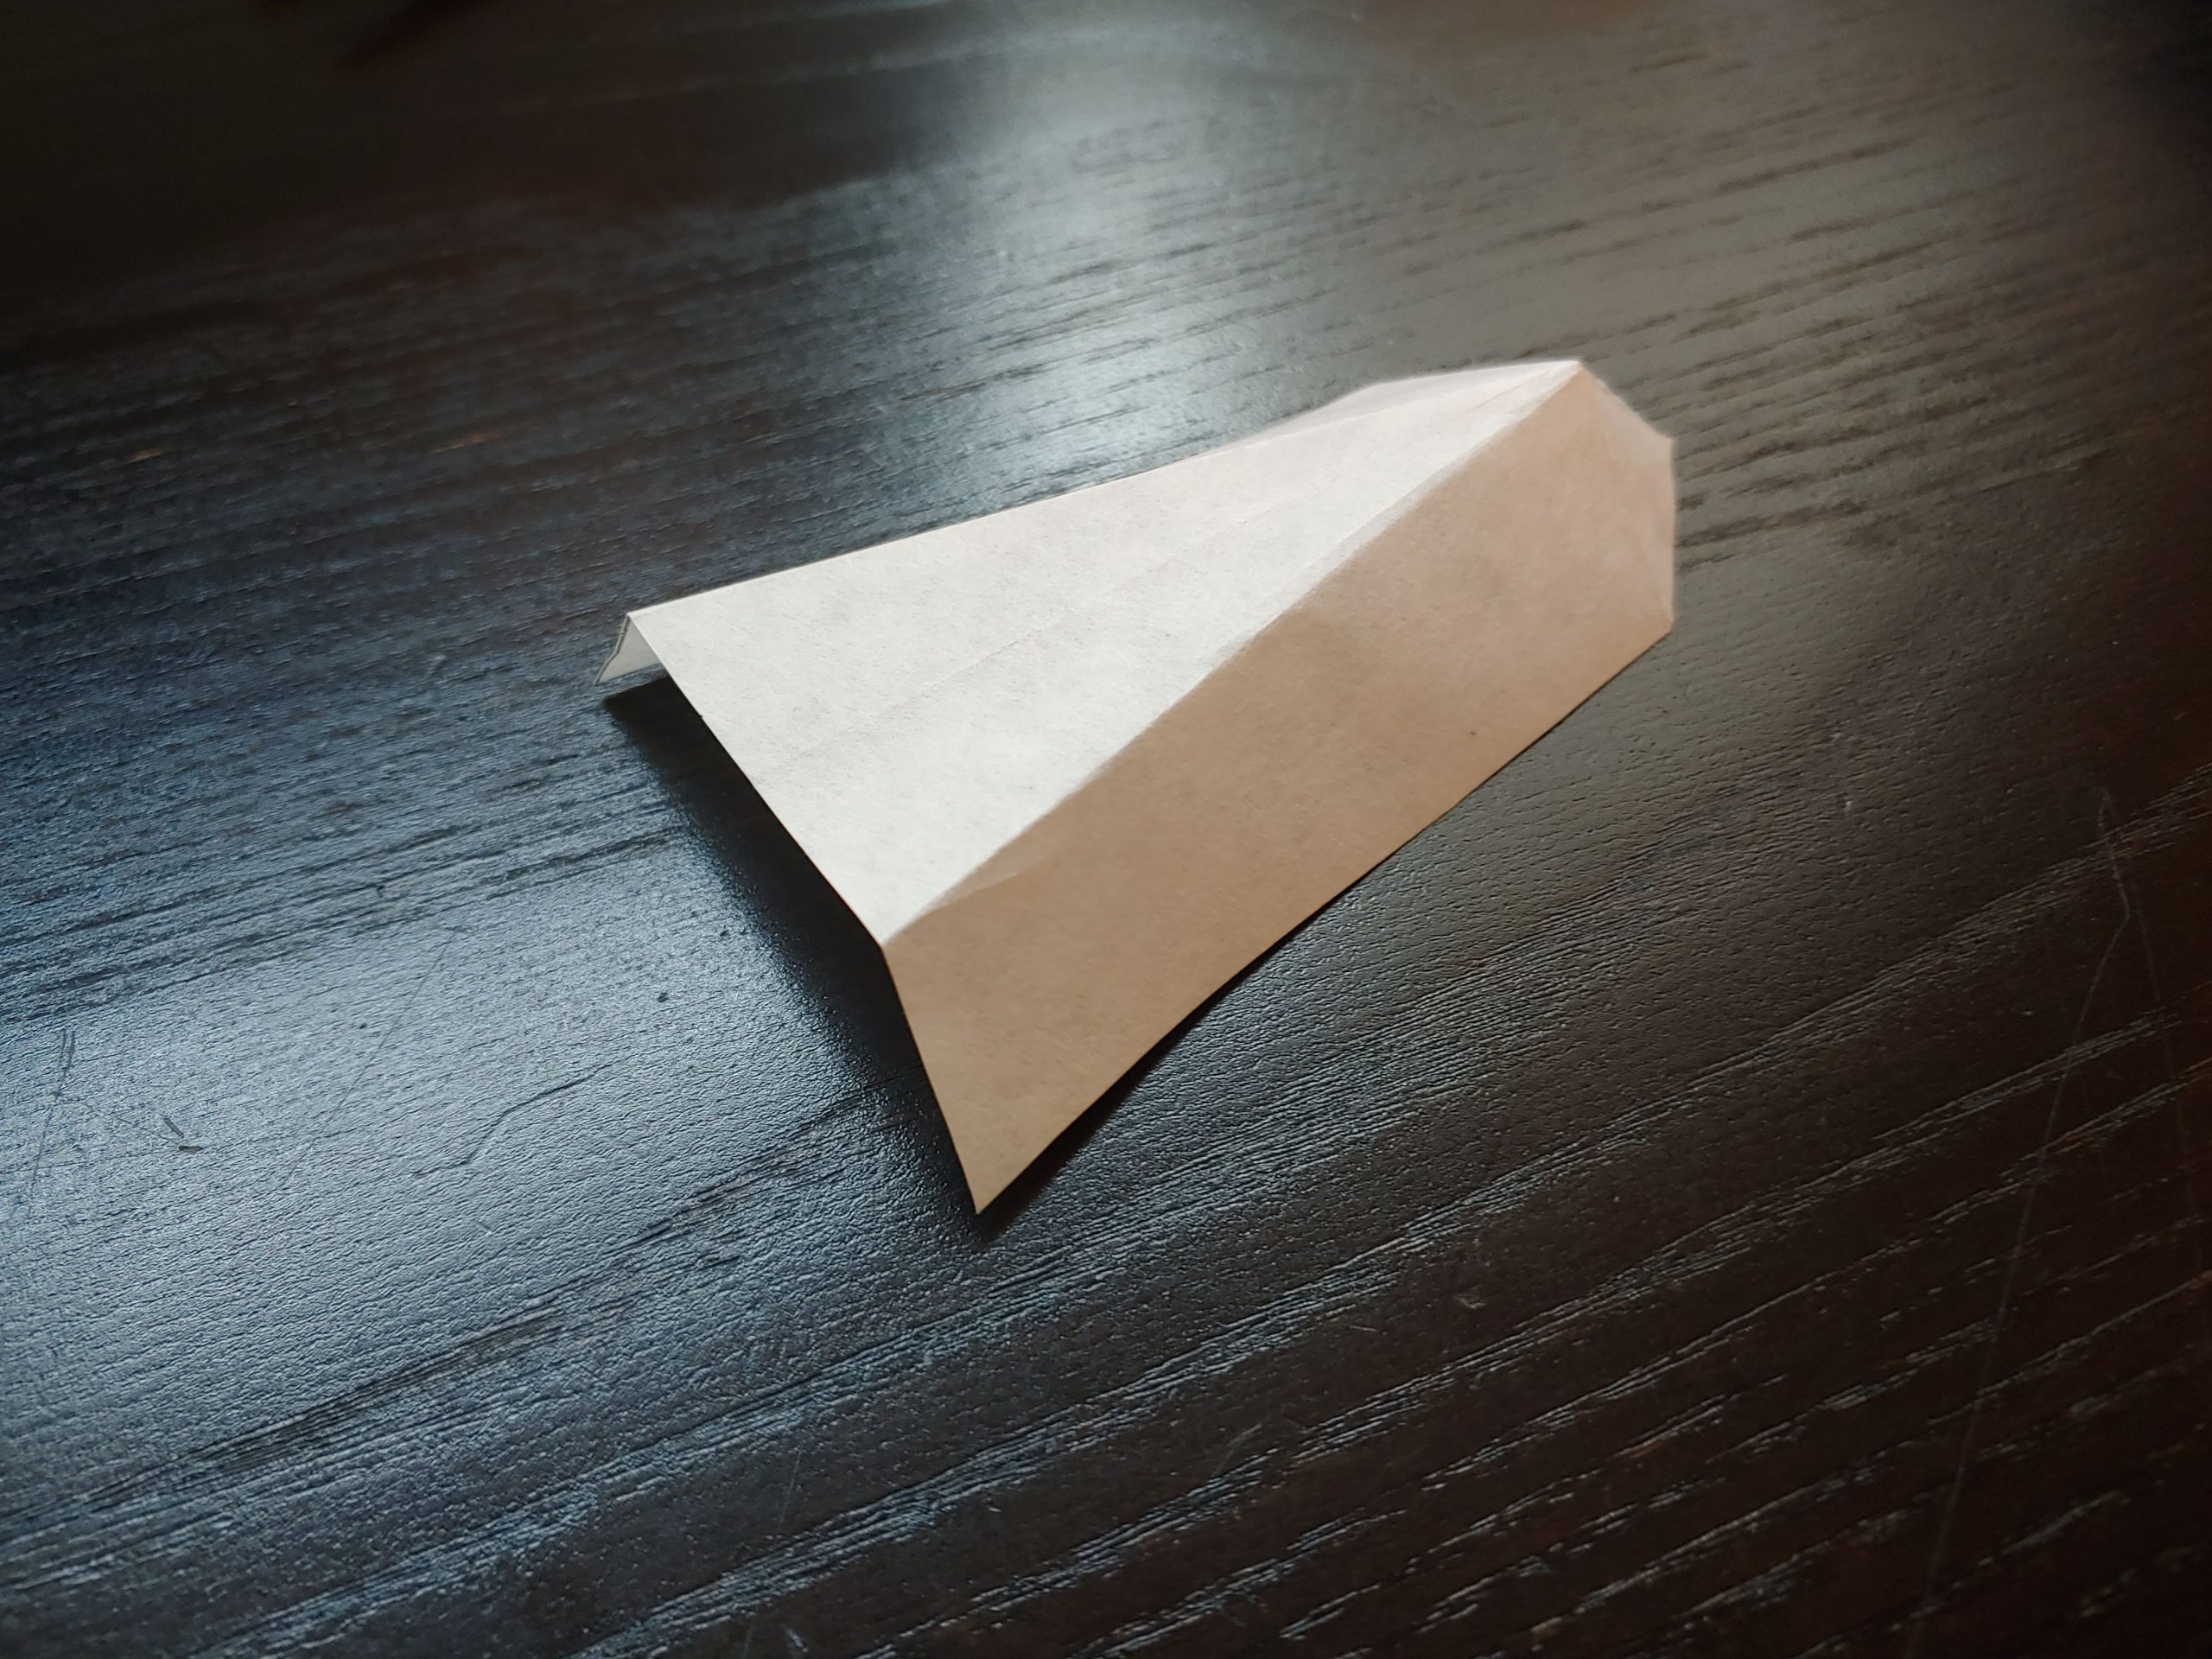
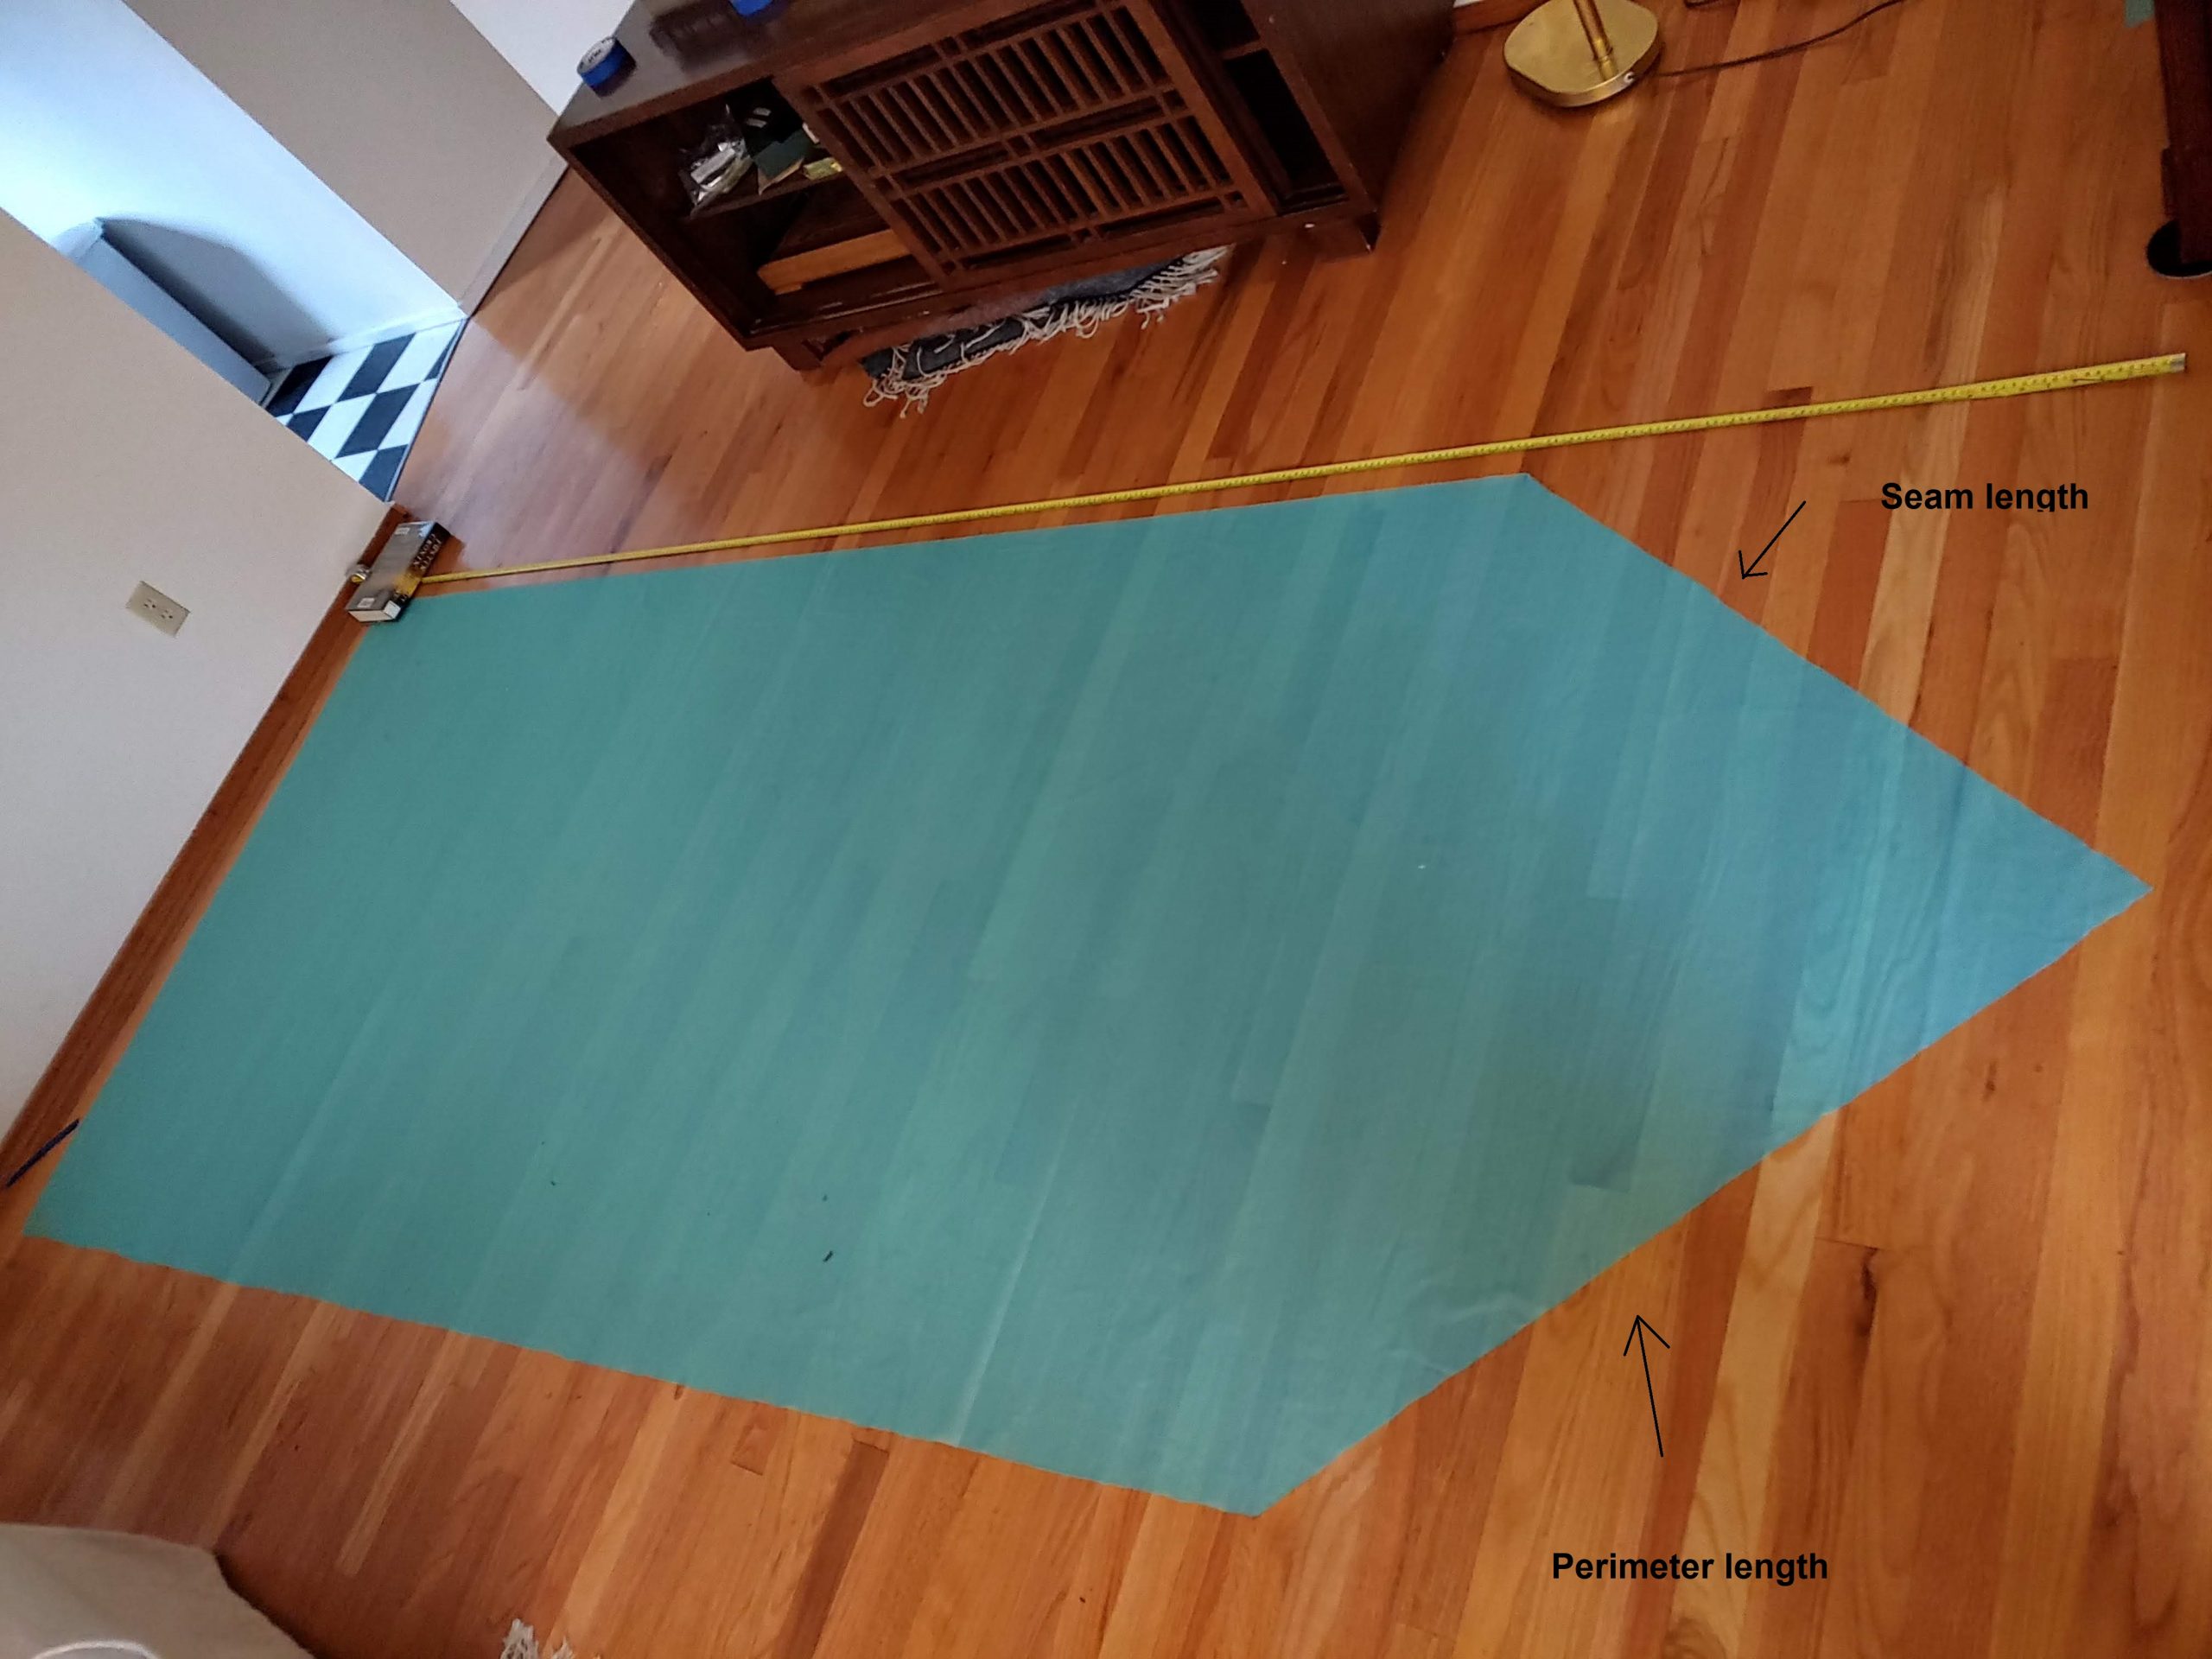
Specs (excludes foot-end beak additional length):
112″-to-100″ x 108″ (width to length)
9.3′-8.3′ x 9′
24″ to 10″ of perimeter bug netting lengthwise
54″ bug netting for “door”
Usage Constraints:
— Requires 3 poles (at least 2 for the front b/c adjusting is very useful, 1 tall stick or tree for back)
— Not for winter / heat retention
— Not fully enclosed
Experiences:
— Handles intense wind in A frame pitch extremely well (must pitch the ‘tail’ into the wind)
— Sooooo big
— Sheds bugs beautifully
— The front door means you can wake up to the insane view you slept at / stargaze from bed
— The two front door poles are brilliant for entry/exit
— S.O.-who-insists-on-an-enclosed-tent-approved
— Can generate some condensation if the tail is pitched to the ground without wind flow // wouldn’t pitch to the ground unless there was wind (flow), not a big problem
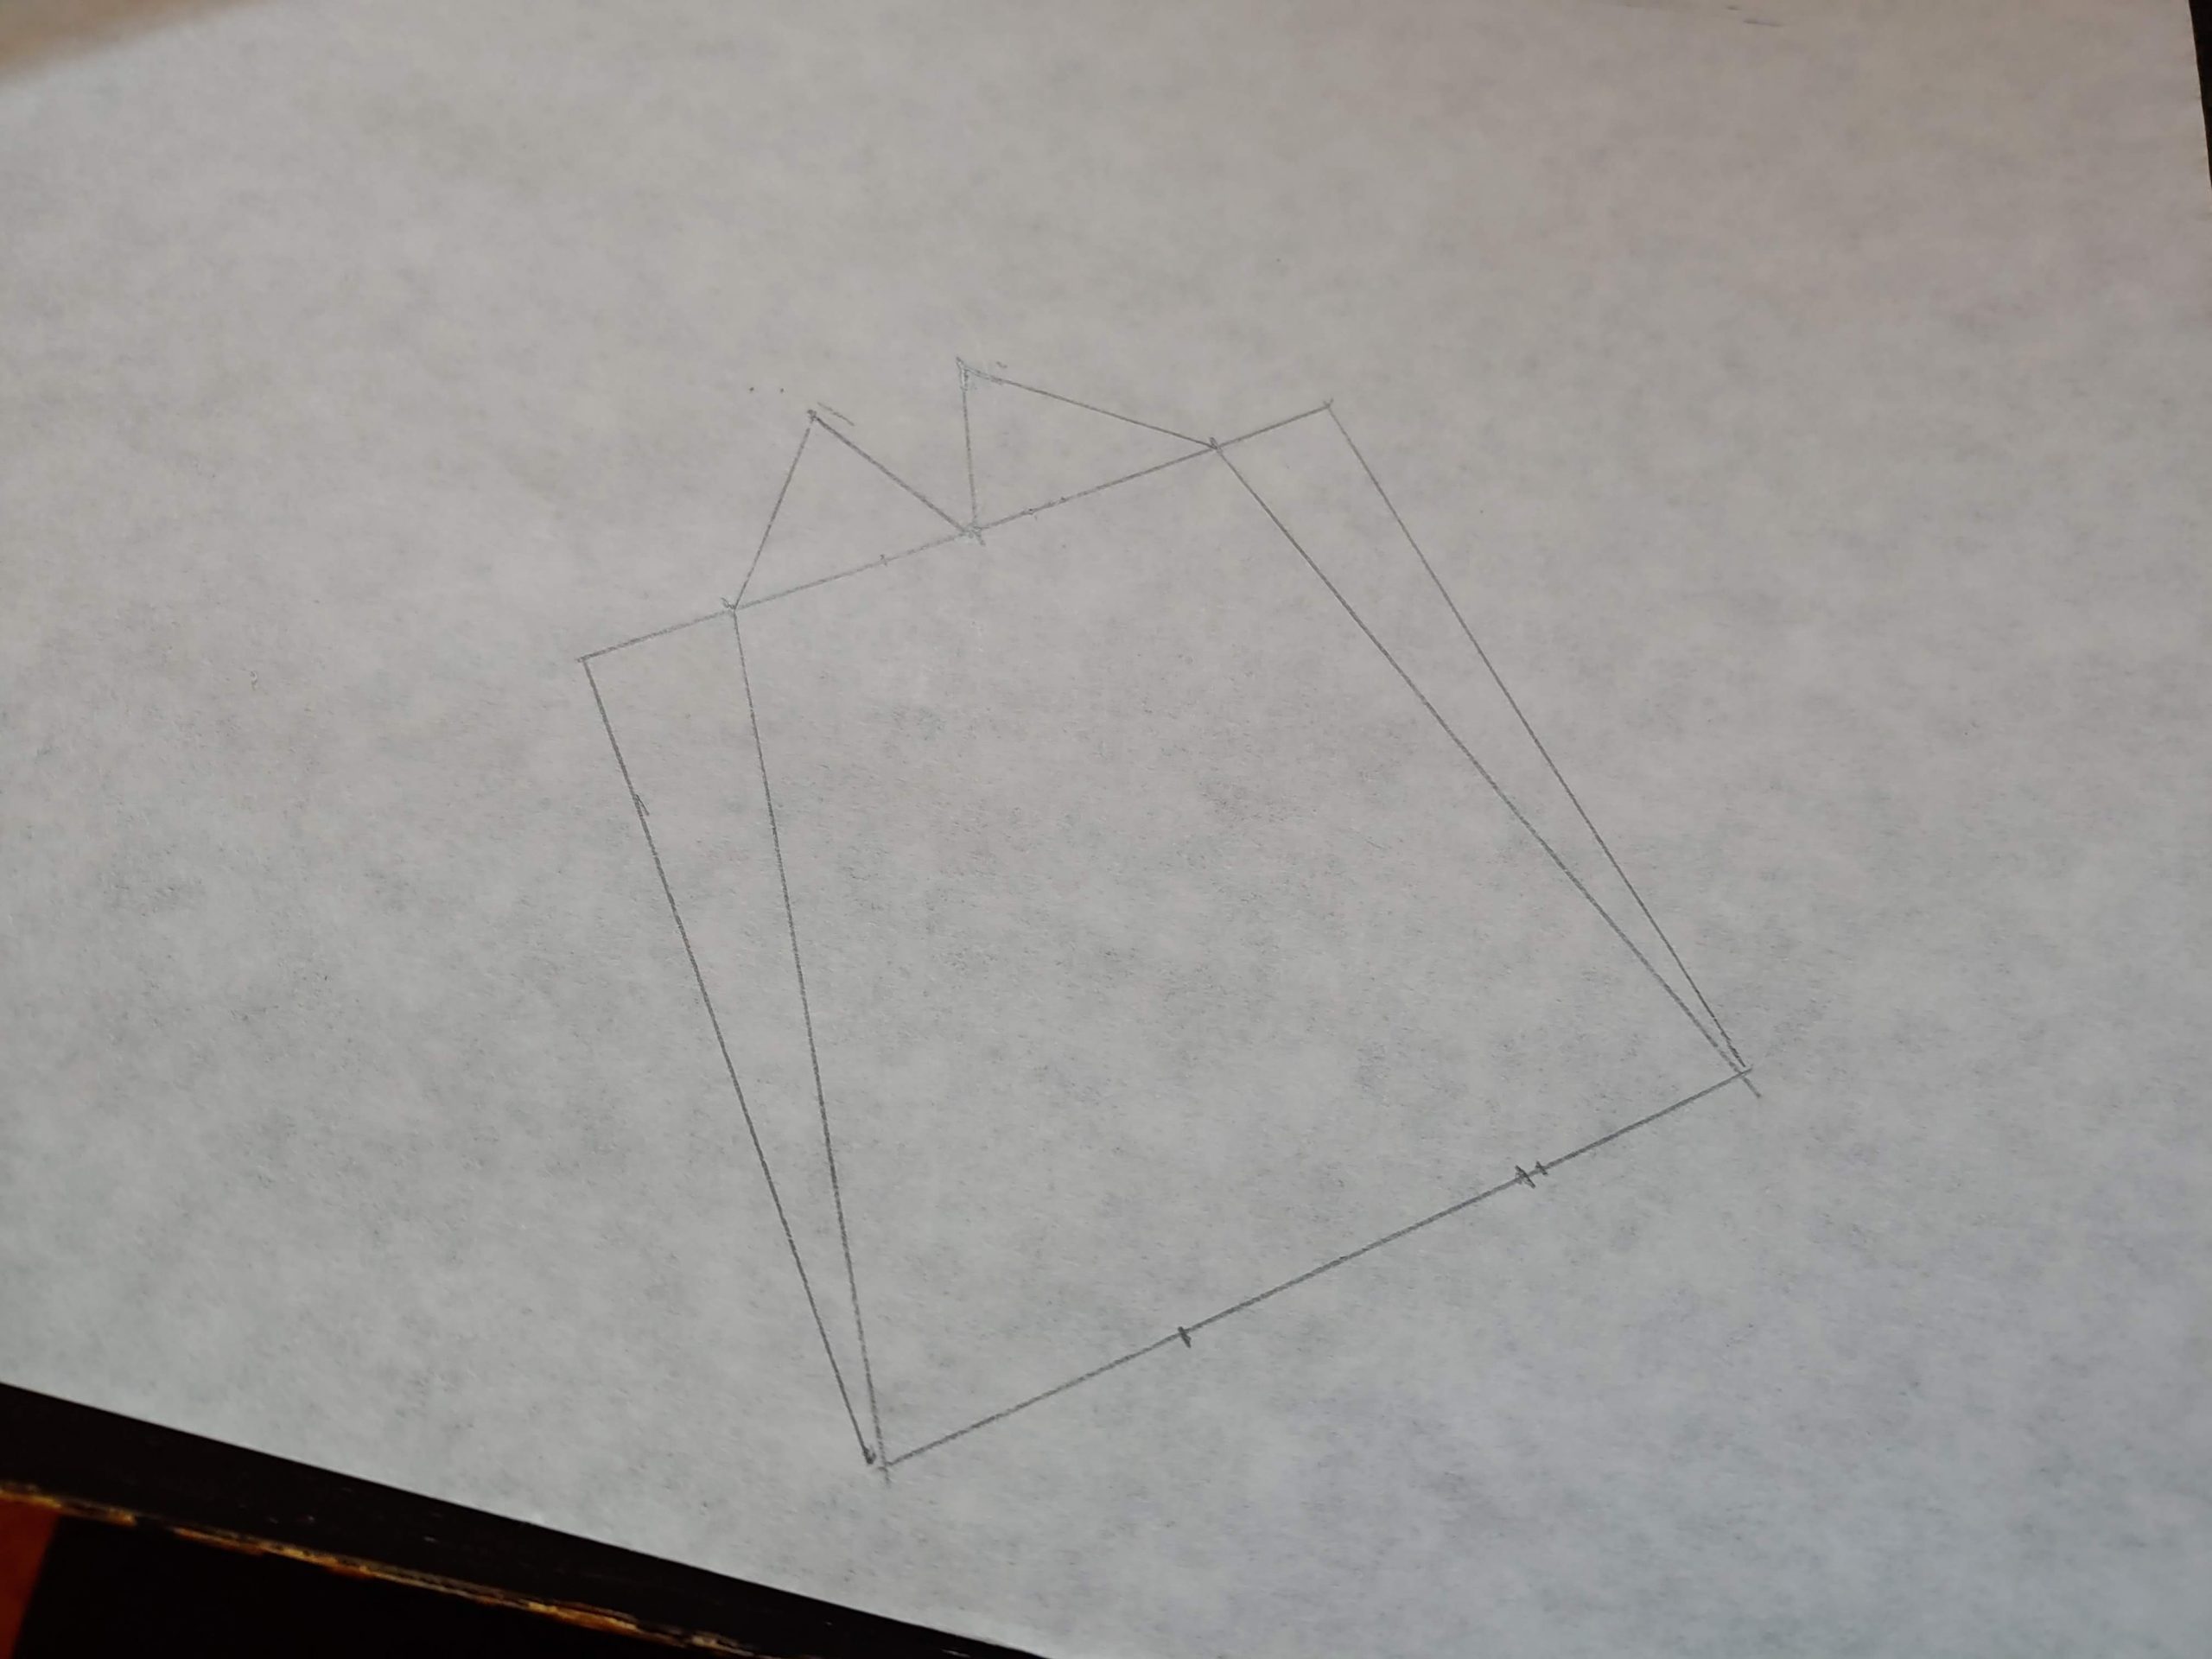
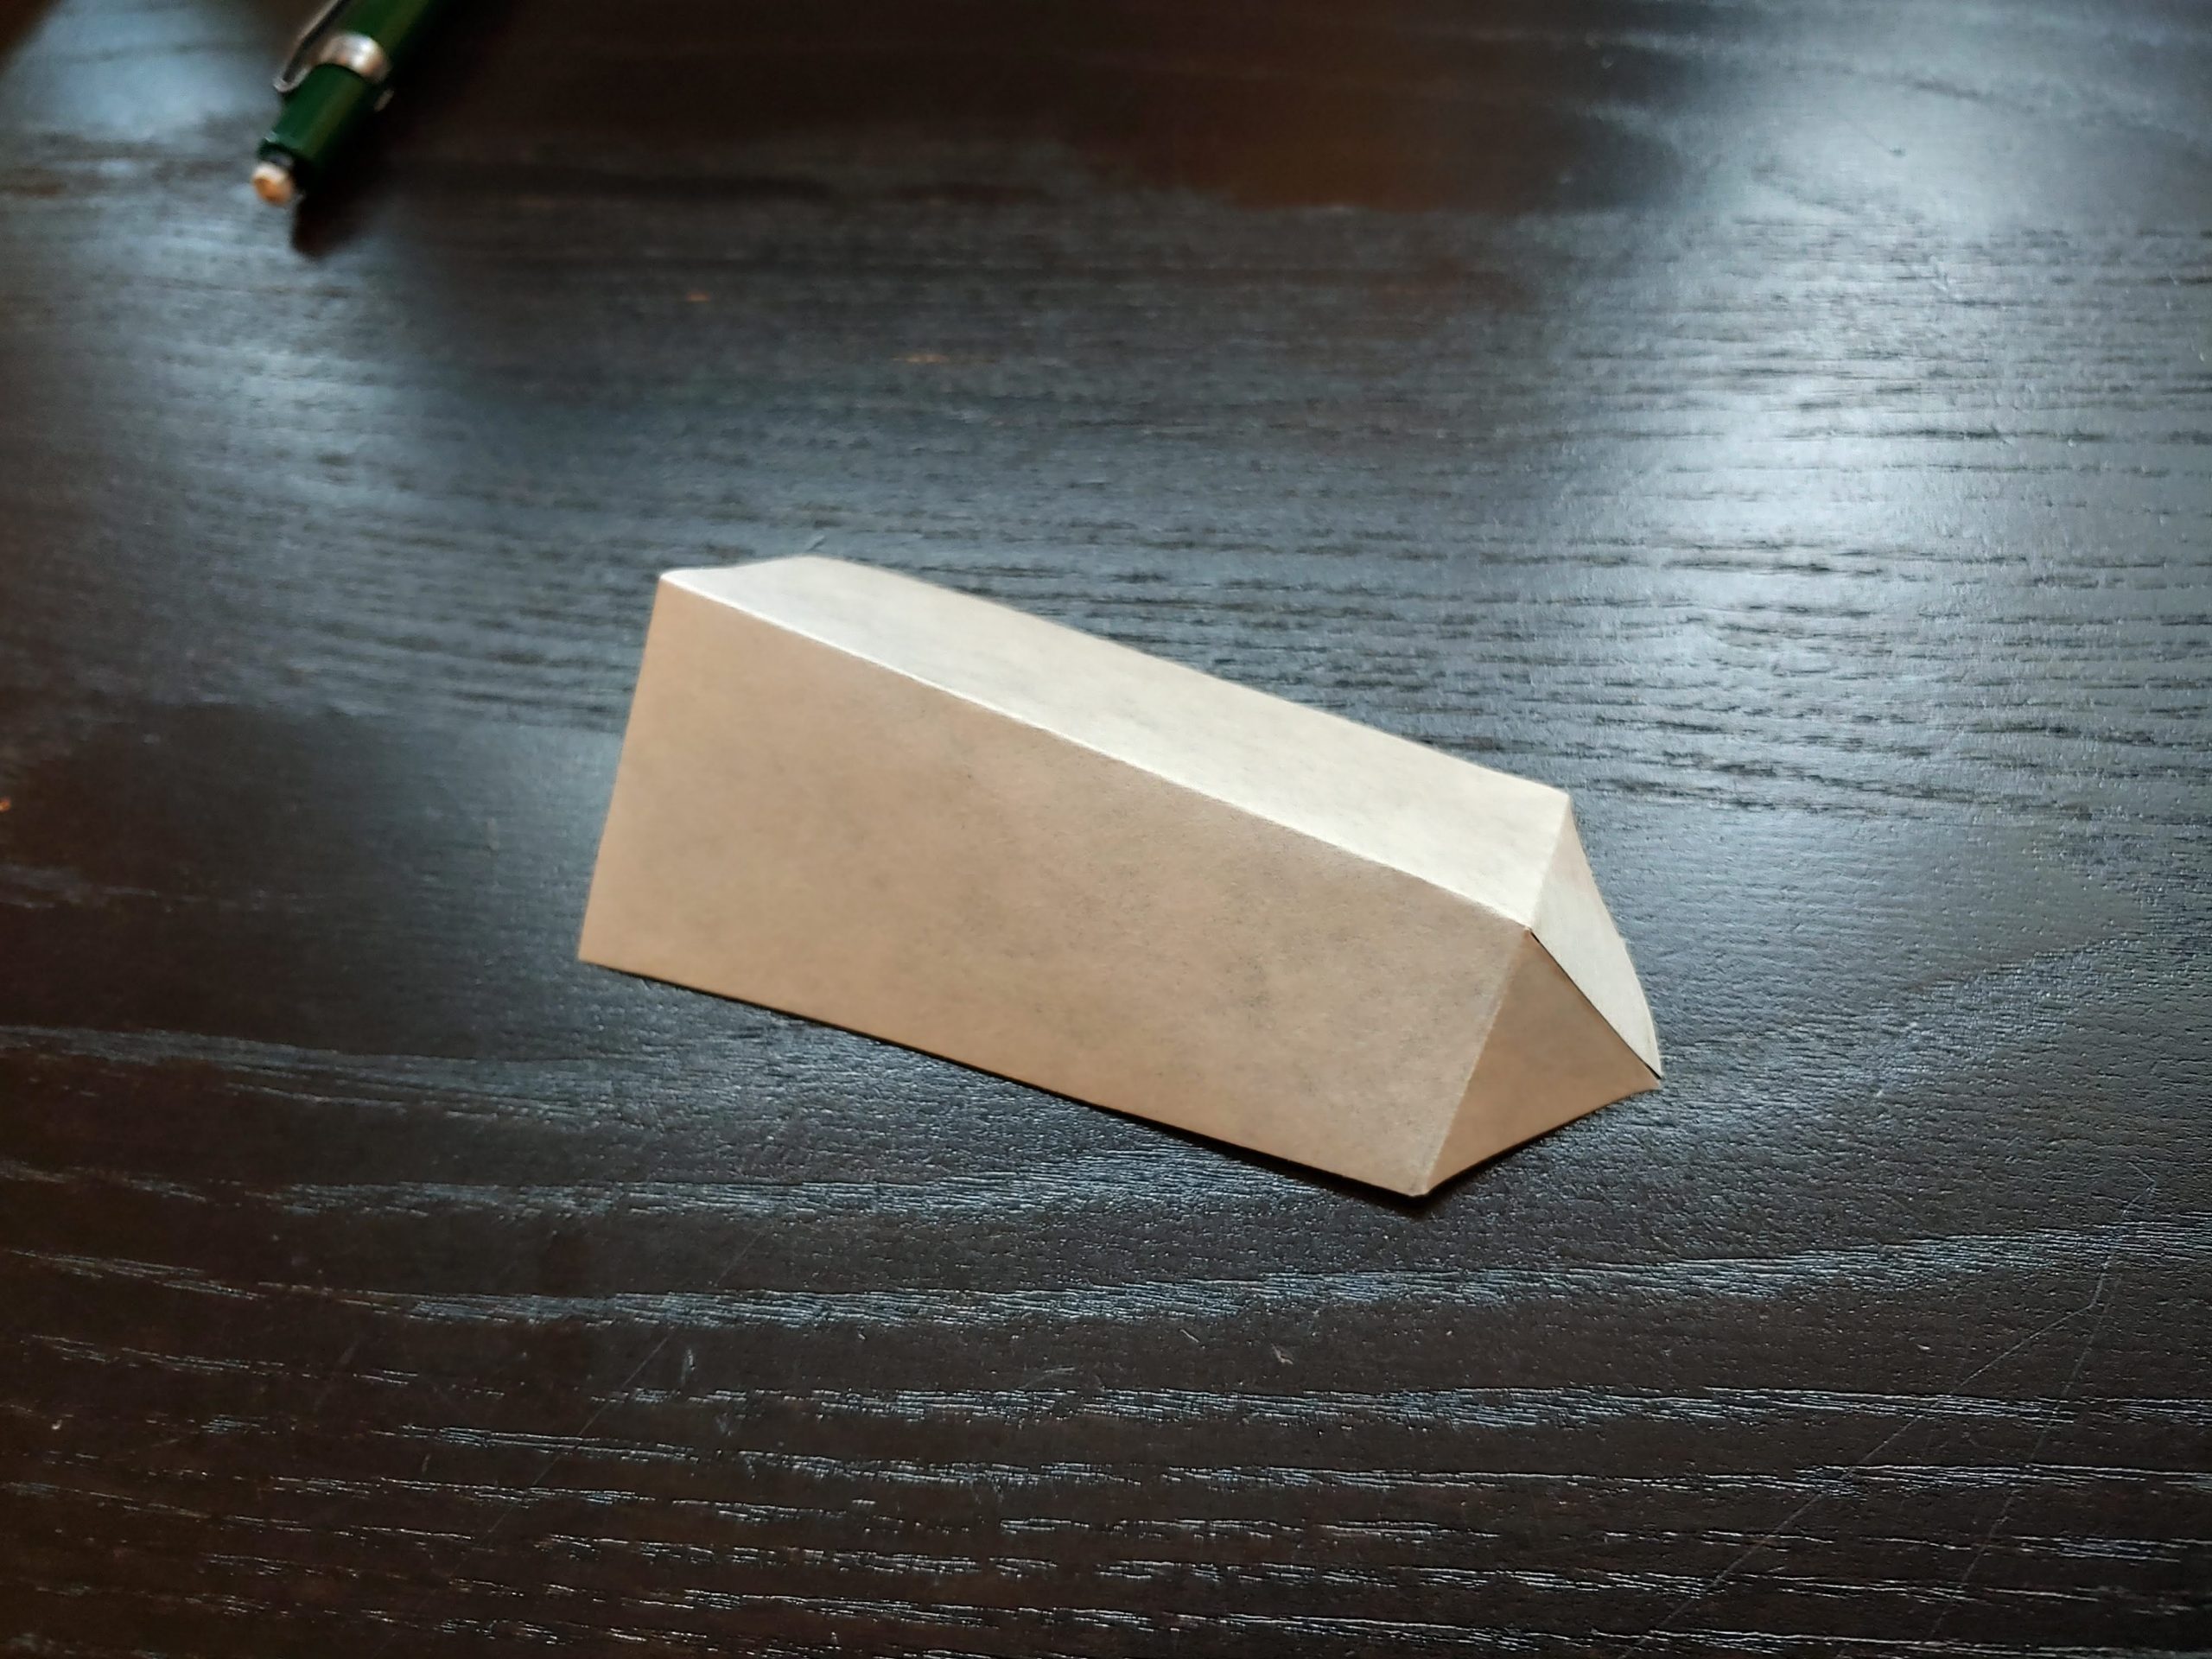
Instructions:
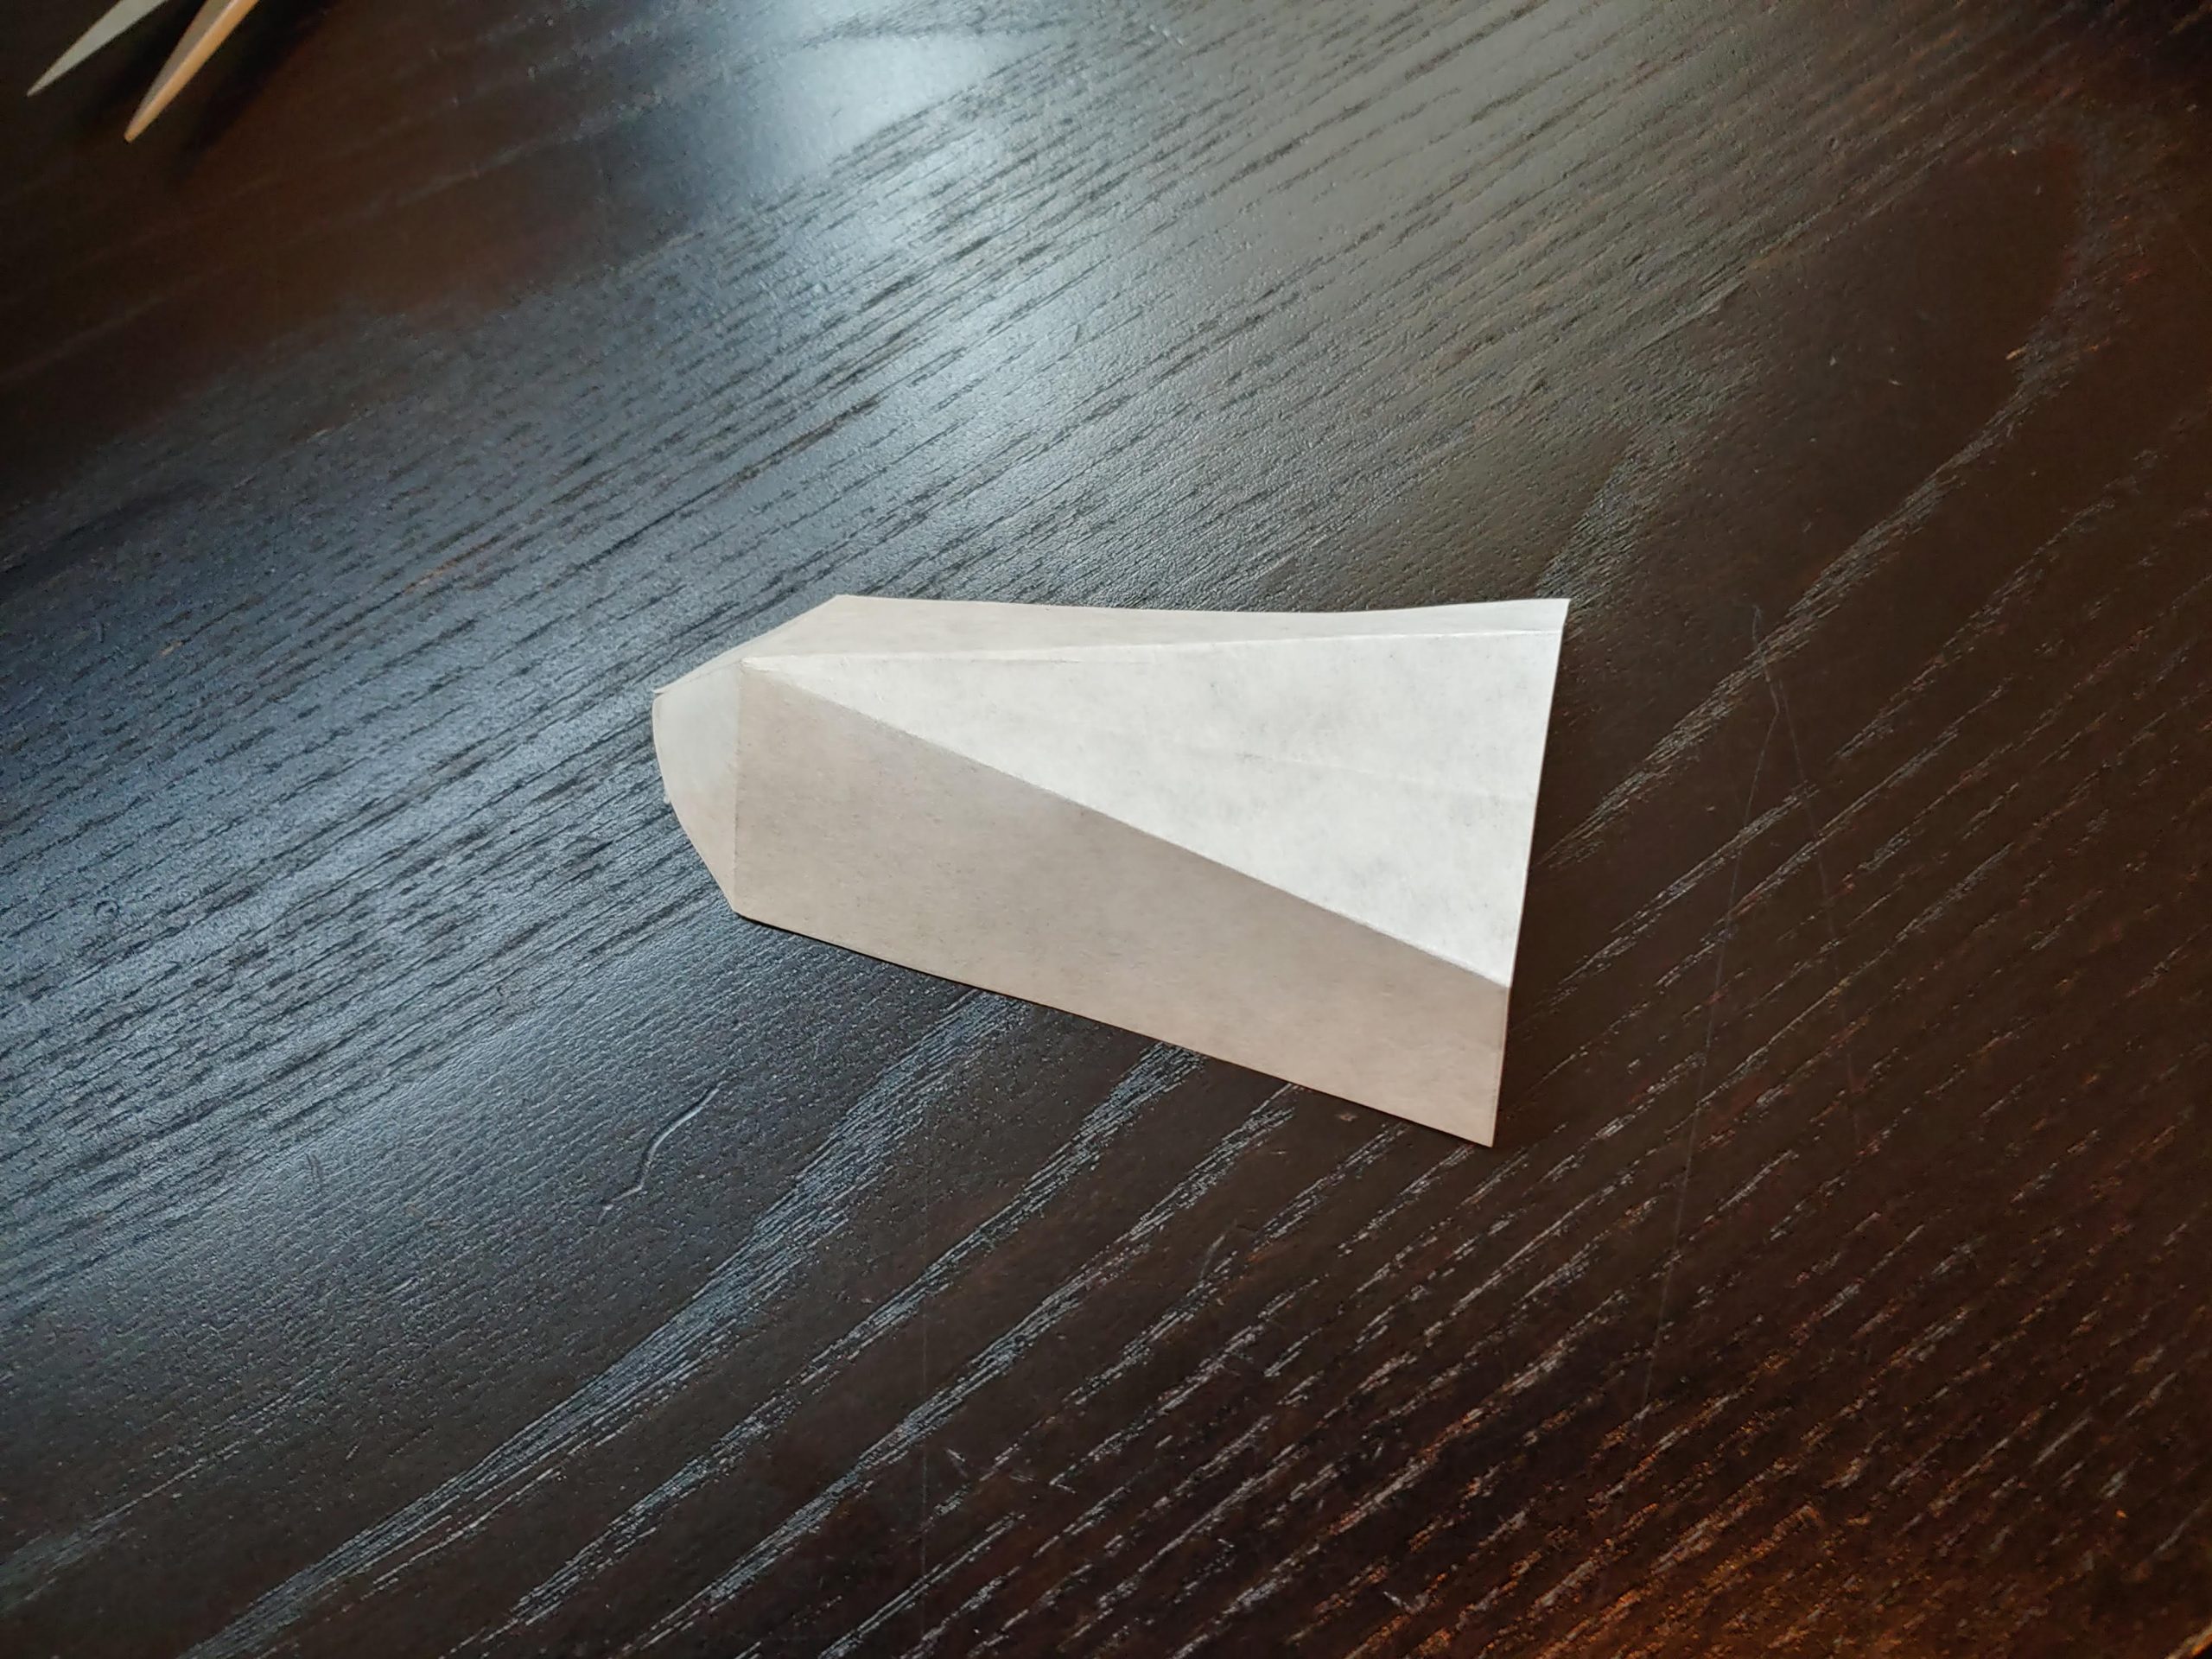
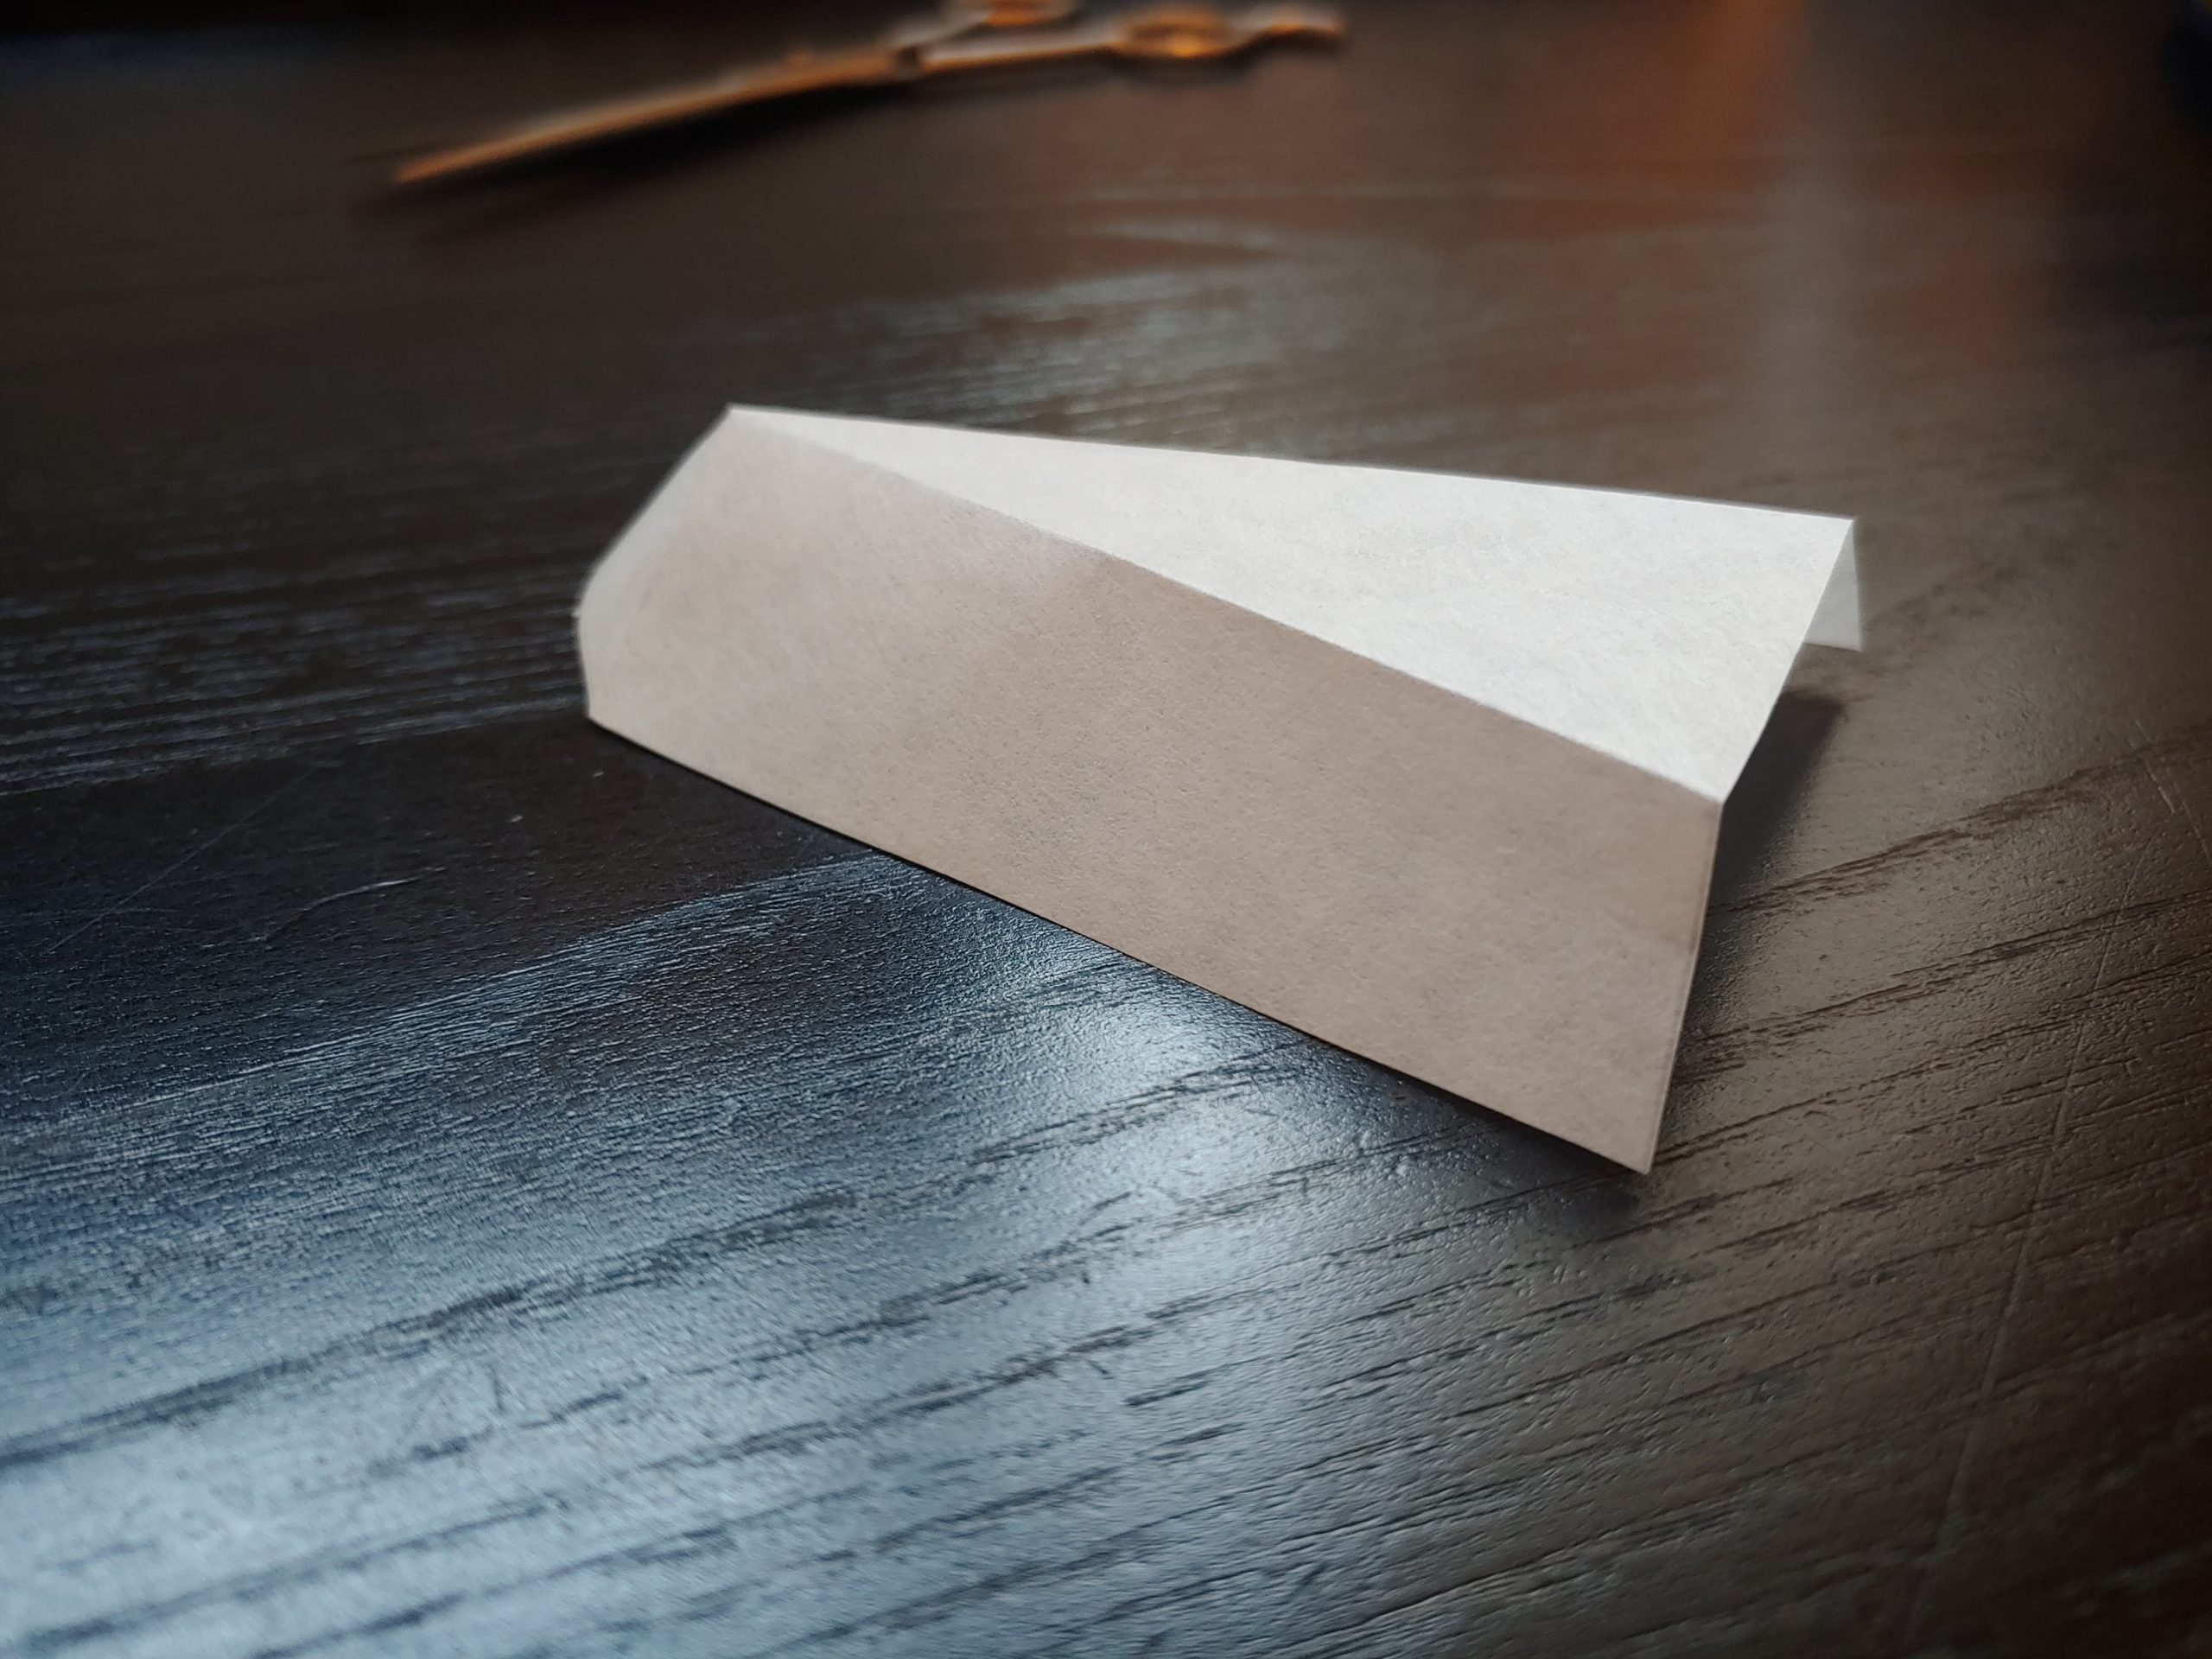
Trim edges
Measure to length of 108″
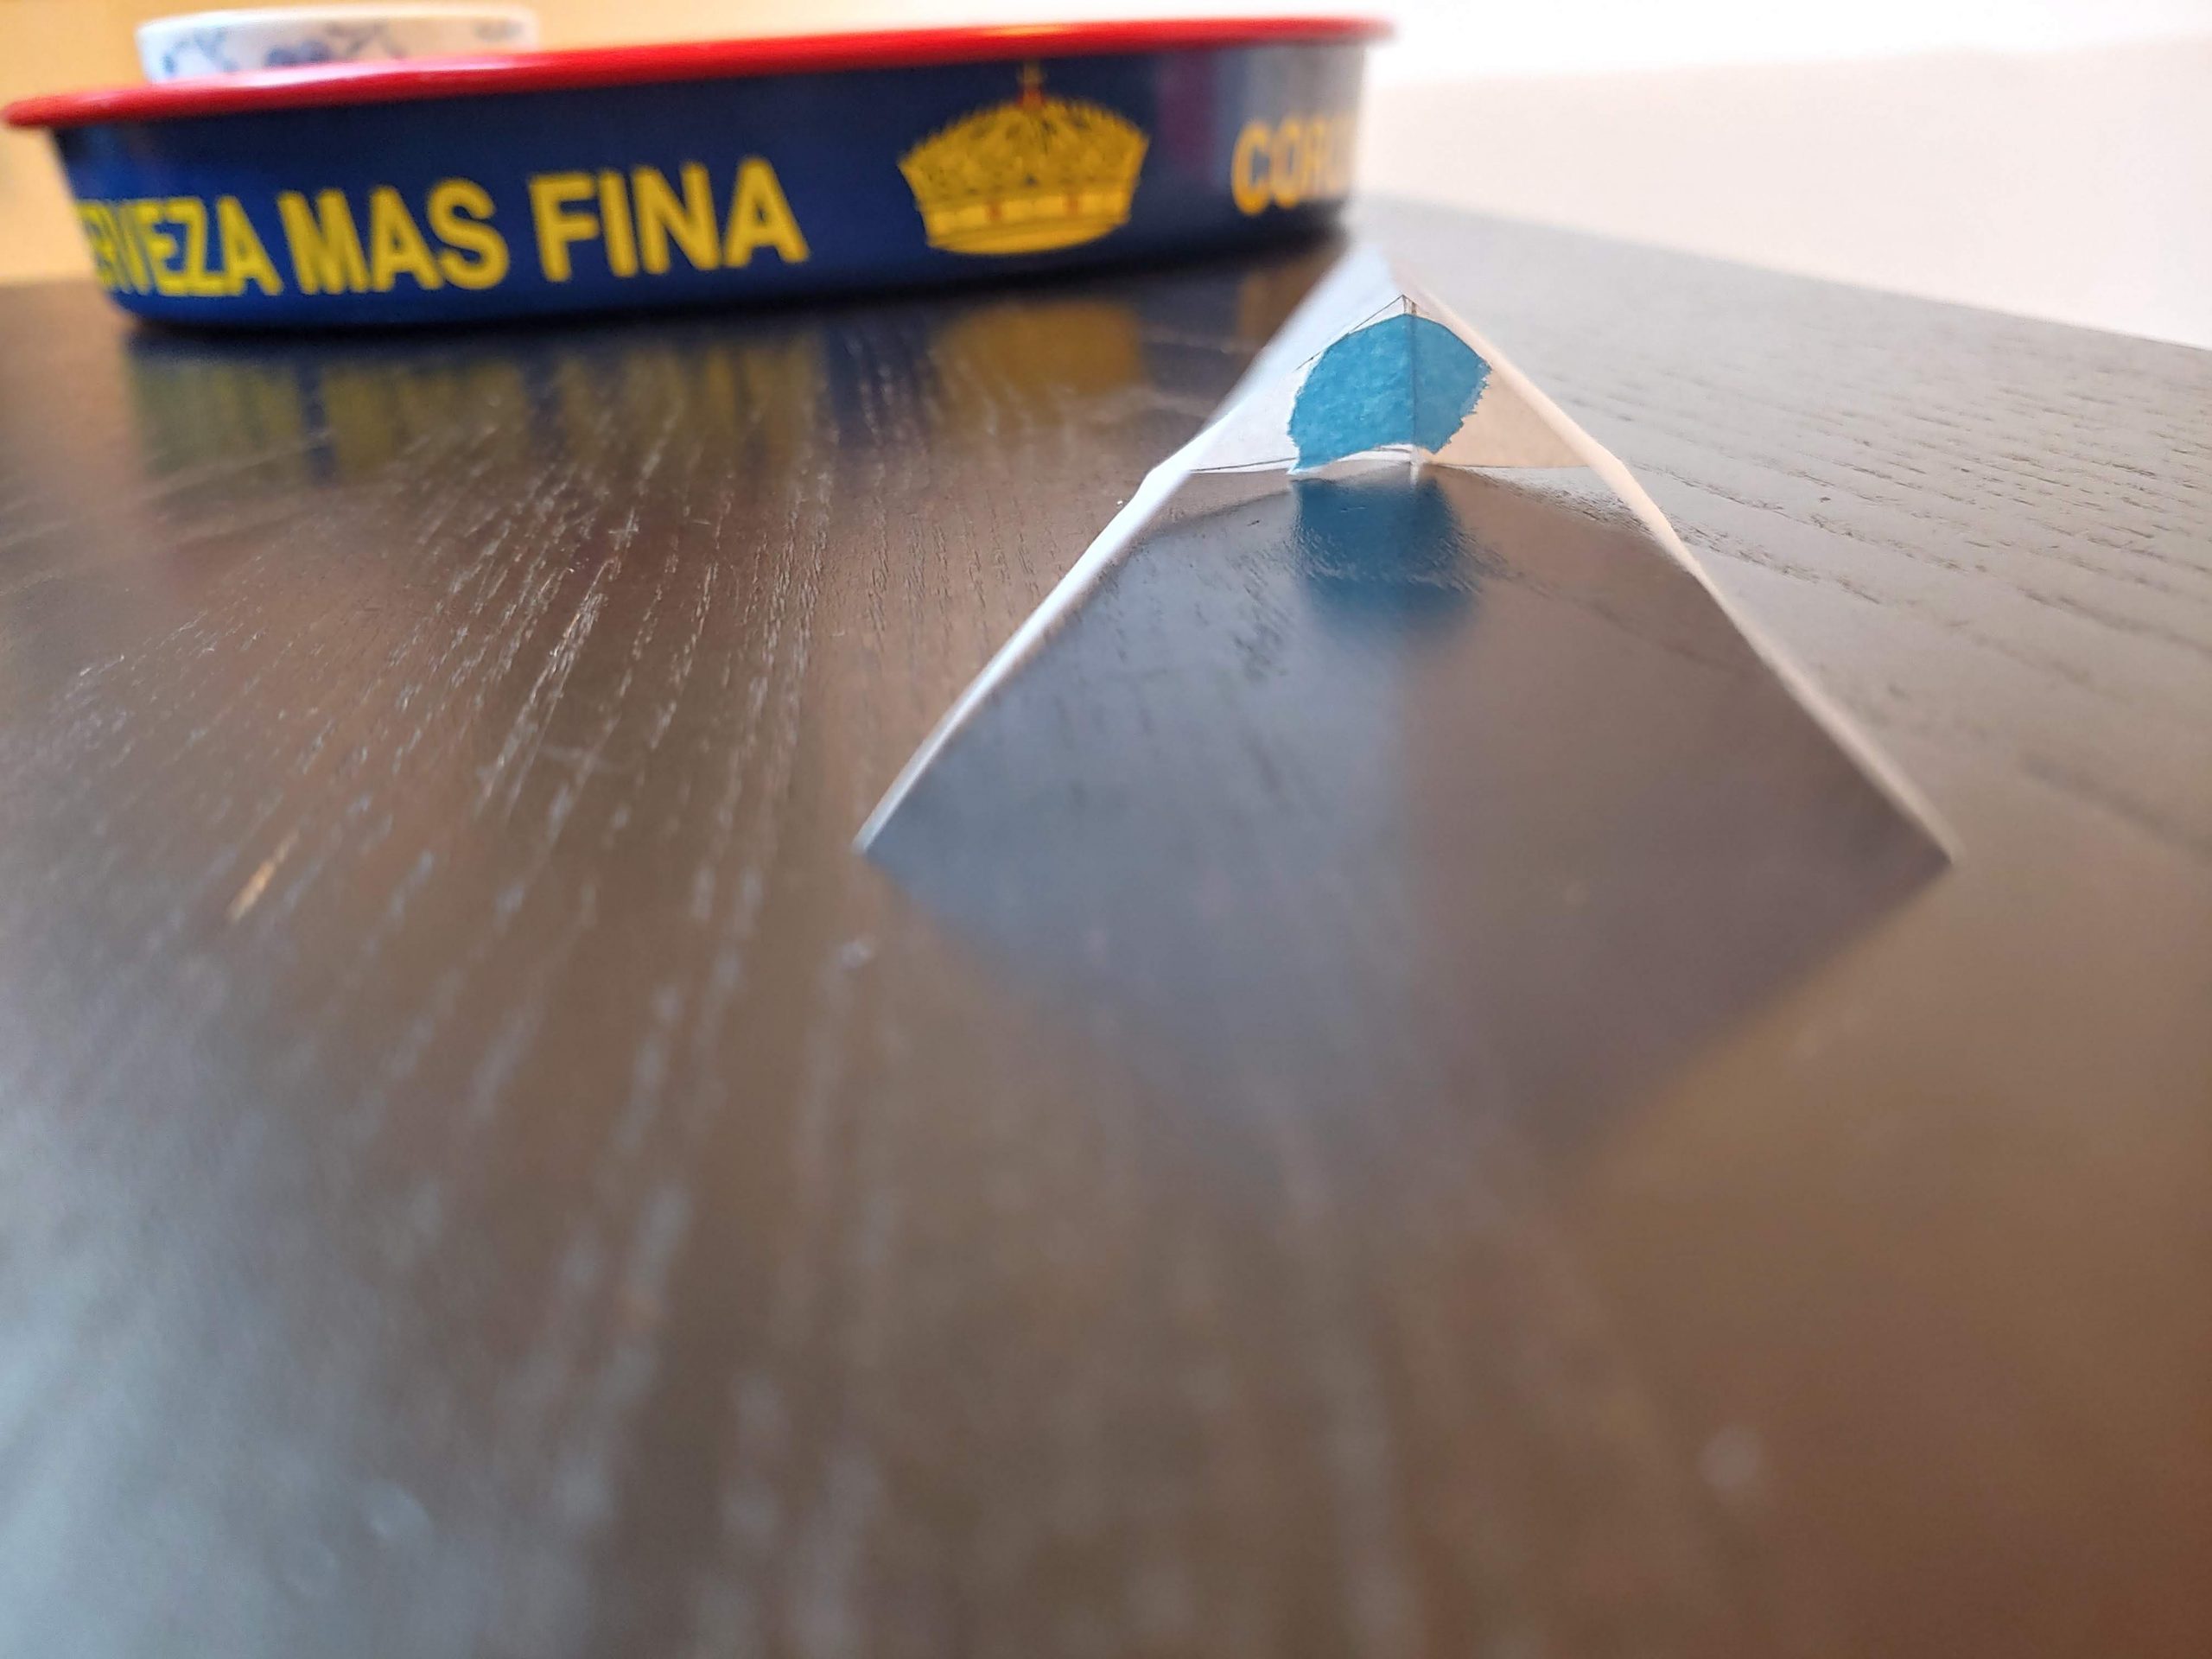
Calculate angles of end triangles and measure to length (make sure to invert the lenghts so the “outside” length is longer than the “inside seam” length.
Fold the panels together, outside face facing each other, and sew along the inner-seam edge of the pannels.
Expand the panels apart and sew a felled seam down the length of the panels to one side.
Add reinforcement triangles at the apex points front and back.
Roll hem the perimeter.
Add webbing and linelocks. Go slowly at the foot ‘top’ linelock.
Sew on the perimeter bug netting.
Final Thoughts:
Damn I love MYOG! There is nothing like having a spark of an idea and scribbling it down on paper, mulling it over. This was my first time specing out a to-size model and that alone was very satisfying. And then it coming together in real life exactly as intended was icing on the cake.
You all know what it’s like and it feels so damn good!!
And my wonderful SO loves it! Mission accomplished!
I was really pleased with this design for its pure simplicity. For how well this tarp works, it was extremely fast to put together. Measuring and cutting carefully is the hardest and most time consuming part.
Please let me know if you have any suggestions for this design or if you would like to make one yourself and how you’ll go about changing this “v.1” to fit your needs.